The Right Way To Clean A PS5 Controller (And How To Open It)
We may receive a commission on purchases made from links.
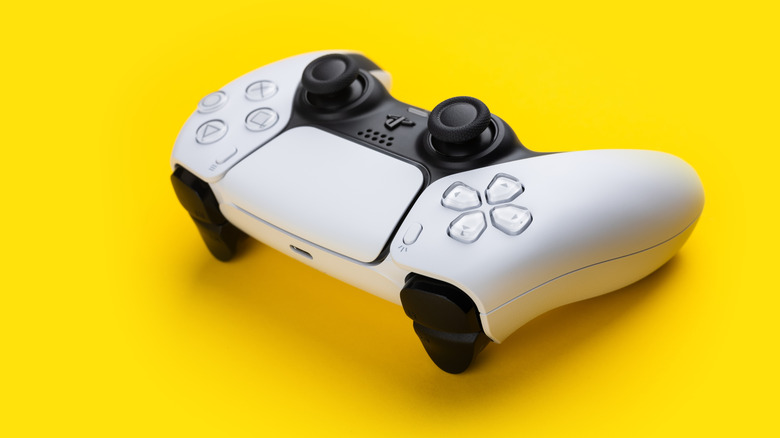
Whether your PS5 controller has seen a lot of action or it's been accumulating dust until the next big release, cleaning the controller every so often is recommended to keep it in great shape. It's also a good idea to clean your brand new controller for the PS5 to ensure it stays looking like new. While it's tempting to quickly clean the controller using a rag, it's best to take your time, removing dirt and grime from the interior and exterior of the DualSense. That way, it can continue to work until the PS6 comes around.
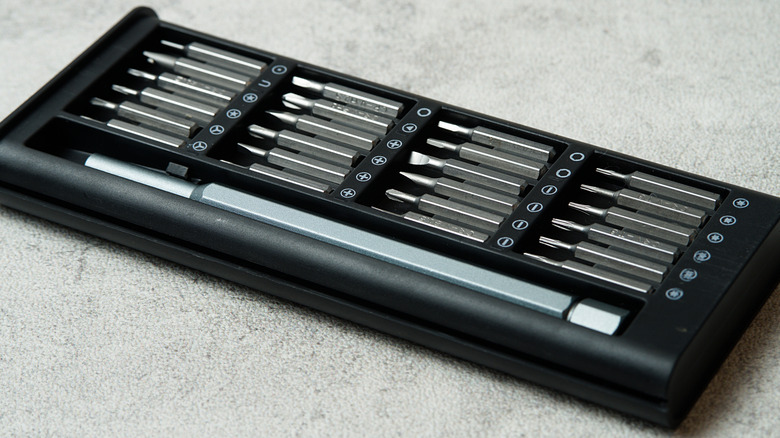
Before you can get started, you'll need a few specialty tools and some household items. Starting with the household items, grab some cotton swabs or cotton balls, and isopropyl alcohol or alcohol pads. As for the specialty items, you'll need a Phillips #00 screwdriver, picks, a spudger, and a pair of tweezers. The $30 iFixit Essential Electronics Toolkit has everything you need for this job, plus a few extras, though there are more cost-effective alternatives if you're on a budget. With a bit of elbow grease, you can make the best gaming controller as good as new.
How to clean the exterior of your PS5 controller
Controllers accumulate grime over time, so you'll want to start by removing that. Grime tends to collect along the gaps of the controller where the top and bottom shells meet, around the buttons and triggers, and atop the joysticks. Run a pick along the gaps of the controller to remove the trapped grime. Also, use the pick to remove the grime between the triggers and around the d-pad and face buttons. Using the pointy end of the spudger, pick away the dirt on the joysticks.
Next, clean the surface of the controller using an alcohol wipe or cotton swab dipped in isopropyl alcohol. The top plate of the controller is smooth and easy to clean. The bottom plate, on the other hand, is textured and does a great job of holding on to dirt. Use a bit of force to dislodge the grime.
One important thing to note is that the alcohol can possibly damage the face buttons over time, causing them to crack. To avoid this, it's best to skip cleaning the buttons with alcohol. Use a microfiber cloth instead to polish the buttons.
Cleaning the interior of your PS5 controller the right way
The first step in accessing the interior involves removing the middle trim, which is the black piece of plastic that runs along the bottom of the controller. Leverage the pick between the middle trim and the bottom shell to remove it, focusing on the bottom corners on both sides of the controller and the middle piece by the headphone jack.
Use the spudger to remove the L1 and R1 buttons by inserting the pick between the bumper and trigger on both sides. Leverage the spudger against the trigger to release the bumpers. Now, with the Phillips screwdriver, remove the screws behind the L1 and R1 buttons and the ones under the middle trim. Use the pointy side of the spudger to undo the clips on either side of the headphone port. Finally, run the flat side of the spudger along the gaps on the side of the controller to separate the bottom shell from the top shell. Remove the bottom shell to access the interior.
Grab your compressed air and use it to clear out any dust, hair, or debris. Use an alcohol wipe to clean the interior. Just be careful when working around the fragile ribbon cables. When you're done, retrace your steps to put the DualSense back together. Now you can play the 10 biggest reveals from PlayStation's State of Play with a clean DualSense in your hands.