5 Ways To Upgrade Your Bedroom With Raspberry Pi Projects
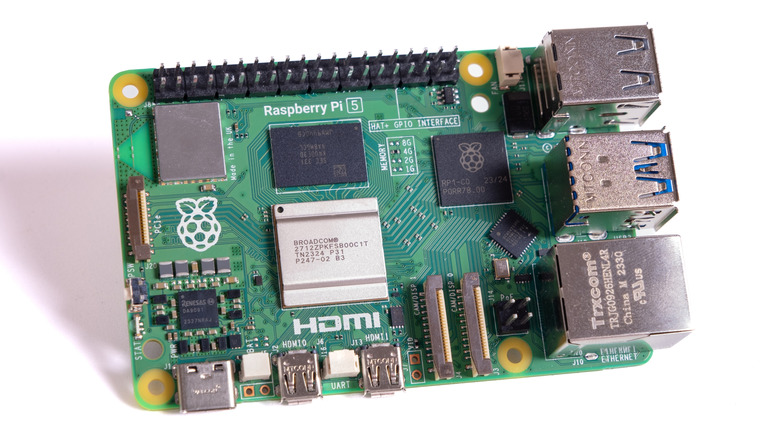
You don't need to invest in expensive smart devices to upgrade your bedroom. All you need is the affordable Raspberry Pi and some DIY creativity. You can find several different Pi models, each offering various levels of performance and connectivity options. Some older Raspberry Pi 2 and 3 models don't even come with Bluetooth or WiFi capability, which is a good thing for projects that don't even need those features. That said, what makes them special are the general purpose input output pins (GPIO). This is what lets you connect all the various hardware parts like sensors, motors, lights, speakers, and displays.
Since the Pi is programmable, you do need a bit of coding know-how, but nothing that would be considered high-level programming. After all, this computer was originally designed for teaching kids how to code. It doesn't take much to turn a plain object into a smart object that responds to the environment. So, here's what you can do to upgrade your bedroom with 5 Raspberry Pi projects.
Smart alarm clock

Making a Raspberry Pi-controlled smart alarm clock is a perfect DIY project for beginners. It's an easy project that will allow you to play with some electronic parts that will need to be put together like Lego. But you'll also need to do some basic programming to make this smart alarm clock work. You can add a small touchscreen or an HDMI display to add a weather forecast, time, and your daily schedule to your new alarm device.
You'll need to connect a display to the Raspberry Pi and install the Raspberry Pi operating system. Then you can use the Python Tkinter or Kivy libraries to build a simple graphical display for alarms. Add a small speaker or a USB audio device that will help your smart alarm clock play custom sounds and set your favorite song or a gentle wake-up chime as your alarm sound. With Python, you can also program your smart alarm clock to gradually brighten an LED strip before the alarm goes off, to imitate a sunrise.
To take your alarm clock to the next level, you can add more functionality by integrating weather data with an API such as OpenWeatherMap. If you want your new alarm clock to display your schedule when you wake up, you can make it automatically open your Google Calendar. This project is a fun mix of tinkering with hardware and software, and it will bring smart home features right to your bedside.
Ambient mood light
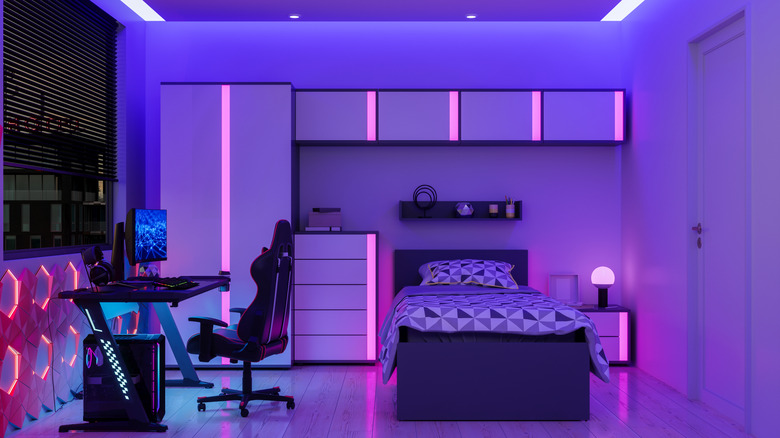
Set the vibe in your bedroom with an automated ambient light. For this project, on top of the Raspberry Pi you'll need an addressable RGB LED light strip or multiple strips that can be connected to your Raspberry Pi. Addressable LED strips let you control each LED independently. This is perfect for creating ambient light that will change based on time, music, or even the weather.
You can simply connect your LED strip to the Raspberry Pi through the integrated GPIO pins. But to make it work, you'll also need a resistor, a level shifter, and a suitable power supply. Python libraries will allow you to set up LED colors and effects. You'll also need a microphone that'll input sound and allow your new Raspberry Pi project to shift and change the light effects based on music. You can also make the lighting adjust itself based on the time of day to set up warm hues for the evening, and cooler tones in the morning.
Wake-up light

Alarm clocks can be very annoying since they interrupt our sleep with sudden noise. Even if they're effective, they can cause such a bad mood in the morning for some people. Instead, a more natural approach to waking up might be a better solution. You can use your Raspberry Pi 3 to make a wake-up light that will gradually increase the light intensity, imitating the sun rising. This will wake you up gently and improve your mood.
To build a wake-up light, you'll need to connect the addressable RGB LED strip to your Raspberry Pi, and then attach it behind or inside a frosted lamp or any other light-diffusing enclosure. A bit of Python programming will allow you to set up control over the color temperature and brightness of each LED. That way, you can create a smooth transition from warm red to soft white light. Use a simple time-based script to schedule the wake-up light activation each morning.
Smart mirror with display

You can use your Raspberry Pi board to turn a two-way mirror into a smart display. This mirror will not only show you your reflection, but you can program it to display weather forecasts, the time, news, calendar events, and so much more.
To build the smart mirror, you'll connect your Raspberry Pi to a monitor placed behind a two-way acrylic mirror. You can also use a standard monitor and place a mirror film on top. Now all you have to do is install MagicMirror, an open-source platform that lets you display various customizable modules such as date, time, to-do list, and more. The text will look subtle as it seems to float on the surface of the mirror. You can fully customize your new vanity display as MagicMirror supports addons, plugins, and even voice control. Mount your smart mirror above a dresser or your desk, and it will fit perfectly in your bedroom decor.
Smart power strip

Your Raspberry Pi and some more advanced electronic know-how will allow you to take full control of everything electronic in your bedroom. This project allows you to remotely control power outlets, schedule devices to turn on or off, or automate them based on time, date, or sensory input. Depending on how tech-savvy you are, you can expand this system and include voice control via Alexa or Google Assistant.
To build this smart power strip, you'll need to connect your Raspberry Pi to a set of relay modules. Each module needs to control a different power outlet or a device such as a lamp, fans, or a charging station. You can install a Home Assistant tool or do some programming yourself to create an app that'll let you control your power strip remotely via smartphone. You can add motion sensors to turn the bedroom lights on or off automatically. You won't have to get up ever again to turn off the light.