How To Get Faster Internet Speeds On Windows 11
If you are working from home, you want the best internet performance possible from your PC. Perhaps your internet is being uncharacteristically slow and you don't know why. Or perhaps you have important deadlines to meet, and you need your computer to keep up with your fast work pace. In either case, an internet speed that doesn't meet your needs can be frustrating.
Windows 11 is Microsoft's newest upgrade for your PC. It boasts a range of alterations, but it might not be an improvement depending on your preferences (if you're not a fan of Copilot AI, you're out of luck, as they're shoehorning it into the update wherever they can). It is free and optional, though in an effort to force users to use it, Microsoft is sending emails reminding users that external support will be ending for Windows 10 soon.
If you have already made the switch to Windows 11 or plan to, then you definitely want to take advantage of the upgrade to get the fastest internet performance possible. One way is to use Windows 11's capabilities to connect to the enhanced Wi-Fi 7. Another is to clear out the temporary storage files on both your Windows 11 system and Microsoft Edge to ensure nothing is slowing down your internet.
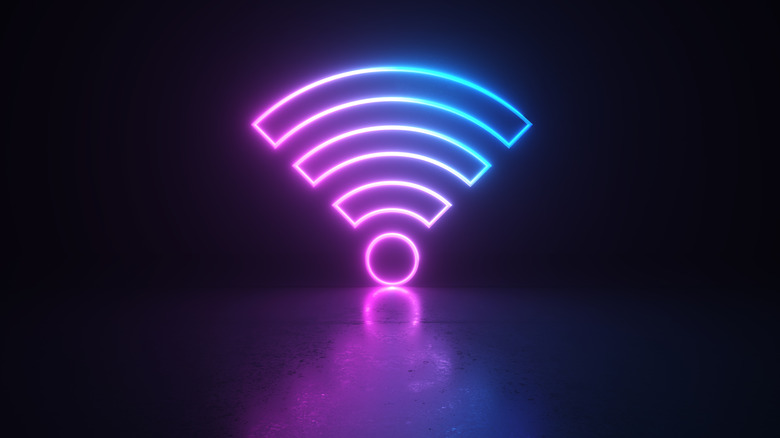
Connecting to Wi-Fi 7 on Windows 11

Wi-Fi 7 is the name given to the newest Wi-Fi standard that claims to have improved internet speed and better overall performance. It operates on the 2.4 GHz, 5 GHz, and 6 GHz frequency bands. If you have questions about whether you already have access to Wi-Fi 7 or not, your internet provider can answer that for you.
Windows 11 supports Wi-Fi 7, unlike Windows 10. However, it's only Windows 11 from 24H2 onward. The 24H2 is basically just a mini-update for the Windows 11 system, rather than the large-scale update from Windows 10 to 11. Microsoft does these updates to fix bugs and improve features, though sometimes the update itself causes a bug. If you have Windows 11, your computer should automatically tell you it has an update when you are going to turn off or restart your computer. You can also go to Settings and check Windows Update to see if there are any available.
After you have done whatever is needed with your internet provider to access Wi-Fi 7, upgraded to Windows 11 and its 24H2 update, then you are ready to use Wi-Fi 7 for faster speeds. Connect to Wi-Fi 7 as you normally would for any internet connection on your computer. Click on the Wi-Fi icon on the taskbar at the bottom of your screen and select your internet.
Clear your cache for faster internet speeds
Clearing out your PC's cache is another way to improve your internet speeds. When you use your computer or browse the internet, it will save data in temporary storage files that are referred to as a cache. The purpose of this is to load the same app or website faster when you visit it again in the future. However, when your cache gets too full of temporary storage, it can actually slow things down. That's why it's important to clear it out occasionally on your computer and even on your Android phone.
On Windows 11, go to Settings, System, Storage, and then to Temporary Files. You can simply click on the trashcan icon next to Temporary Files to delete them all, or click on the arrow to choose the specific ones you want deleted. These may include items like your downloads, thumbnails, and temporary internet files.
Clearing out the cache from your internet browser is also a good idea to improve your internet speeds. If you are using Microsoft Edge for Windows 11, go to Settings and More. Then go to Settings and choose the Privacy, Search, and Services option. Choose to Clear Browsing Data. From there, you can select what you want to clear as well as how far back in time you want to clear the data. Usually doing a full clear out of the entire history and cached files is best unless you have something specific you want to save.