How To Install Custom Fonts On Your MacBook Or iMac
The ability to install custom fonts on a Mac has been available for ages. The feature is a lifesaver for designers and other creative professionals who want to make their projects better or personalize them. Custom fonts also help maintain consistency when working with tools like Adobe or Google Fonts. However, it's not only the professionals who benefit from custom fonts. Whether you're a student, a writer, or someone who just discovered that your desired typeface is unavailable on your device, you may need to download one.
Installing custom fonts is possible with any MacBook or iMac you might have; this guide focuses on the latest versions — macOS Sequoia 15 and macOS Tahoe 26. These macOS updates cover a wide range of devices, including many Intel-based models and all M-series Macs. Apple provides options to use pre-existing fonts from the Font Book app or import fonts from other sources.
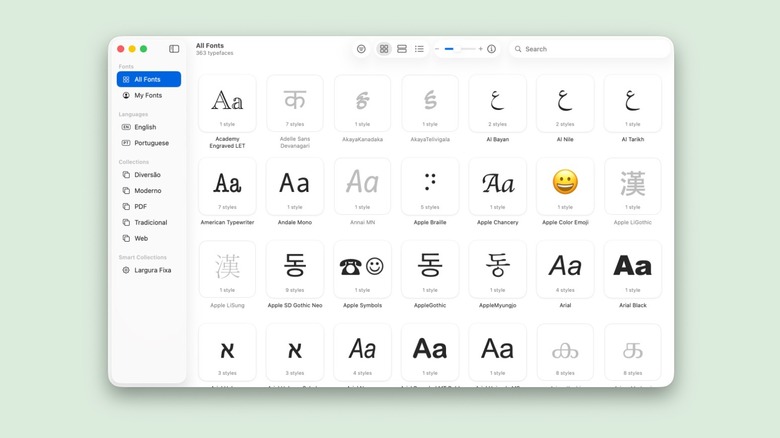
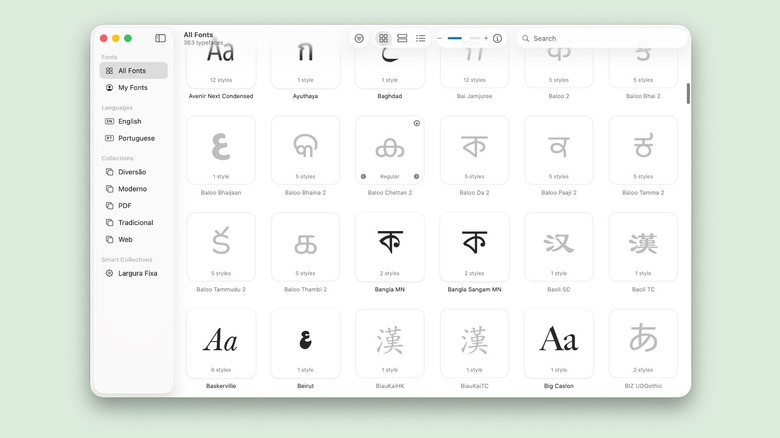
Installing fonts using Font Book
Apple's Mac and MacBook models support the following font files: TrueType (.ttf), Variable TrueType (.ttf), TrueType Collection (.ttc), OpenType and OpenType-SVG (.otf), and OpenType Collection (.ttc) fonts. The company says that legacy suitcase TrueType and PostScript Type 1 LWFN fonts might work but aren't recommended.
To begin with the installation, open the Font Book app and choose a category from the sidebar. Next, you can download these fonts in multiple ways:
- Click the Download button near the font.
- Control-click a font.
- To grab more than one, select multiple fonts, then Control-click the selection.
- You can also select fonts and click Edit to download them.
You may also download the font files from other sources and install them using one of the methods below:
- In Font Book, go to File > Add Fonts to Current User.
- Double-click the font file to open it, then click Install.
- Drag the font file onto the Font Book icon in the Dock and click Install.
- Drag and drop the font file into the Font Book window.
- You can also double-click the font file in Finder and hit Install when prompted.
Troubleshooting font issues on your MacBook
Sometimes a font might not display correctly, or a document may not open due to a corrupted font. Here's how to solve such issues:
- Select a font, then go to File > Validate Selection.
- Or choose File > Validate File, then find the font in Finder.
- Click the arrow next to a font to see its details.
- A green icon means the font is fine, yellow shows a warning, and red means it failed.
- To remove a failed font, check the box next to it and choose delete.
- Once removed, reinstall the font using the steps above.
If you're experiencing duplicated fonts, you can choose to keep both versions, skip font installation, or replace the existing font.
- In Font Book, go to File > Resolve Duplicates.
- You can let Apple fix duplicates automatically or handle them yourself.
- If you pick Resolve Manually, review the duplicate fonts and their copies.
- Choose the copy you want to keep. It will be marked as Active.
- For the others, click Resolve This Duplicate or Resolve All Duplicates.
- Afterward, you can move the extra files to the Trash.
If you're experiencing issues when using fonts with third-party apps on Macs, Apple recommends contacting the vendor to learn what might be the root cause.