4 Ways To Prevent OLED Burn-In On Screens

Organic Light-Emitting Diode (OLED) displays aren't as expensive as they used to be, and more people than ever are experiencing this technology for the first time as a result. OLED screens function differently from your standard LCD or LED displays: Each pixel on an OLED monitor emits light, eliminating the need for a dedicated backlight. This increases contrast and gives darker blacks. Because each pixel is controlled separately, pixels can be turned off completely to achieve perfect blacks, a feature many customers point to as the main reason for upgrading to OLED.
The technology does come with a notable drawback, though. These displays feature carbon-based material that degrades over time. When a group of pixels wears quicker than the rest, they can produce a faint, ghost-like image on top of what should be shown on the screen. Advancements are being made to eliminate OLED burn-in, but in the meantime, you can make adjustments to potentially slow down the decay.
Adjust your TV settings
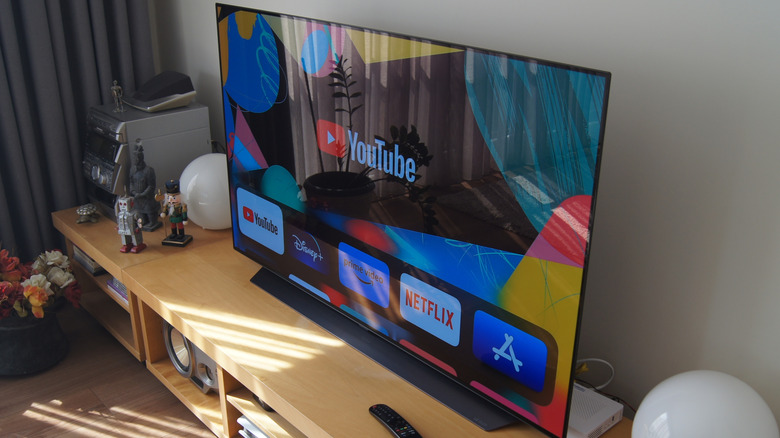
OLED burn-in is less common in TVs than it is in monitors. This is because, if you are like most people and use your TV almost exclusively for movies, TV shows, and games, the entire screen is rotating pixels frequently. But there are some exceptions. It's best to avoid content that doesn't fit the screen entirely. The black bars used to pad the image out can cause burn-in after prolonged use.
News and sports channels can also pose a risk for OLED screens. These channels often feature a static logo that can be burned into your display if you leave it up for extended periods. You should also take note of what games you play, too, as static images can sometimes be found in a HUD. For example, a speedometer in a racing game can be problematic for your screen over time.
It's recommended that you keep your TV plugged in when it is not in use to help fight burn-in. This is because some TVs have an auto refresh function that automatically shifts your entire image by a couple of pixels periodically. If your TV is not plugged in, this function cannot occur, so try not to keep your TV unplugged for too long.
Hide your taskbar
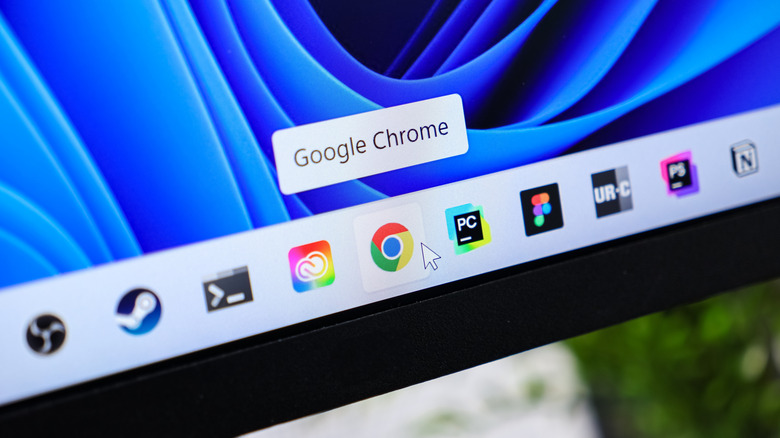
By default, Windows 11 PCs feature an ever-visible taskbar at the bottom of the screen for navigation. MacOS devices feature the same thing, but Apple just refers to it as the Dock. The problem with a taskbar is that it keeps static pixels on your screen that can cause problems for OLED monitors. Thankfully, there is a way to hide the taskbar when it is not in use, reducing screen burn-in. Follow these instructions to hide your Windows 11 taskbar:
- Right-click the taskbar.
- Click on Taskbar Settings.
- Under Taskbar Behaviors, check the box that says Automatically Hide the Taskbar.
This can also be done on a Mac computer by following these steps:
- Click on the Apple icon.
- Open System Settings.
- Click Desktop & Dock in the sidebar
- Check the "Automatically Hide and Show the Dock" box.
Now, when you move your mouse away from the bottom of the screen, the taskbar will disappear to free up those pixels.
Create a wallpaper slideshow

Even with a taskbar out of the way, you will still have your wallpaper staring at you if you don't have any applications up. Like every other static image, a wallpaper can promote burn-in. You can, however, rotate your wallpapers so you don't have the same static image up all the time. You can do this natively on both Windows and macOS computers without the need for extra programs or complex commands. Here's how to do it:
For Windows computers:
- Right-click your Desktop.
- Select Personalize from the dropdown.
- Click Background.
- Under Personalize Your Background, select Slideshow.
From here, you can add images to your slideshow so that it rotates them periodically. The default setting is to rotate the image every 30 minutes, but you can choose whatever you prefer.
Here's how to set up a rotating wallpaper on macOS:
- Open System Settings.
- Click Wallpaper (sometimes written as Desktop & Screen Saver on older OS versions.)
- Select Add Folder or Album
- Open "Choose Folder..." and select one of your folders of images. (You can also choose any galleries listed in the dropdown menu.)
- Click the image with the two arrows going clockwise.
- Input your desired rotation interval in the box under Shuffle.
At any time, you can add or remove images from the wallpaper folder you selected to customize your slideshow.
Turn down your brightness and use dark mode

OLED pixels wear down faster when they shine bright for long periods of time. So, it's best not to have your screen running at full brightness all the time. This tech quirk also makes dark mode an OLED monitor owner's best friend, as it reduces the number of pixels emitting light. You can turn on dark mode in many programs through their respective settings menus. There is also a way to set up a system-wide dark theme preference (a setting you may or may not have known was there) on your OS, which will automatically launch compatible apps in dark mode and darken many of the standard OS features.
Here's how to enable dark mode on Windows 11:
- Right-click your desktop and select Personalize from the dropdown menu.
- Select Colors.
- Under "Choose Your Mode," pick Dark.
You can also do this on macOS by following these instructions:
- Open the Apple Menu.
- Select System Settings.
- Click Appearance.
- Select Dark from the app theme panel. (You can also turn it to Auto, so it adjusts based on the time of day.)