5 Settings Ruining Your Computer Monitor
Buying a new monitor is exciting. We expect sharp contrasts, bright and vivid colors, and smooth and uninterrupted visuals, even with cheap computer monitors. But that's not always what you get. What if you plug your new monitor in and the colors look off, text seems fuzzy, and motion feels too laggy? Some users think this is just how monitors are, and that there's nothing they can do except buy a better one. But in reality, the culprit is hiding in the settings.
Modern operating systems and monitors are packed with different options, features, and settings. Users can easily get lost in these, especially if they have never heard of HDR modes, aggressive response-time tweaks, color management, scaling adjustments, or frame synchronization. Each of these is designed to solve a specific problem, and although it might sound smart to have them "on" at all times, they can also ruin your monitor. What's worse is that these settings don't make your monitor feel broken, but simply bad.
The good news is that none of these settings is permanent, and you can easily toggle them on or off when needed. A few small adjustments to the settings can transform your disappointing monitor into a crisp and responsive screen you genuinely enjoy.
Turn HDR off

If you buy a monitor that was advertised as HDR, you might think you should leave the HDR setting on at all times. But this couldn't be further from the truth. HDR downgrades the image quality for some content, making everything displayed on your monitor look a bit off. HDR stands for High Dynamic Range. It's a setting designed to handle specific content, which carries more information about brightness, color, and contrast than standard content (SDR). Also, there are multiple HDR formats that act differently. Most monitors are primarily designed to display SDR, and HDR is just an option you should manually turn on in settings when watching HDR-specific content.
If you play SDR content with HDR settings, your monitor will mismatch the expected gamma curves and tone mapping. The result will be washed-out colors, muddied contrast, and a dull general look that feels desaturated. Remember that this is not a monitor failing. It's a simple misalignment between the content and your display settings. On top of that, using HDR settings constantly actually drains more power and increases the heat output of your screen, shortening its life. If you're watching HDR content, turn the setting on manually as needed.
Pixel overdrive (Monitor OSD)
Pixel overdrive might sound like something that will boost your monitor's performance. This setting is also known as Overdrive, Response Time, and TraceFree in different monitors' OSDs. It's designed to force pixels to change colors faster and reduce the traditional smearing you might notice when objects move too quickly across the screen. But most people don't realize this setting comes with a trade-off and it's one of the most common mistakes people make when setting up a new computer. If the overdrive setting is too aggressive, the voltage applied to the liquid crystals pushes pixels past their intended target before they settle down.
This phenomenon is known as overshoot or inverse ghosting. Instead of smoother motion, you'll get distracting light or dark halos and trails behind moving objects. This effect can make faster action games, or simple scrolling through text, very annoying to look at. These artifacts, or halos, break the visual coherence of moving edges and reduce clarity in fast-changing scenes. That's why you should always aim to set the overdrive at a moderate level instead of maxing it out.
Color profiles (ICC/ACM)

Switching on Auto Color Management in Windows might seem like a good idea to get "pretty colors," whatever you're doing on your PC. But if you actually calibrate your monitor, it will feel like a creative prank gone wrong. ACM is a system feature intended to automatically handle color mapping between your graphics card, your monitor, and the apps you use. In theory, ACM makes sure the colors you're getting are consistent across the board.
But what ACM actually does is override or bypass your carefully crafted ICC profiles and ruin all calibration. It will force your monitor to display a generic sRGB gamut, so that every app looks the same rather than accurate. This can especially feel wrong if you have a high-end gaming monitor or a professional display with wide gamut capabilities. The rich color space will be compressed into a much smaller sRGB standard, making everything appear dull.
Every designer, photographer, videographer, colorist, or anyone creative will be hit hard by ACM effects. Even if you're just a casual user, you might want to simply enjoy the real colors while watching your favorite show or playing your favorite game. Automation is not always the best solution, and if you want true color accuracy, you'll want to turn off the ACM.
Display scaling/resolution
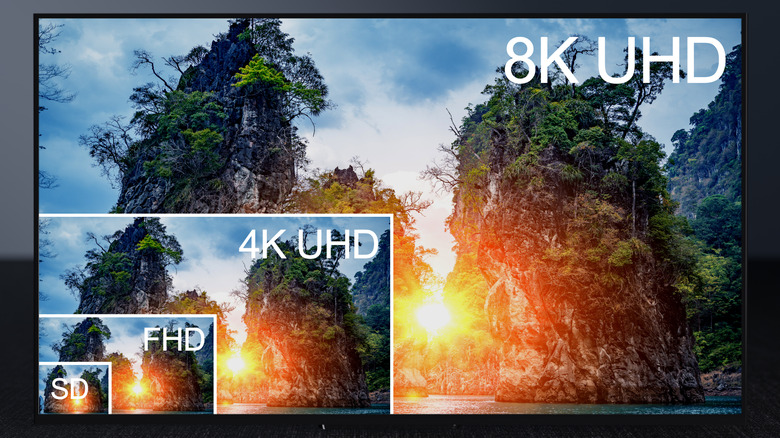
Has your screen ever made you squint and wonder why text and icons look like they're a bit blurry or melting together? And this happens even though you just bought a new monitor that had excellent reviews. This fuzzy nightmare is typically a result of two related settings that you might have gotten wrong: display resolution and scaling. Every LCD or OLED display type has a native resolution, the exact number of pixels built into the screen. If you set your OS to run at a lower resolution (let's say 1080p on a 1440p monitor), the system will be forced to stretch the image across more pixels than it was designed to use. This stretching of the image will cause softer edges and blurriness. That's why you should preferably use the native resolution for your monitor.
Then, there's also scaling. An operating system uses this setting to make text and UI elements readable on high-DPI screens such as 4K or dense 1440p panels. Scaling tells your OS to render these elements larger. However, your OS may select the wrong scaling, or the app you're running doesn't understand the input from your OS. The result is content that looks fuzzy as it gets resampled. It'll look as if you zoomed in too much on a low-quality photo. This problem is especially annoying to deal with if you have a multi-monitor setup, where each screen has a different pixel density. Typically, selecting recommended scaling values in the settings should fix scaling problems you might have.
VSync/FPS caps
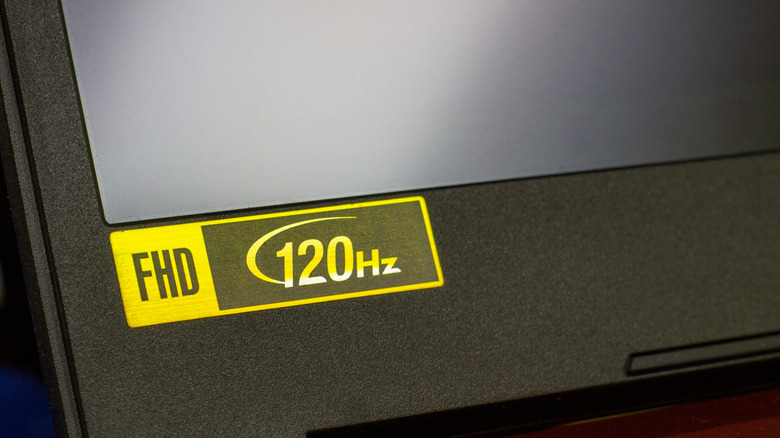
Many gamers toggle on VSync or cap their FPS, expecting their game to run with smooth visuals. Then they're surprised to see everything went wrong, and their game feels as if they're seeing it through a slow-motion lens. This problem occurs due to how frame delivery and display refresh cycles interact. VSync (vertical synchronization) eliminates screen tearing. This is a jarring horizontal split you see when your GPU spits out frames faster than your monitor can display them.
Your GPU then needs to wait until the monitor is ready to display the next frame. This creates an input lag, meaning your actions (mouse or keyboard presses) take longer to show up on screen. Things can get even worse if your framerate dips below the monitor's refresh rate while the VSync is on. The refresh rate can drop to half (from 60Hz to 30Hz), causing serious stuttering. You can fix this with modern Adaptive Sync technologies like AMD FreeSync or NVIDIA G-Sync that will dynamically match your monitor's refresh rate to your GPU's output.