

5 Google Nest Privacy Settings You Should Enable
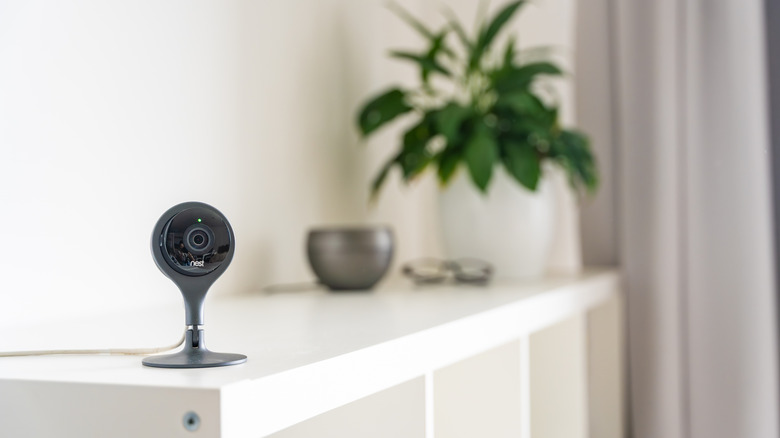
When you're studying the things you should know before buying a Google Nest Hub, you probably will focus on its various features and how you can use it to simplify your life. Things like issuing voice commands and automating boring tasks at home represent the fun side of using this technology. However, you can't ignore some of the concerns over managing a Google Nest Hub, starting with protecting your private data.
Users worry about things like remote people eavesdropping on conversations through the system or Google using your voice commands to collect user data on you. Concerns that your Nest camera may be spying on you have been around for several years because of various bugs and hacks. However, you can take proactive steps to reduce these concerns by enabling certain Google Nest privacy settings. Enabling the Nest features that we describe below won't absolutely guarantee your privacy, but these are simple ways to make your home more secure and protect data.
Keep Personal Results from revealing private data
Google Nest has a setting called Personal Results that allows your personal voice assistant to read aloud potentially sensitive data from your Gmail account and similar apps. Although having the voice assistant read your information when you're alone is not worrisome, it could read this sensitive information as someone else walks into the room. You could enable Voice Match, which should prevent Google Nest from reading your personal data out loud unless it matches your voice, but matching errors are possible.
To reduce the risk of your personal information being read aloud when someone other than you is present, you can turn off Personal Results. From the Google Home app, tap the Google Assistant menu and the Personal Results submenu. You can use the toggle button to turn off this feature for all devices in the home or only for certain devices.
Personal Results also affects any displays connected to the network. If you have a screen in a public location, you might want to turn off Personal Results. To do that, access the listing for each individual display in the Google Home app and stop Personal Results from being displayed. Otherwise, consider placing displays away from public areas.
2FA adds a layer of security to your Nest system
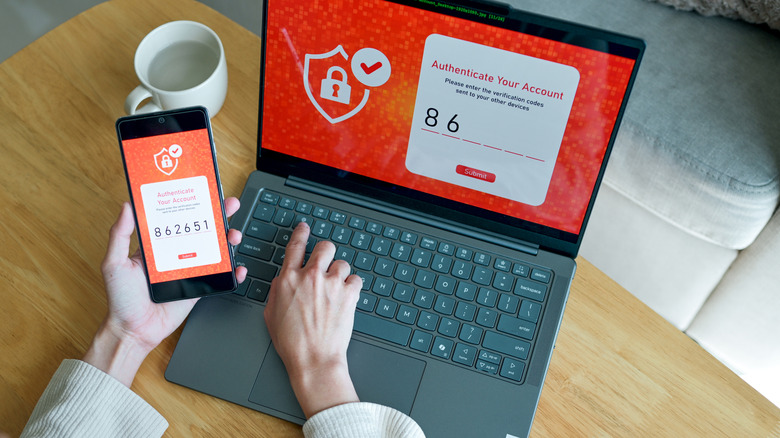
Google made using two-factor authentication (2FA) an option with your accounts almost a decade ago, and using 2FA is a default setting on all new Nest accounts. With the 2FA process, you'll enter your username and password when logging in to your account. You'll then have to enter a code that Google sends to you via email or text. This process provides a second step of security in case someone has stolen your Google account's username and password. You have to use your 2FA code for things like changing your Nest password or adding new phone numbers to your account.
Even though 2FA is a default setting for new Nest accounts, you may have turned it off in the past or have an older account that didn't require 2FA when you set up the account. If so, you can turn the feature on now. Before setting up the 2FA function, decide how you want to receive your login codes (email or phone). Underneath the Settings menu in your Google Home or Nest app, use the Account submenu and then the Account Security submenu to turn on two-step verification and enter your information.
Don't let Google Nest save audio recordings it makes
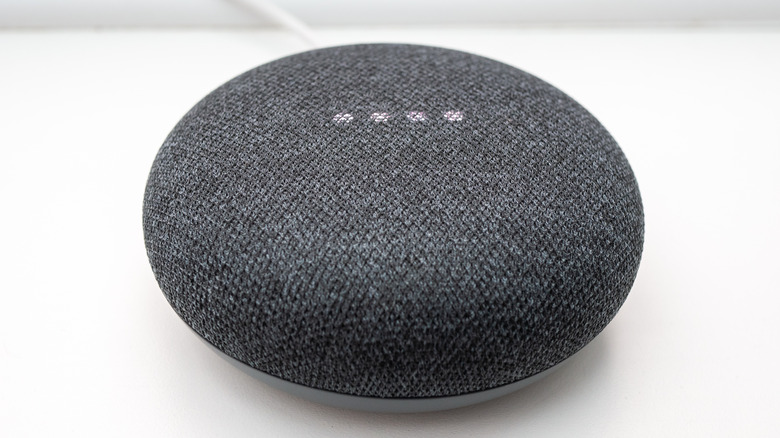
When you use your Google Nest voice assistant to issue commands or have a conversation, you may wonder whether it's recording and saving these audio clips. Google Nest listens for activation words, even when it's in idle mode, meaning it is always monitoring your conversations. If it doesn't hear an activation command, Google says its system doesn't save these audio clips to the cloud. It will only transmit your audio commands and clips to the cloud after you speak an activation word.
You can set up automatic deletion of these audio recordings through your universal Google account's Data & Privacy settings, but the process also applies to all of your web and app activity. Go to History, select Web & App Activity, and then Manage Activity to choose how long Google retains your Nest recordings and any other web activity. Keep in mind that Google may delete some of your audio clips from its servers before the timeframe you specify if it no longer needs the information to train its audio recognition technologies.
Limit who can change your Nest settings
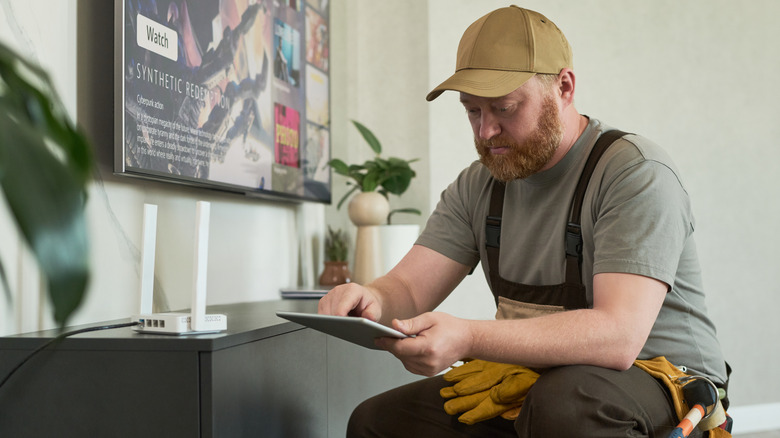
If everyone who is a member of your Google Nest network has administrative access, they could potentially control any network device, add and remove other members, and run voice assistant commands on the network. If you have your kids on a limited amount of Wi-Fi access and screen time, they might be able to change their permissions and work around any limitations you've created. Instead, you can restrict who has access to these capabilities by controlling permissions for your Nest system using the Google Home app.
In the Google Home app, you can set up each member of the network with Admin or Member permissions. Admin allows them to make changes to the network, including deleting it entirely. Those with the Member level of access can control their personal settings and use the basic components of the Nest network. A Member of the network cannot share devices with other services, add new devices, or add people to or remove them from the network. To manage these permission settings, you need to create a Home that contains all the family members and accessible devices. As you add people to the Home, you can then control their permissions.
Hear a chime when Google Nest Hub starts recording
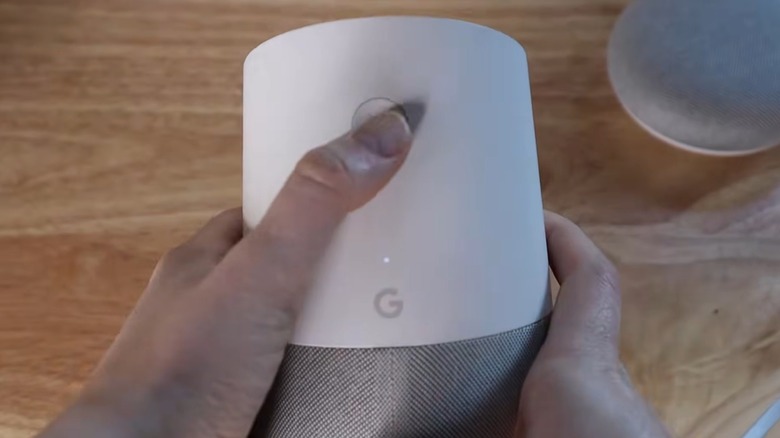
If you're concerned about your Google Nest Hub devices recording video, voice commands, or conversations around the house and then uploading them to the cloud, you're not alone. One solution would be to not give the devices Internet access. However, without an internet connection, they lose a lot of their functionality.
Even though your audio and video recordings need to be uploaded to the cloud for maximum functionality of your Google Nest devices, you could set up the system to play a chime when a recording begins and ends so you're always aware it's happening. Open the Google Home app on your smartphone while you're connected to the same Wi-Fi network as the speakers in the system. Tap the All Devices submenu and the name of the speaker that should play the chime. Then tap its Settings menu and the Accessibility submenu. Activate the Play Start Sound and Play End Sound options. Even though you can assume Google is recording every time you say the trigger phrase, forcing the hardware to play a chime any time it starts recording helps you recognize when the Nest system is potentially recording your conversation in error — or to remind you of expected recording activity.