This Hidden iOS Feature Customizes The Way Your AirPods Sound
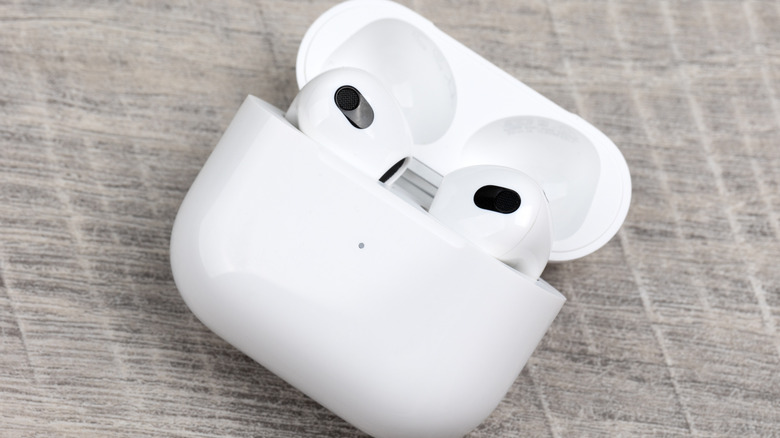
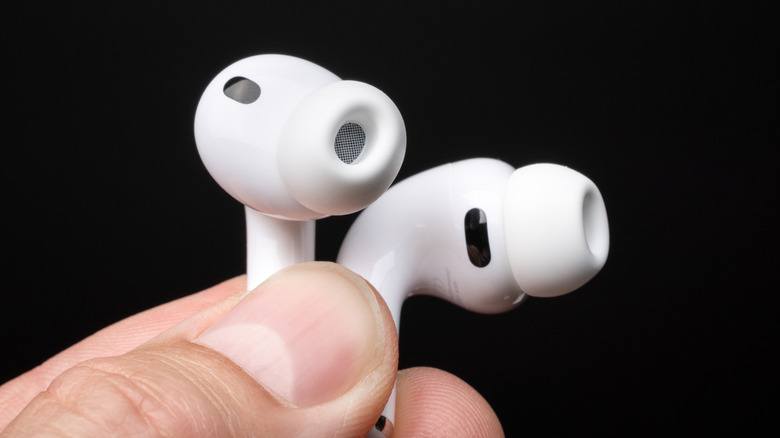
The iconic Apple AirPods lineup has been an in-ear audio staple for several years. The positively reviewed AirPods Pro 3 are Apple's newest noise-cancelling earbuds, and they do a fantastic job at keeping your workday distraction-free. But beyond the list of audio presets you'll have to choose from in iOS, is there any other way to customize how your AirPods actually sound? As a matter of fact, there is, and doing so won't even require you to download a separate app.
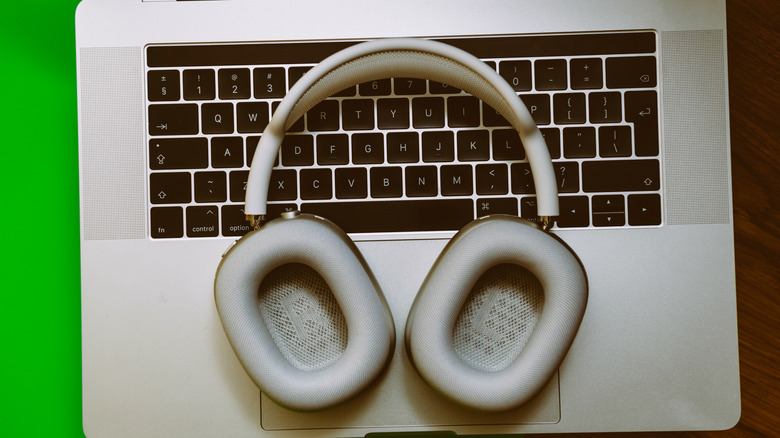
Thanks to the Headphones Accommodation feature in iOS and iPadOS 14 or later, you'll be able to fine-tune your AirPods for a more personalized listening experience. Compatible AirPods models include the AirPods 2, 3, and 4; AirPods Max; AirPods Pro 1, 2, and 3; and the Apple EarPods (with 3.5mm headphone plug or Lightning connector). The Beats Fit Pro, Beats Solo Pro, Powerbeats, Powerbeats Fit, Powerbeats Pro, and Powerbeats Pro 2 are also compatible.
To get started, grab your iPhone or iPad and tap Settings, then Accessibility, followed by Audio & Visual, and then Headphone Accommodations. Toggle it on, then choose whether you'd like Accommodations to apply to Phone, Media, or both. You'll then have the option of using the Custom Audio Setup tool to calibrate your AirPods (you can also adjust these settings manually).
Craft sound that's truly yours on your AirPods
The Custom Audio Setup feature walks you through a series of listening tests to build a custom sound profile tailored to you. This is one of the best AirPods tips and tricks for maximizing sound quality, getting the most out of your audio devices. But before you start using the feature, you'll want to make sure that any current audio configurations are reset to their default settings before you kick things off.
Once all your settings are reset, connect your headphones and make sure you're in a quiet environment — one that isn't prone to random barge-ins or other distractions. Then, tap Settings, followed by Accessibility, then Audio & Visual, then Headphone Accommodations, and finally Custom Audio Setup. You'll spend several minutes walking through the calibration wizard, and you'll tap Use Custom Settings when the setup is complete to start enjoying your custom EQ.
If manual controls are more your speed, you'll also be able to adjust the amplification and tone settings using the sliders and toggles on the Headphone Audio screen. You'll also be able to adjust the volume balance by tapping Settings > Accessibility > Audio & Visual, at which point you should see the Balance slider.
Dial in your perfect sound via iOS tools
You'll also be able to customize your AirPods' Transparency mode settings by tapping Settings, then Accessibility, then Audio & Visual, followed by Headphone Accommodations, then Transparency Mode, and lastly Custom Transparency Mode. From here, you'll be able to home in on the type of ambient listening that best suits your needs. Then, use the onscreen slider to choose between Amplification, Tone, Ambient Noise Reduction, and Own Voice Amplification.
One other great AirPods audio customization tweak is a feature called Conversation Boost. This allows your AirPods to detect when someone nearby is talking, and automatically switches to Transparency to hear them most clearly.
To access this simple on-off setting, go to Settings, then Accessibility, tap Audio & Visual, followed by Headphone Accommodations. Tap Transparency Mode, then Custom Transparency Mode, then turn on Conversation Boost.
Mastering the features and settings of products like the AirPods Pro 3 puts you in a much better position to get the most out of your not-so-cheap Apple accessory. And if you decide you'd rather go back to default settings, you can do so at any time.