Breathe New Life Into Your Old Laptops With This DIY Solution

Laptops typically last around three to five years, and if you're lucky, they might remain functional for even longer. Even with such longevity, though, you're bound to feel a decline in performance over time. The boot process takes forever, apps become sluggish, and multitasking is now impossible to do. Instead of discarding old equipment, there are plenty of clever uses for your old laptops. One of the best ways to repurpose your device is by transforming it into a DIY Chromebook, using ChromeOS Flex to do so.
ChromeOS Flex is a free operating system (OS) from Google. You can install it on both old Windows and Mac computers, making them perform much faster, in many cases, than they were while running their factory OS. Just like ChromeOS, ChromeOS Flex is designed around cloud computing. That means you're mostly working with web apps and services, which is perfect when your tasks are mainly online. If you're looking to breathe new life into your old laptop, we'll walk you through the step-by-step process of making a DIY Chromebook out of it.
Step 1: Prepare your laptop and USB installer for ChromeOS Flex
To convert your old laptop into a DIY Chromebook, you need three pieces of hardware: the laptop to be repurposed, a USB drive, and any functional computer. Your old laptop should be one of Google's certified supported models and running on (at minimum) an Intel or AMD x86-64-bit CPU, 4GB RAM, and having 16GB of storage. Make sure to back up your files, as the existing contents of the laptop's hard drive will be erased once ChromeOS Flex is installed.
For your thumb drive, you can use an old USB drive as long as the drive in question is at least 8GB in size. It's important to back this up, too, since it will be overwritten in the process. Finally, gain access to any desktop or laptop computer, and install Google Chrome on it if you haven't already. This is where you'll set up the USB installer, using a Chrome extension to do so. Once you have all these items prepared, you can proceed with creating the installer. Here's how to do so:
- Plug your empty USB drive into the PC or Mac where Chrome is installed.
- Launch Chrome.
- Install the Chromebook Recovery Utility extension from the Chrome Web Store.
- Click the extensions icon at the top.
- Select Chromebook Recovery Utility to open it.
- Hit Get started.
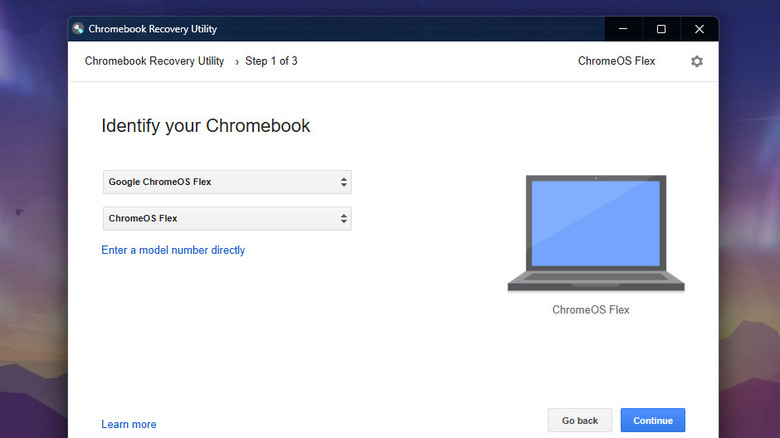
- Press "Select a model from a list."
- Expand Select a manufacturer.
- Choose Google ChromeOS Flex.
- Open Select a product.
- Set it to ChromeOS Flex.
- Hit Continue.
- Select your flash drive.
- Press Continue.
- Click on Create now to start converting the USB stick into a bootable drive for ChromeOS Flex.
From here, all you have to do is wait for the write process to finish. You should see a "Success!" message if installation is successful. Then, just press Done to exit the Chromebook Recovery Utility and eject the thumb drive from the computer.
Step 2: Install and set up ChromeOS Flex on your old laptop
With your USB installer ready, you can go ahead with installing ChromeOS Flex on your old laptop. Follow these steps to get started:
- Power off your old laptop.
- Connect the USB installer.
- Turn on the laptop.
- Repeatedly press the boot key on the keyboard to enter the boot sequence. This is typically one of the F1 through F12 keys, but it differs from one manufacturer to the next, so check your laptop's documentation to verify.
- Choose the USB stick from the options.
After doing so, the ChromeOS Flex logo should appear on the screen, followed by the welcome prompt. You're then given the option to install ChromeOS Flex right away or test it first. If you just want to see how the system looks and what it offers, click on Try it first. This runs ChromeOS Flex from the USB stick. If you're already set on permanently installing it, though, select Install ChromeOS Flex and proceed with the installation. Your computer will shut down automatically afterward. Make sure to unplug the USB stick before powering it back up. Once your system boots up, here's what to do next:
- On the welcome page, hit Get started.
- Connect the system to your home Wi-Fi network.
- Select For personal use.
- Press Next.
- Wait for the system to install the latest update and reboot.
- Press Next again.
- Sign in to your personal Google account.
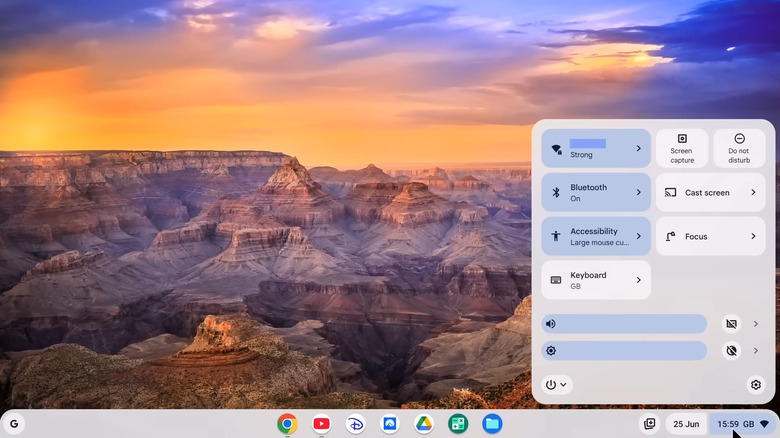
- Go through the initial setup pages until you get to the desktop.
You can now start using ChromeOS Flex for any online task like writing Google Docs, watching YouTube, and general web browsing. Just like with other laptops, you can also use the preinstalled apps, or go into Settings to manage how your device behaves.