4 Ways To Transform Your Old Monitors With A Raspberry Pi
The humble Raspberry Pi can be used for so many different projects, but some of the coolest ones are preventing your old monitors from becoming e-waste. From retro gaming to a whole dashboard for you and your family, these are just the tip of the iceberg in terms of what you can do. They're also excellent Raspberry Pi projects for beginners, letting you get familiar with the hardware and software side of Pi.
Thanks to the flexibility of the Raspberry Pi, you're not exactly limited in terms of what monitor you can use. As we'll discuss, even old CRT TVs that you might still have in the attic or basement can find a fresh lifeline once a Pi is hooked up. From here, you can start building out even more projects as well.
Remember, the Raspberry Pi community is quite large, so if you run into a problem, someone else probably has too. Be sure to check all the wikis and documentation for the projects detailed below, as they will usually be far more in-depth than we could cover with a brief overview. Yes, no one likes to read the instruction manual, but sometimes it just makes things easier. Now, let's revitalize some monitors.
Smart mirror
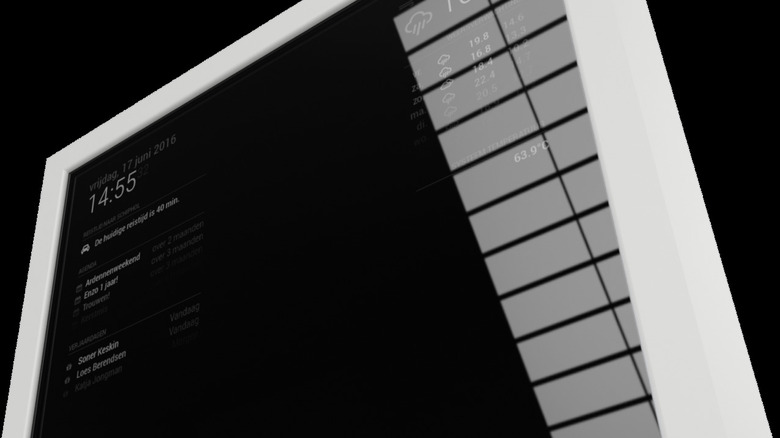
One of the more common projects for getting started with a Raspberry Pi, the smart mirror transforms an old monitor into your own hidden dashboard. We recently covered why your next bathroom vanity should have a smart mirror, but it's also a great Raspberry Pi project to upgrade your bedroom with. Weather, time, or a host of other widgets can be displayed, and there's even an entire open-source platform to build off.
MagicMirror2 brings modularity to the table, with the default included modules being the usual fare, like calendars and clocks. However, being open source, there's a massive amount of options to choose from that the community has developed. Someone has even made pagination indicators for other modules that rotate options. It's not endless amounts of choice, but it is incredibly in-depth.
For this, the team behind MagicMirror2 recommends a Raspberry Pi 2 or above. There are methods of getting the original Raspberry Pi to work with it as well, but honestly, at this point, it's not worth it due to its lack of support. They also mention that while some users have gotten it to function on a Raspberry Pi Zero, this isn't recommended either, due to its lack of power. If you want a quick rundown of how to set up the mirror-monitor combination, Raspberry Pi actually has a full guide.
New all-in-one desktop
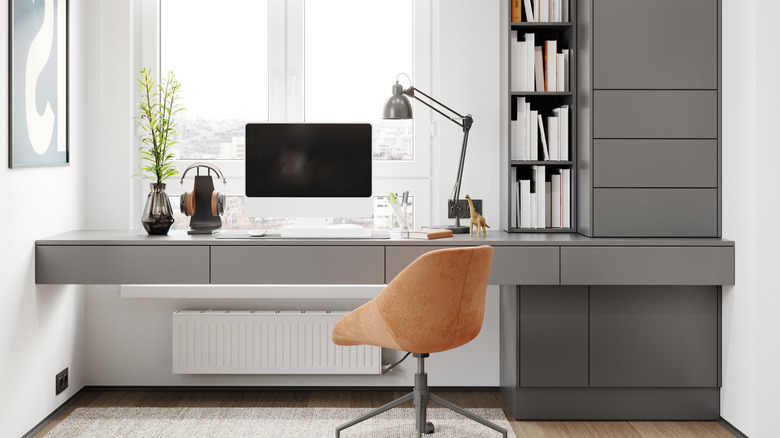
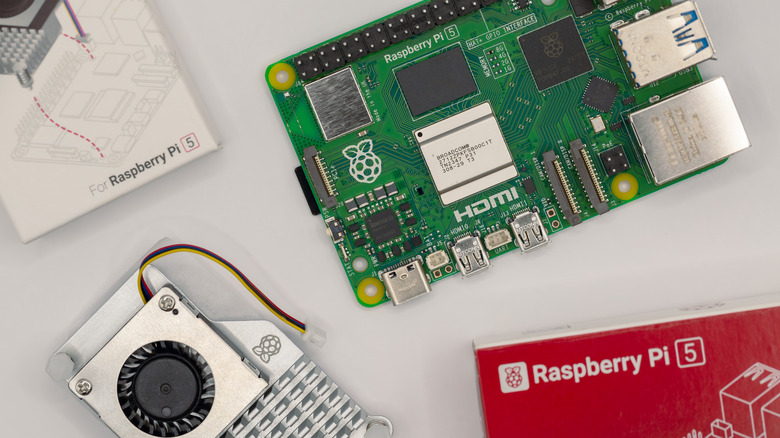
If you grab a case with a VESA mount, you can turn your Raspberry Pi into a decent all-in-one desktop. We'd recommend the Raspberry Pi 5 for this, as it has the necessary capabilities out of the box to be used as a desktop PC. The prices might have gone through the roof, but once they subside, this can rejuvenate an old monitor into a wholly usable device.
Most monitors these days come with VESA mounts, the four square holes on the back of the screen. For monitors that don't have mounting points, you can use an adapter. Usually, for wall mounting or attaching to an arm, most case mounts will need you to use the pack-in stand that comes with the monitor. There are also options for dual VESA mounts, so you can use the stand or arm that you so wish.
The Raspberry Pi 5 is an excellent device, and it makes for a perfectly capable productivity machine for those of us working from home. With most productivity software now available via the web, outside of a few Firefox or Chromium tabs, it should chug through most tasks levied at it. If you do plan on doing this, be sure to grab either the 8 GB or 16 GB versions for the best performance.
Play retro games on a CRT
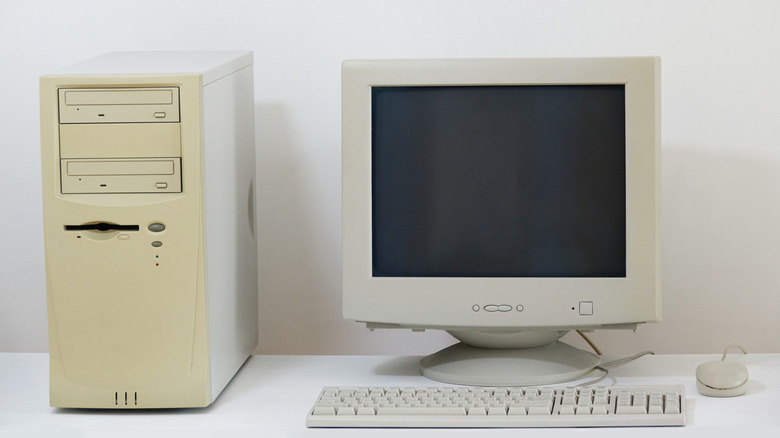
With the Raspberry Pi systems prior to the Pi 5, and excluding the Zero models, you can get composite output from the device with just a 3.5 mm jack to composite adapter. The Pi 1 through 3 have this enabled by default, but on the Pi 4, it needs to be activated in the configuration file. Luckily, Raspberry Pi has documentation about that for you to follow.
On the Raspberry Pi 5, it's a little more complicated. It technically exists, but isn't soldered or wired up. You can't just head to the config file and make some alterations; this requires you to solder two points together and connect to a video jack. For the Pi 5, it's probably easier to use HDMI converters to the necessary output, with VGA and composite options actively available online.
Raspberry Pi OS will work just fine if you want to emulate some older PC titles, or RetroPie can be a great way to repurpose an unused Raspberry Pi as a little jukebox of emulated console titles. Just remember, if you're connecting to SCART, you may need to reverse the yellow and red cables, as that's required to get output on the screen in some pinouts, since the video signal is being sent over that cable rather than the usual method.
Makeshift Amazon Echo Show
Is the magic mirror project too much of a hassle? Well, if you've got an old, smaller monitor lying around, combining a few of these projects could result in an excellent Amazon Echo Show rip-off. Using the Pi's Kiosk Mode, you can boot straight into a full-page application. Then, by using a little tinkering ingenuity (or finding other projects online), you can put together a makeshift hub or dashboard for your home.
This also brings some modicum of control into your smart home while cutting the big companies out of the data that you're using. The kiosk mode can be altered to support viewing your security cameras or even being used as a music player. Of course, there are dedicated kiosk apps, with one made by tech expert and YouTuber Jeff Geerling, and another, XiOSK, which will do a lot of the heavy lifting for you.