13 iPhone Security Settings You Should Enable Right Now
Widely considered one of the most secure smartphones, the iPhone uses privacy and data protection as its core selling points. While iOS comes with strong built-in protection, the real power comes from the granular control over security controls that you can choose to enable yourself. These security toggles can make the difference between a secure device and one that can silently collect your data.
iPhones are harder to compromise than Android phones because Apple doesn't allow easy sideloading, which is how major malware enters a device. Still, your iPhone isn't totally immune to threats. Cybercriminals keep coming up with new tricks, such as AI phishing, fake emails, and malicious links. The Anti-Phishing Working Group (APWG) reported 1,003,924 phishing attacks in the first quarter of 2025. Even legitimate apps often collect data beyond what's needed for their functioning for targeted advertising. That's where Apple's security tools can make a significant difference.
There are several features you can enable, including two-factor authentication, Mail Privacy Protection, and Private Relay, to tighten your iPhone's defenses. Each one strengthens a different part of your privacy, ensuring your phone and data stay secure. Here are the settings you should enable to keep your iPhone truly secure.
Use a strong alphanumeric passcode
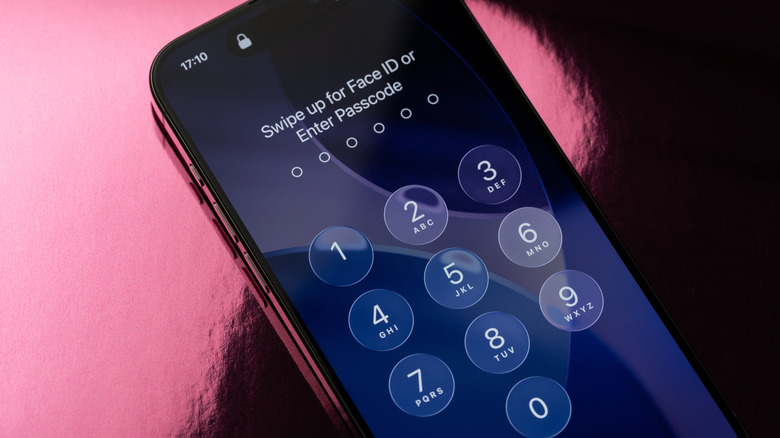
Your iPhone houses all your data, from contacts and documents to photos and financial information. Because of this, a strong lock screen password is essential to keep your device inaccessible to others. The iPhone offers multiple Lock Screen options, including a passcode, Face ID, and Touch ID. Unlocking the phone with Face ID or a fingerprint is convenient, but it still relies on a passcode as a fallback.
A simple four or six-digit passcode isn't very strong, making it easy for someone to peek at your passcode while you enter it. On older iPhones with outdated iOS versions, hackers could also exploit certain vulnerabilities, like bypassing passcode attempt limits. Attackers perform a brute-force attack, where they try every possible passcode combination. While modern iPhones have protections that make brute force attacks far more difficult, using a strong alphanumeric passcode makes your iPhone almost impossible to hack.
To switch to an alphanumeric passcode, go to Settings > Face ID & Passcode > Enter your current passcode > Change Passcode > Passcode Options > Custom Alphanumeric Code. Make sure you use symbols like @ and !, along with numbers and letters, to make it strong. This is the single fastest way to harden your iPhone's protection against unauthorized physical access.
Enable two-factor authentication
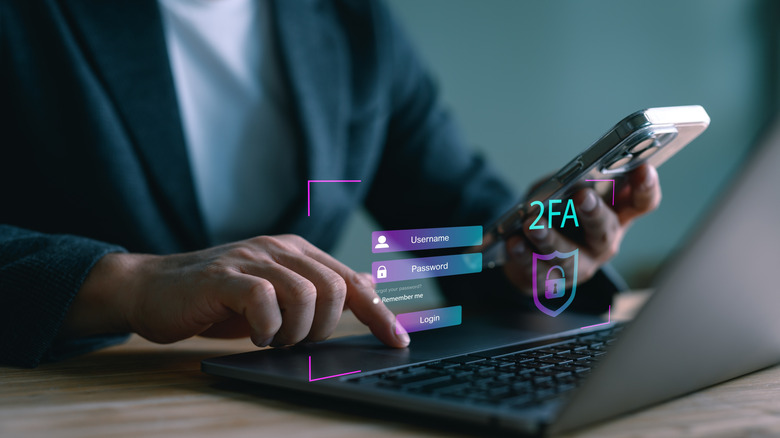
An alphanumeric passcode is a great first step to securing your iPhone, but it's two-factor authentication (2FA) that makes your Apple account far more robust. Enabling 2FA adds an extra layer of security to your Apple ID. Since your Apple ID controls your iCloud data, backups, messages, photos, and the ability to remotely erase devices, protecting it also protects your iPhone and everything on it. To enable it, on your iPhone, open Settings > Your Apple ID > Password & Security > turn on Two-Factor Authentication. Once enabled, verification prompts are turned on automatically on your device. Plus, Apple will also ask you to add a phone number as a backup for receiving the code via SMS or call in case your phone is inaccessible.
Now, whenever someone tries to log in with your Apple credentials on any device or website, a verification prompt is sent to your device, or Apple sends an SMS to your trusted mobile number to verify your identity. Even if someone knows your Apple password, they cannot break in without the code sent to your phone.
Turn off Allow Apps to Request to Track
Commercial apps on the iPhone, including games, shopping apps, and utility tools, often collect some form of user data to show interest-based advertisements. However, Apple still prioritizes privacy, so to balance this, it introduced App Tracking Transparency (ATT) in 2021. ATT gives you control over whether apps can track your data across other apps and websites. If you wish to see more relevant interest-based ads, you can allow tracking. If you turn this feature off, apps are blocked from cross-app tracking unless you explicitly allow it. Regardless of your choice, ads will still appear, but they will be less personalized when tracking is disabled.
If you care about your privacy, it's best to disallow tracking access. When you download a new app and open it, you will see a pop-up asking if you want to let the app track you. To disable data collection, tap Ask App Not to Track. If you missed the pop-up, worry not, you can disable tracking from your iPhone Settings by going to Privacy & Security. Here, under Tracking, toggle off Allow Apps to Request to Track. This will block the tracking system-wide. In case you prefer to keep the toggle on, you can manually disable tracking for individual apps as well.
Advanced Data Protection for iCloud
iCloud is not only used for backing up your data, but it's also an important feature that lets you sync your information like contacts, photos, and passwords across all your Apple devices. It also powers security features like Find My and Activation Lock, which help keep your device safe if it's lost or stolen. By default, iCloud uses standard data protection to encrypt the data in transit and at rest, with the encryption keys stored at Apple data centers. While standard protection is good, high-tech spying tools can still breach the encryption. The good news is that if your iPhone runs on iOS 16.2 or above, you can enable Advanced Data Protection (ADP) for stronger security. The ADP uses end-to-end encryption for most iCloud data, including photos, notes, and your health information, meaning only you can access the encryption keys.
While ADP can be enabled manually, for it to work, you must also enable 2FA on your Apple account. To turn on ADP, you need to head over to Settings > Your Apple ID > iCloud > turn on Advanced Data Protection. Turning on ADP alone isn't enough; you need to set up a recovery contact or recovery key, which you are guided on when setting up ADP. It's worth noting that enabling ADP disables access to iCloud.com for safety purposes, and if you want to use the website, you must approve temporary web access from your trusted Apple devices.
Disable personalized ads
Ads aren't just found on third-party apps, as even Apple runs them in its ecosystem of applications. Apple has its own advertising network, and ads appear in places like the App Store and Apple News. You are served personalized ads based on your iPhone activity, such as the apps you download, your App Store searches, and your news-reading habits. If you prefer more privacy, you can limit how much of your data Apple uses for advertising.
The setting only affects Apple's ads found within Apple apps. It does not control how third-party apps track you. Third-party tracking is handled separately through App Tracking Transparency (ATT), which lets you block apps from tracking your activity across other apps and websites.
To turn off Apple's personalized ads, you need to open Privacy & Security under iPhone Settings and look for the option named Apple Advertising. Now, you can disable Personalized Ads. Apple will still show ads, but they will be generic instead of tailored for you.
iCloud Private Relay
Through Domain Name System (DNS) lookups, your internet service provider (ISP) can see the websites you visit when you browse the web or use apps on your iPhone. If your ISP experiences a data leak, your sensitive search data can be exposed. To stop ISPs from collecting your data, you can use a VPN. The iPhone has a built-in VPN-like feature known as iCloud Private Relay. Private Relay creates an encrypted connection so your IP address is hidden and your DNS lookups are protected from your ISP or anyone monitoring the network.
Private Relay works similarly to a VPN. Even so, it only protects Safari traffic, not all apps on your iPhone. Additionally, an iCloud+ subscription is required to use this feature. You can enable it directly from Settings > Your Apple ID > iCloud > turn on Private Relay. Private Relay masks your IP address, so websites can no longer pinpoint your exact location. Apple lets you choose how much location detail to share: You can either choose your general area, or restrict it to just your country and time zone for maximum privacy.
By default, when you turn on iCloud Private Relay, it works for both Wi-Fi and mobile data. You can stop Private Relay on a Wi-Fi network by turning off Limit IP Address Tracking. If you want to protect all the internet traffic on your phone and not just Safari, you can use a free VPN app like Proton instead.
Safari Fraudulent Website Warning
Although the iPhone is secure, the web isn't. The internet is full of phishing sites and malicious links, often mimicking real services to steal user data. When you click on a malicious link, it can redirect you to a fake website that can steal your information. The good thing is there's a quick toggle in Safari that can block dangerous sites the moment you tap them. Safari's Fraudulent Website Warning is one of the easiest iPhone protections to enable, as it can block a large number of phishing attacks. It will generate a warning that appears after you click a link, but before the website actually loads.
The alert is meant to catch the most common threats iPhone users face today, such as fake banking pages, imitation Apple ID login screens, or any scam websites. Since phishing attacks have become more sophisticated and often look like real services, this early warning provides a crucial safety barrier.
If the domain or link you're opening matches Apple and Google's Safe Browsing database, the browser blocks it from loading and shows a warning. You can enable this toggle on the iPhone by going to Settings > Safari > turn on Fraudulent Website Warning. In the same settings, you can also turn on Block Pop-ups to stop deceptive pop-up windows.
Enable Find My iPhone
Find My is easily one of the most useful features you should enable on a new phone right away. If you can't find your phone at home or in the office, you can use the Play Sound option in Find My to locate your device. Similarly, if your iPhone is stolen or lost, you can check its approximate last known location. Additionally, you can use the Erase This Device option, which will wipe all your data remotely so your information stays protected.
You can access the Find My feature from iCloud.com, but you need to first enable the feature on your iPhone by tapping on your Apple ID name in iPhone Settings. Here, you need to turn on the toggle for Find My iPhone.
If your iPhone is offline or about to run out of battery, Find My uses Apple's network to show you its last known location. Also, there's one thing most people forget. If you have 2FA enabled, which you should, signing in to iCloud.com requires you to verify your identity. Since your phone is lost, the verification code sent to your device won't reach you. That's why you need to set up a secondary trusted phone number belonging to a friend or family member. Apple can then send the verification code to that number via SMS, and you can enter it on iCloud.com to complete your account verification.
Turn on USB Restricted Mode
USB ports are the gateway for quick data transfer. Apple made USB ports more secure due to concerns of "juice jacking", where public charging stations, if compromised, allow attackers to extract data. Therefore, Apple introduced a feature that prevents USB accessories from connecting unless you unlock it first. This prevents unknown or untrusted accessories from accessing data through the port, while charging works normally.
USB Restricted Mode was created to block forensic tools like GrayKey that attempted to brute-force iPhone passcodes through the port. With the mode enabled, these tools cannot establish a data connection unless the device is unlocked, thus protecting your data even if your iPhone is stolen. You can control how USB accessories connect by heading to Settings > Privacy & Security > Wired Accessories > Automatically Allow When Unlocked. USB Restricted Mode functions on both USB-C and Lightning models.
Hacking through the physical port remains one of the most convenient entry points for attackers. In 2025, Apple even patched a vulnerability that allowed highly sophisticated attackers to temporarily bypass restricted mode.
Check app privacy permissions
Many common iPhone apps quietly spy on you by collecting excessive data. Still, apps on the iPhone, especially those downloaded from the App Store, require certain permissions to work. For example, an image editor app typically demands media access. However, some apps request access that doesn't match their purpose. For instance, TechRadar noted that free VPN apps such as Super Unlimited Proxy and Free VPN: Unlimited VPN Proxy request permissions for location and user content. A VPN can still work without these permissions. These extra permissions are often used for personalized ads or building user profiles.
You need to regularly review each app's permissions and disable anything that doesn't make sense for the app's core task. For example, if a flashlight app asks for location access, which it clearly doesn't need, you can safely turn that off. To do this, go to iPhone Settings, open the specific app, and review the list of permissions it's requesting and disable all that you think are not needed. Alternatively, you can go to Settings > Privacy & Security > App Privacy Report and review the app permissions. This simple toggle switch will just take a few seconds, but it can prevent apps from collecting unnecessary data.
Enable Mail Privacy Protection

Email marketers often send promotional, newsletter, and advertising emails to keep your inbox and spam folder filled. Many of these emails use tracking tools that notify the sender whenever you open the message. Sometimes, senders can even see details like your approximate location through your IP address. Once you receive an email, it should be entirely your choice if you want to read it and when you want to read it, without someone monitoring your activity. However, companies use tracking pixels, an invisible image, to spy on your email activity to collect location data and your device info.
If this feels intrusive, Apple gives you a simple way to stop it. By enabling Mail Privacy Protection on your iPhone, you can block these tracking codes and hide your IP address from email senders. It's free, and to enable it, open Settings > Mail > Privacy Protection > turn on Protect Mail Activity. Now, your email stays private, and you can decide when and how you interact with your messages. Mail Privacy Protection blocks tracking codes, prevents the sender from getting notified when you open their email, and hides your location details. It doesn't block images, attachments, or normal email functions.
Manage Lock Screen access
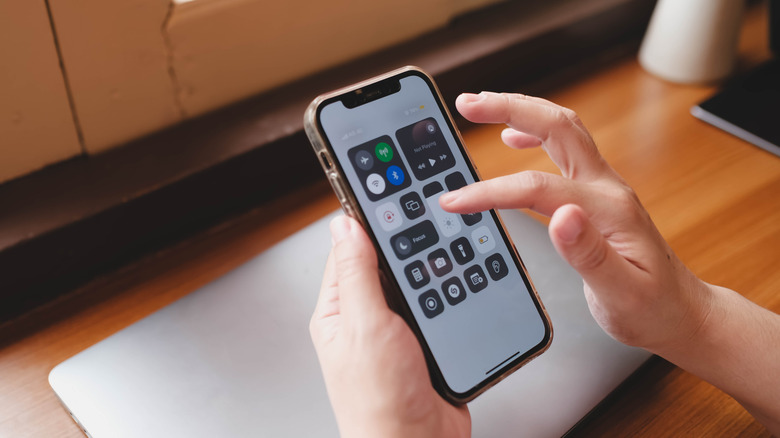
The quick access from the lock screen is super useful as you can quickly preview notifications or toggle controls like Wi-Fi or Bluetooth without unlocking the phone. However, things can get difficult if unnecessary controls are available. Take a situation where your iPhone is stolen, and you want to use the Find My iPhone feature, but if the thief enables Airplane Mode from the lock screen Control Center, the Find My tracking won't work with accuracy. Similarly, if someone can enable the torch, open the camera, or read and reply to messages directly from the lock screen, it increases the risk of unauthorized access to sensitive information, such as bank OTPs. Even widgets like Calendar, Weather, Reminders, and Shortcuts can reveal private information. So, it's a good idea to limit what's accessible from your lock screen.
Restricting Lock Screen access prevents strangers from reading your messages, messing around with Control Center, or interfering with your home devices. To disable unnecessary Lock Screen access, open Settings > Face ID & Passcode. Under Allow Access When Locked, you can turn off access to many features, including Control Center, Wallet, Reply with Message, Home Control, and Notification Previews.
Use Lockdown Mode under certain conditions
Your iPhone may not be completely immune to cyberattacks, which became evident when Apple introduced Lockdown Mode with iOS 16, a powerful, optional layer of security designed to protect your data from the most advanced threats. Sophisticated spying software like Pegasus can collect data without the user clicking anything or opening any app. State-sponsored attackers use these zero-day exploits to silently access devices.
You don't need to worry, as people most at risk are usually government officials, journalists, or other high-profile individuals. But if you believe your iPhone is being tracked, then you can enable this feature by opening the Privacy & Security option under Settings to find the Lockdown Mode. You need to confirm that you want to activate the feature and then tap Turn On & Restart.
When you enable lockdown mode, your iPhone disables certain vulnerable features to make it harder for attackers to exploit. For example, most message attachments are blocked, except basic images. Additionally, it blocks unknown FaceTime calls, restricts what you browse, and disables certain photo features like shared albums. Therefore, lockdown mode is an ultimate security feature that protects against high-level spyware, and it's not meant for everyday users but for situations where maximum security is more important than convenience.