12 Essential Tips And Tricks For Ultrawide Monitor Users
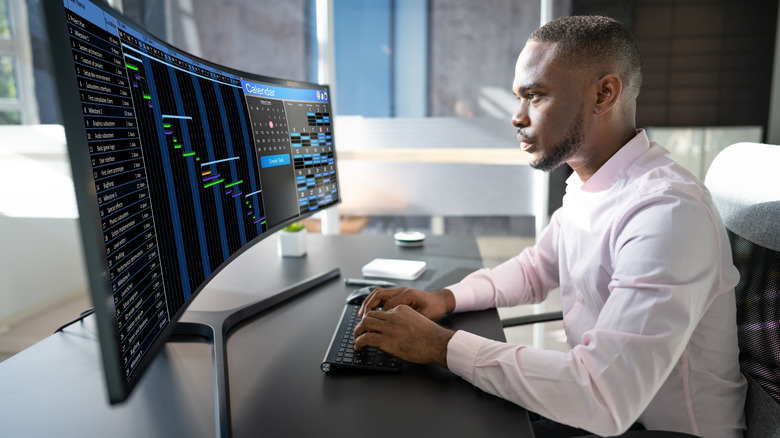
Ultrawide monitors have slowly transformed from what seemed like a mere fad to a widely coveted piece of tech for people who prioritize immersion and productivity. With the right setup, an ultrawide monitor can become an integral part of your desktop. The multimedia experience becomes more captivating than ever, with gamers, in particular, having a soft spot for the wonders achieved by high-scale 21:9 and 32:9 resolutions.
Along with this, ultrawide monitors can also boost productivity considerably, with the additional screen real estate making it easier for you to navigate multiple tabs and multitask efficiently. Video editors will love the extra space that gives them more control over their work, while data crunchers will appreciate the lack of scrolling in these monitors as they analyze numerous Excel spreadsheets.
As great as an ultrawide monitor may be, there are some things to keep in mind if you want to get rid of any minor annoyances and unlock the full potential of this next-generation display.
Get used to Snap Assist (Windows) and auto-window tiling (macOS)
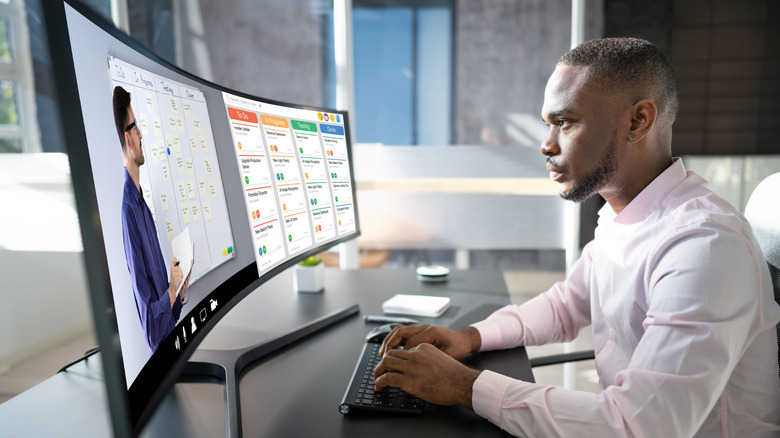
Windows 10 introduced Snap Assist, a simple yet useful way to arrange tabs on a screen with just a click or two. On regular screens, this is useful from time to time, but an ultrawide monitor is where Snap Assist shines. Instead of having to manually arrange tabs on a screen every single time people boot up their device, you can either use the keyboard shortcut (Win + Arrow) or drag a window to one side of the screen to automatically snap it in place. You can choose other open windows to appear in the empty space, letting you quickly segregate your screen into multiple tabs without a fuss.
Window tiling on macOS works in a similar fashion. You must either drag an open window to the edge of the screen or use the keyboard shortcut to pin a window to one of four corners on the screen. However, Snap Assist has an edge over this courtesy of the Snap Layouts feature, which gives you more control over how your screen is arranged. Hovering over the Maximize button or pressing Win + Z opens a number of preset layouts that add a layer of customization missing in macOS.
Ensure your GPU can handle ultrawide resolutions
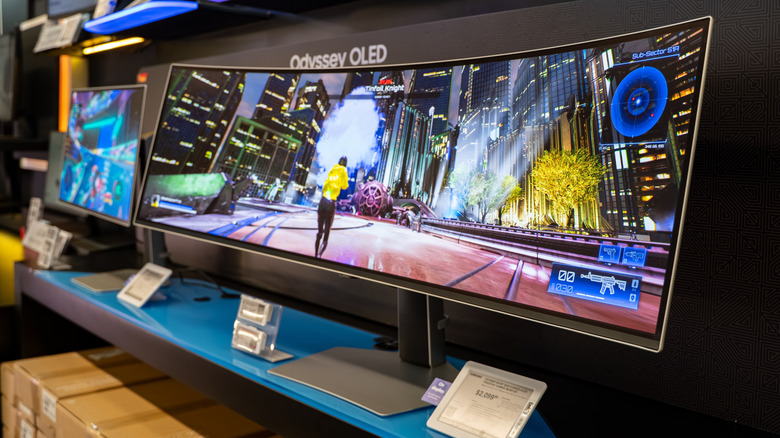
Immersive gaming is one of the biggest perks of ultrawide monitors, with more and more games providing support for 21:9 and 32:9 resolutions. However, before you decide to jump into the fray and play the latest AAA game on max settings, you should keep an eye on your GPU and see if it can handle the additional load. Widescreen resolutions are no joke, and 1080p gaming is a big enough challenge on these screens if a person's GPU isn't up to par.
So, if players want to bump up the resolution to 1440p, then high-end graphics cards become mandatory. This can make for a sizeable investment, but it shouldn't discourage you from opting for ultrawide monitors tailor-made for gaming. 1080p gaming is more than feasible on these screens, and what you lose in 4K fidelity, you more than make up for in sheer immersion. With ultrawide resolutions, HDR, and faster refresh rates, it'll be hard for anyone to go back to a regular 16:9 gaming setup.
Configure FancyZones (Windows) or Magnet (macOS)
Snap Assist may be a nifty way to choose between multiple window layouts on an ultrawide monitor, but some people would still like a greater degree of customization in this department. This is where FancyZones, a useful utility present in Windows PowerToys, comes into the picture. While the inclusion of Snap Assist may have reduced how useful FancyZones used to be for ultrawide and dual monitor users, it's still a must-have if you want to design custom layouts from the ground up. Certain apps can also be excluded from auto-snapping, making it easier for you to move around windows without accidentally snapping Spotify or File Explorer to the screen for the 100th time.
In a similar vein, Magnet will make life easier for macOS users with ultrawide monitors. The four-corner window tiling on Mac devices can be a bit too limiting for most people's tastes, which is why Magnet's versatility in this department is so welcome. You'll find it easy to resize and align windows on your screen however you wish, saving your preferred layouts to improve productivity and streamline multitasking activities. It speaks volumes that people pay for this app despite the integrated auto-window tiling present in modern Apple devices.
Set the refresh rate to its highest value
Users who use monitors with high refresh rates are well-aware of how frustrating the default refresh rate setting can be. There are multiple instances of people using a high-end monitor for months — or even years — before realizing that they've been the victim of a subpar refresh rate that has bottlenecked the true potential of their device. Ultrawide monitors are no exception here. You'd obviously want to enjoy the smoothest refresh rate from your purchase, especially since this is a major selling point for these displays.
Thankfully, changing this setting is as simple as can be. You must head to the advanced section of the display settings, where you can choose the refresh rate of your monitor. The smoothness in motion at the highest setting feels great. To cover all bases, select the highest refresh rate setting in the Nvidia Control Panel and enable V-Sync to avoid screen tearing.
Stick to games with ultrawide support
As enticing as it may be to install the best-looking AAA games around to enjoy on your ultrawide screen, the reality is that numerous video games lack any form of widescreen support. This leads to distracting black bars on either side of your ultrawide display as these titles refuse to move past 16:9 resolutions. 7
This is not the way to play these games, so you should check out the PC Gaming Wiki for games with widescreen support. These compatible titles look and feel great on an ultrawide monitor, letting players enjoy a whole new degree of immersion that is missing on a standard 16:9 monitor.
However, even if a certain game may not be officially compatible with ultrawide screens, there's a workaround for this. Flawless Widescreen is a tool with built-in support for fixing and patching games that don't support 21:9 and 32:9 resolutions. It's an impressive plugin that supports numerous games, with this list expanding as people request more and more games to be made compatible with their ultrawide setups. With both official and unofficial support for gaming on ultrawide monitors, you'll have a blast playing both state-of-the-art and classic video games on this display.
Hot Corners can make navigation on macOS more intuitive
While a lot of hot tips for ultrawide displays may apply to Windows, that shouldn't dissuade macOS users from opting for these monitors. After all, Apple's products are favored by many working professionals. An ultrawide monitor can go a long way in making you more productive if you know how to configure the display. Something as simple as using the Hot Corners feature can help you personalize your Mac device and simplify navigation on an ultrawide display.
To configure Hot Corners, you must select this feature in the Desktop & Dock section of your System Settings. From here, you can select what happens when you move the pointer to each corner of the screen. The bottom-right of the screen leads to a Quick Note by default, but this can be changed according to the user's requirements. A Hot Corner can also be configured to trigger while holding down a modifier key, ensuring that you don't accidentally open your notifications or lock the screen just because you moved the pointer a bit too far.
Prevent screen burn-in on OLED ultrawide monitors
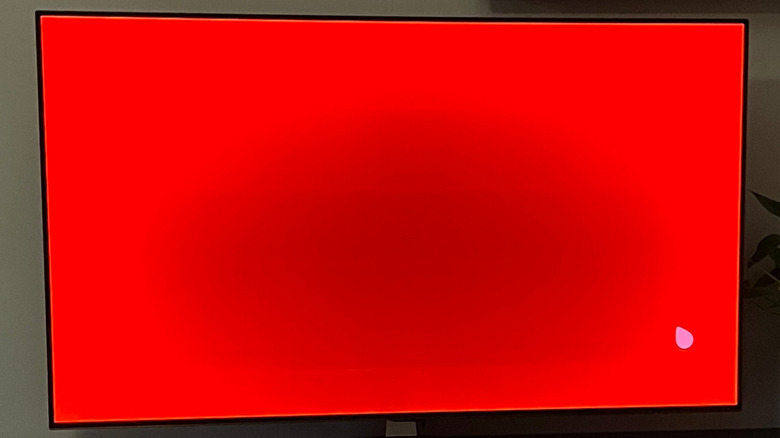
Most high-end ultrawide monitors have OLED screens. The true blacks of these monitors may be excellent, but they come with a major asterisk. Screen burn-in is a widely reported issue on these displays, since every pixel is technically a self-illuminating LED that eventually loses its luster over time. This can cause issues with uneven dimming — a problem that is exacerbated if you aren't taking good care of your OLED screen.
To ensure the longevity of such ultrawide monitors, it's important not to keep the display unreasonably bright at all times. Screensavers and wallpapers tailor-made to highlight the pure blacks of OLED devices also double as a neat way to preserve the quality of these screens. Aside from this, you should reduce the display's brightness and shut down the monitor at regular intervals rather than leaving it on unnecessarily. These preventive measures will go a long way in helping your OLED computer monitor last as long as possible.
A monitor mount can optimize your workspace
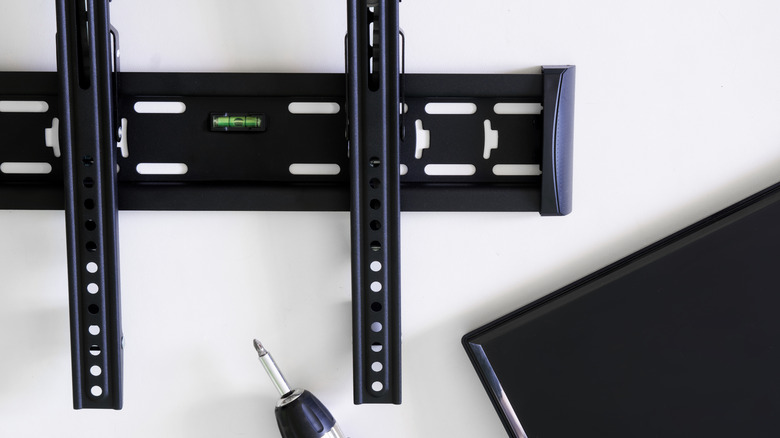
Ultrawide monitors are deceptively large. They take up far more space on a desk than most people would assume, which is especially tricky on narrow surfaces. Trying to fit an ultrawide monitor on an unsuitable surface is a clumsy affair that's best avoided, not adjusted.
A sturdy monitor mount is a far more elegant solution that doesn't take up too much space and ensures that your ultrawide display isn't susceptible to tipping over at a moment's notice. It's also perfect for those who use height-adjustable desks, allowing them to adjust the mount and keep the screen at eye level.
Make sure that your monitor and the mount adhere to VESA standards. It may take more effort to install, but the result is an ergonomic, flexible, and reliable workspace setup. A secure wall mount also safeguards your expensive ultrawide monitor from any unfortunate accidents.
The UltraWideo extension improves the streaming experience
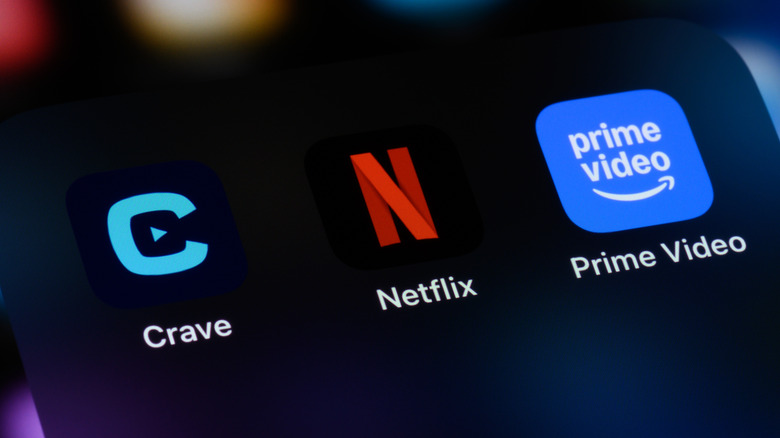
Given how ultrawide resolutions are becoming more prevalent, it's a shame that streaming services refuse to keep up with this trend and support this resolution on browsers. While downloaded media does a great job of filling out these displays and letting users enjoy a quality cinematic experience, the same can't be said for services like Netflix and Disney+, to name a couple. The forced letterboxing can be a nightmare to deal with, which is why the UltraWideo extension is so helpful.
This free browser extension is necessary if you want to enjoy a movie or TV series on an ultrawide display without having to deal with annoying black bars around the screen. It's compatible with all browsers and works perfectly with every streaming service. The interface is easy to navigate and provides you with all the settings you need to customize the viewing experience without making things too complicated. The pro version of this extension comes with additional features — such as custom accent colors and ambient light effects — and is great if you want to enjoy a better version of this extension while supporting the developer.
Cable management makes a world of difference
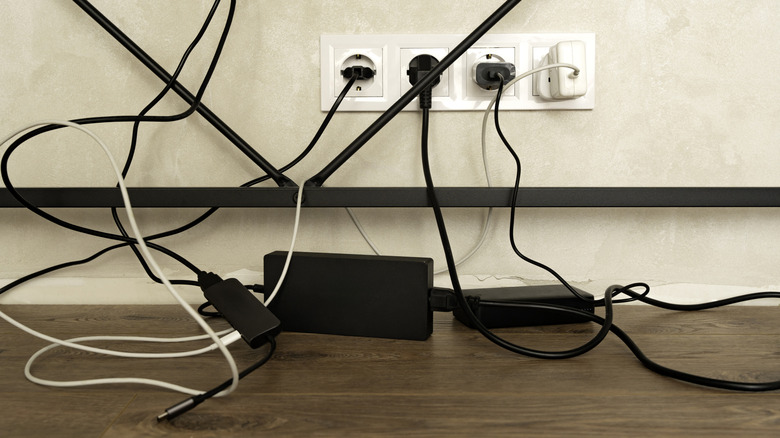
Any competent work desk setup requires proper cable management to get rid of messy wires, and this is especially true for ultrawide monitors that are already plugged out the wazoo. USB-C cables, HDMIs, and DisplayPorts will clutter up your desk in no time if you're not prioritizing cable management. The appeal of ultrawide monitors lies in their immersive display, and this may be harder to enjoy when you're constantly wrestling with an errant cable or two that's invading your desk.
A good cable management tray or even a few clips can go a long way in mitigating this optical chaos and freeing up desk space. Your productivity won't be hampered anymore since you don't have to navigate this dreaded cable spaghetti for the umpteenth time. Carefully attaching cables without crossing wires is easier said than done, but a bit of time is all it takes to ensure that your cables are set up properly.
Check for Picture-in-Picture (PiP) or Picture-by-Picture (PbP) support
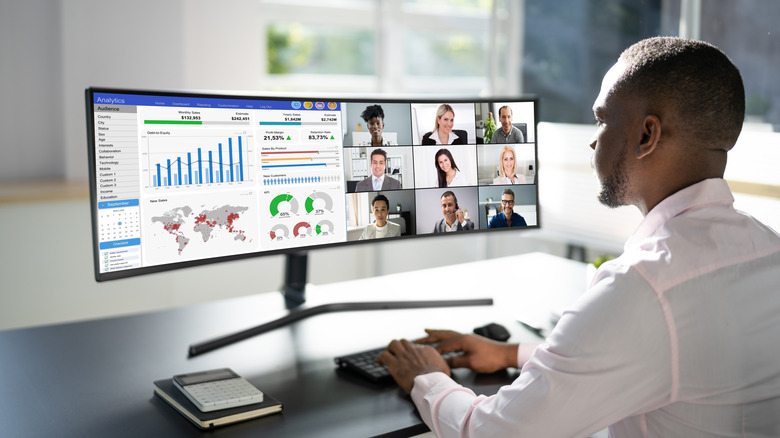
Ultrawide displays are perfect if you want to register inputs from two different sources. This can materialize in one of two ways — Picture-in-Picture or Picture-by-Picture mode. Most ultrawides have support for one of these modes, if not both, and the utility they provide is excellent. In PiP mode, a secondary input source can be overlaid on top of the primary display, letting users navigate two devices with relative ease on a single screen.
Meanwhile, PbP mode splits your ultrawide screen into two or more halves, showing the input sources of multiple devices on a single monitor. This is a huge help in multitasking if you need to simultaneously operate two systems at once. Given that most modern ultrawide monitors have multiple HDMI and DP input ports, enabling either PiP or PbP on these monitors won't take too much work. Many users appreciate these features and how it enhances the utility of their ultrawide monitors.
BetterDisplay is a must-have for your Mac
Most people want ultrawide displays with high 1440p resolutions. It's a no-brainer, which is why macOS users may be disappointed to know that these monitors aren't natively supported. Plugging in such a high-end ultrawide monitor leads to low DPI and blurry visuals, which is far from the intended experience after spending big bucks on this display. This is why BetterDisplay is such a useful tool, as it allows users to set a custom resolution that isn't natively supported but is competently rendered nonetheless, ensuring that your ultrawide monitor is used to its fullest extent.
While changing resolutions is fairly straightforward with BetterDisplay, there are times when users need to tinker with the Extended Display Identification Data (EDID) to unlock the full capabilities of their screen. This is achieved by retrieving the monitor's EDID data with BetterDisplay, altering the data with an EDID editor, and uploading this binary to BetterDisplay. Following these steps will help you set the best possible resolution and refresh rate on your ultrawide monitor.