5 Clever Uses For Your Old Gaming Consoles
Even though old Atari devices are better-known, the Magnavox Odyssey of 1972 was the first ever video game console. It could only display four dots and had no audio, but it opened Pandora's gaming box — nine generations of consoles, that inexplicable feeling of holding the sweet new device, and a lifetime's worth of treasured memories for gamers. Of course, a new generation of consoles can leave old ones in limbo. If you couldn't make the choice to toss them, and you are still holding onto old gaming consoles, you may be surprised by the kind of creative stuff you can do with them.
Game consoles are designed with a "fixed specs" ideology. On one hand, this means better optimized games with no need to tweak the settings. On the other hand, this means that, unlike a PC that can be upgraded, gaming consoles have a sort of expiry date. However, no one says you can't mess around with the software, right? If it cannot game anymore, you can make use of entertainment features and third-party modifications. Retro emulation, user-made apps, media centers, and remote connectivity are but some of the options — here are some options you can try.
Experiment with Linux distros on a PlayStation 4
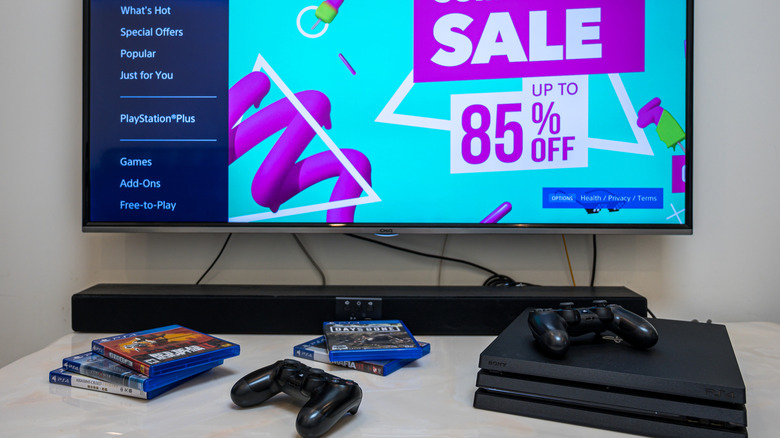
The PlayStation 4 was an amazing console for modern gaming upon arrival. From renowned exclusives and a strong library to impressive multimedia capabilities, the console had it all. Unfortunately, when the PS5 launched with several times the raw power and backwards compatibility, the bell tolled for the good old PS4. But why not use it for some creative projects now that you have nothing to lose? You could start by installing a Linux OS.
Linux distros have become popular, especially for gaming. However, instead of sacrificing a PC to satisfy your curiosity, why not let an old PS4 handle it? Installing a Linux distro not only gives you a lot more control over what software and games to run, it can turn your old PS4 into a PC for productivity purposes — of course, within hardware limitations of the aging console. However, you'll need complete access for this. In other words, you want a jailbreak, which is essentially an exploit process that bypasses the firmware's internal restrictions to run third-party software.
For a PS4, Firmware 9.0 is ideal. You can perform a tethered jailbreak by installing PPPwn GUI and GoldHen software on your PC, and then delivering a boot payload to the PS4 via LAN. Since it's a tethered jailbreak, you'll lose it if you power off the PS4. But that's not all. A jailbreak is a highly risky process, and for consoles that still have them, you can void the warranty or brick the system. After a successful jailbreak, you can install Bazzite, Manjaro, or CachyOS.
Who needs PS Portal when you have the Vita?
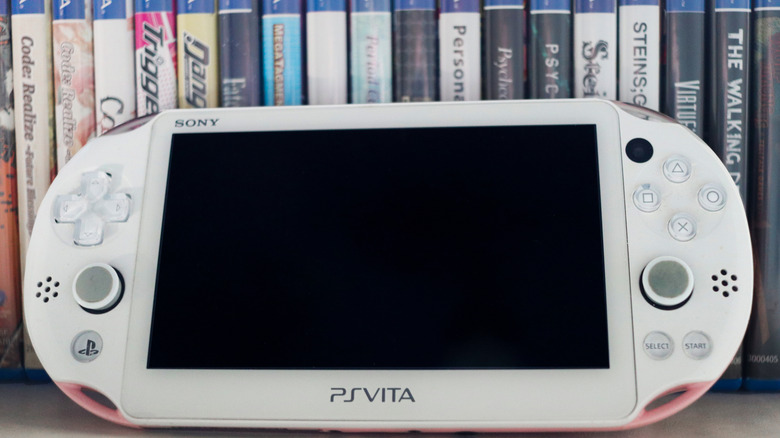
PS Vita's 2011 release was odd. Between Sony's use of proprietary storage that cost an arm and a leg, a hefty price tag, a limited game library, and the rise of smartphones, the handheld console unfortunately never made the waves intended. But today, custom firmware and modifications negate all those flaws. Expensive storage? No need, a standard SD card works. Fewer games? Say hello to homebrew emulation. And above all, it gets PlayStation 5 remote play capabilities. Never expected that, did you?
Once again, third-party software requires a hacked console with custom firmware. The procedure carries a lot of risks, so you have been warned. Once you get everything set up, though, the magic begins. Most importantly, you can use the 14-year-old handheld as a remote play device for your brand new PS5. PS Vita included remote play capabilities for the PS4, but that's as far as you can go with the original firmware. On a modified PS Vita though, you can install homebrew apps like Vitaki or Chiaki that bypass the restrictions and let you stream from a PS5 to your Vita.
It's similar to using the Remote Play app on your phone, or buying the PS Portal. Of course, the remote connection performance on a PS Vita would be worse. Input lag, latency, and audio instability are some of the issues you might face. But hey, just the fact that an ages-old console can still do modern stuff is a surprise in itself.
Transform your Nintendo 3DS into a retro gaming champ
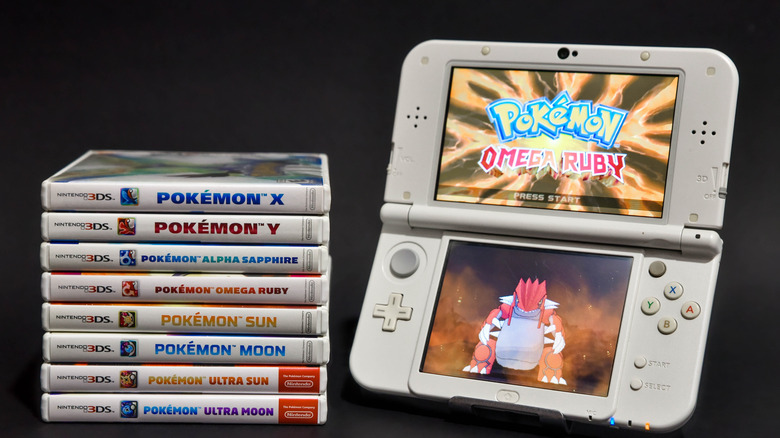
After the extremely successful dual-screen experiment known as the DS, Nintendo came up with the bigger and better 3DS. Stronger hardware, native backwards compatibility, an amazing game lineup, and the shocking stereoscopic 3D capabilities were some of its perks. If you still have a 3DS around, you can take things to the next level with the magic of custom firmware.
CFW installation unlocks all kinds of possibilities, provided you understand all the risks involved. By correctly formatting your SD-Card, installing boot9strap and Luma3DS on its root via a PC, and then booting into the custom firmware, you can start your third-party journey. The process varies based on your console version, but the general procedure is as described. The 3DS inherently is an excellent classic gaming machine, especially for JRPG lovers, but CFW makes way for homebrew emulation of many retro consoles.
In addition to Nintendo systems like the DS and GBA that the 3DS supports natively, CFW enables you to run your legally-owned homebrew games for different platforms all on one 3DS. RetroArch is a good starting point for classic console emulation. Similarly, GameYob for Game Boy Color, PCSX for PS1, DaedalusX64-3DS for N64, and PicoDrive for Sega Genesis and Mega Drive are some of the emulators you can run on a 3DS. Even DOS emulation is possible. Do note that emulating some of these rather stronger platforms, like N64 and DOS, requires the newer 3DS like XL, which packs more firepower.
Your very own Media Center called Xbox 360
Microsoft's second venture into the game console domain was also its most successful. The Xbox 360 popularized online gaming with Xbox Live. All the multimedia features and Kinect support highlighted the importance of entertainment capabilities. Today, you can still use the console's multimedia functionality, boosted exponentially by third-party apps and custom software.
The Xbox 360 featured complete Netflix, Hulu, YouTube, and other streaming services support in addition to native HD DVD playback (via the external HD-DVD player accessory). A lot of that has since been discontinued, but using Plex to turn your Xbox 360 into a media center is still very much on the table. All you have to do is set up a DLNA media server on your PC, like Plex, and give it access to where you keep all your files. The PC setup is quite simple as per the onscreen instructions.
On the Xbox 360, the Plex app still works, albeit with some limitations. You need to connect it to the same home network as your PC, find the files, and easily play them. The best thing is, you can even stream file extensions like AAC or FLAC that the Xbox 360 doesn't natively support through real-time transcoding. No pesky codec conversions needed. Still, for better support and more functionality, you'll need more complex third-party apps, all of which require a jailbroken Xbox 360, called an RGH or JTAG. The Xbox 360 jailbreak is complex, as it requires soldering some chips onto the main circuit board. It's even riskier than usual, so better to consult an expert.
Don't have a spare controller for PC? Use the PSP
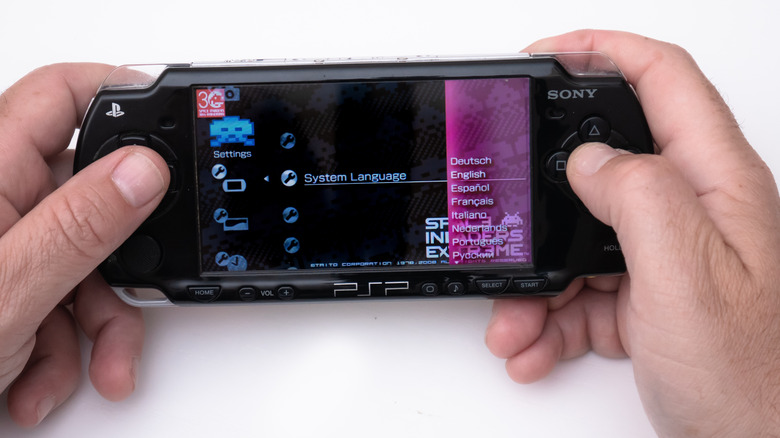
When it comes to classic consoles, it's hard to beat the PSP, the handheld to beat before smartphones. Play games, watch movies, use it as a radio, browse the internet, listen to music, there was little the PSP couldn't do back then except make calls. Now, unless you mod your PSP and install custom firmware, there's not much use for it. But if you do, in addition to retro emulation and third-party apps, you can use it as a controller for PC games.
At this point, you're well aware of the risks of installing custom firmware. For a PSP, thanks to the latest ARK-cIPL, the process is quite easy. Simply connect the memory card to a PC, download all the ARK-4 files, place them in the SAVEDATA folder, and then move the ARK_cIPL folder to the GAME folder. On the PSP, locate the new Ark cIPL Flasher app, launch it, and wait for the process. You now have CFW that doesn't disappear when you turn off the PSP. Whew. Next, install FuSa Gamepad app in the same GAME folder.
Just launch it, and connect the PSP to your PC. It should be recognized as a controller. If not, you might need an Xinput-translation app like x360ce. For button mapping, you can modify the FuSa config file on your PC, or use RetroArch. Do note that FuSa mounts your WLAN button as an analog switcher. Make sure to keep it in analog mode. Do all this, and voila! You now have a spare controller for your games. Who knew all these old devices could become so productive today in ways you couldn't even think of? It's all the magic of third-party apps and a little creative tinkering.