3D Printer Pros Agree: These 5 Tricks Makes Printing 10 Times Easier
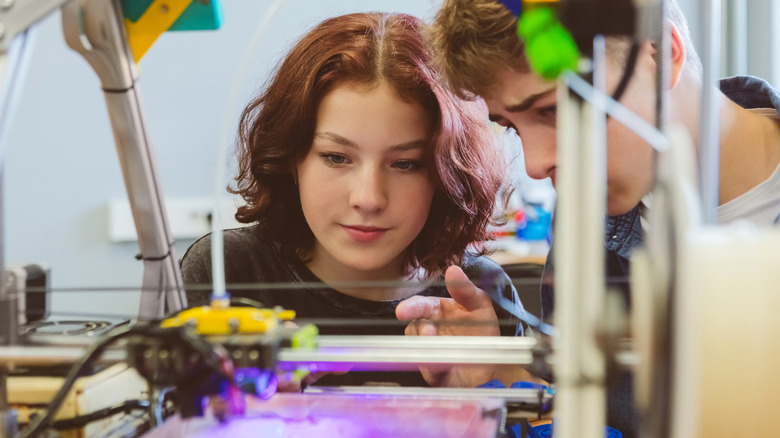
3D printing has become one of the best ways to bring different ideas to life, but mastering everything that this gadget has to offer takes some time. In your first projects, there is a great chance you'll make some of the most common 3D printing mistakes, like warped bases, messy supports, or other issues that result in a failed print. If you're new to the hobby, the good news is that many users have already figured out what works and what doesn't, making these lessons easier to apply.
There are many simple adjustments that anyone can make on their own 3D printer that take minutes, but each one helps and makes a massive difference in the quality of every new print. From fine-tuned slicer settings to the choice of filament, these details seem minor at first, but they're the ones that matter the most when it comes to better results. So instead of trial and error alone, a focus on a few core habits will help make print results more reliable.
That means that a few improvements in preparation, calibration, and how the material is handled often solve most of the problems that beginners to 3D printing face before they even appear. Once the basics are well done, every new project becomes more about better results than worrying about failure.
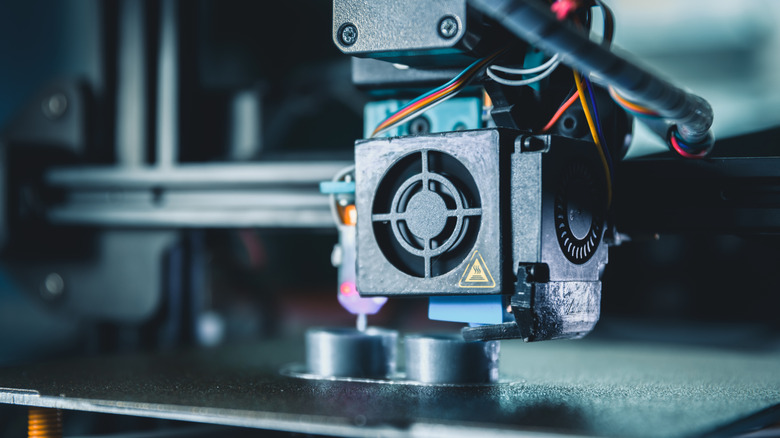
Take care with the first layer
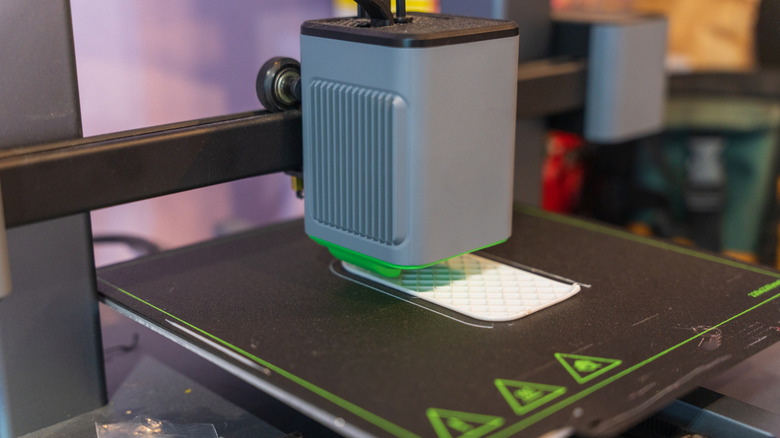
One rule that everyone interested in 3D printing must follow is related to the quality of the first layer, since it impacts everything else that follows it. For example, if the nozzle is too high, lines won't bond properly and if it's too low, the filament gets over-compressed, which can cause rough edges or elephant's foot in the model. Also, since 3D-printed objects are built layer by layer, a weak base can mean that the whole part is compromised.
In order to improve your 3D printing quality and get a better base for a print, it's important to make sure that the bed is properly leveled before use, since a poorly placed one will result in a bad first layer adhesion. The good part is that it's possible to know if everything is fine with the classic paper test, which still works well, so slide a sheet between the nozzle and the bed at each corner, and adjust until you feel the same slight resistance at every point. Some 3D printers support auto-leveling, but even so a quick manual test helps catch any small issues as well.
Also, a clean bed surface is another important detail that helps you get a better first layer, since oils left by fingers or old residue can prevent the new filament from creating a strong bond with the bed. A quick wipe with isopropyl alcohol before each new session can make a huge difference in the results.
Low-quality 3D filament leads to inconsistent prints
It's not necessary to buy the best filaments available every time that you need to refill your 3D printer; however, before you spend your money on a cheaper option, it's important to be mindful of what you purchase. Some budget options can be very appealing, especially because of their low price when compared to those offered by other brands, but they often come with inconsistencies that may impact the final quality of your prints.
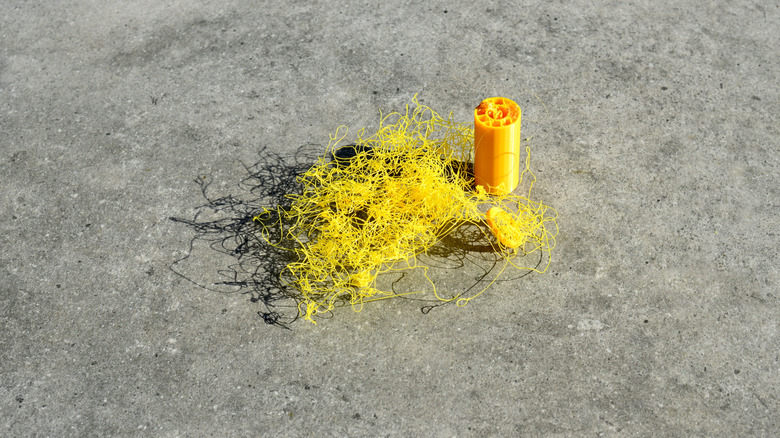
That's because many budget filaments are made with materials of questionable quality, since manufacturers tend to prioritize profit over the actual performance of what they produce. Because of that, it's common to find diameter inconsistencies within the same spool, as well as other issues such as air bubbles and debris that can completely ruin what you print. This is a bigger problem for beginners as well, since those issues can also be caused by wrong settings, which makes it harder to discover the root cause.
However, this doesn't mean that you should always buy the most expensive filaments available out there. There are plenty of reliable options that are in the sweet spot of being budget-friendly and, at the same time, being capable of consistently delivering good quality for simpler jobs. That said, for more complex or demanding projects, sticking with official filament brands is always the best choice.
Storing 3D printer filament correctly keeps it dry
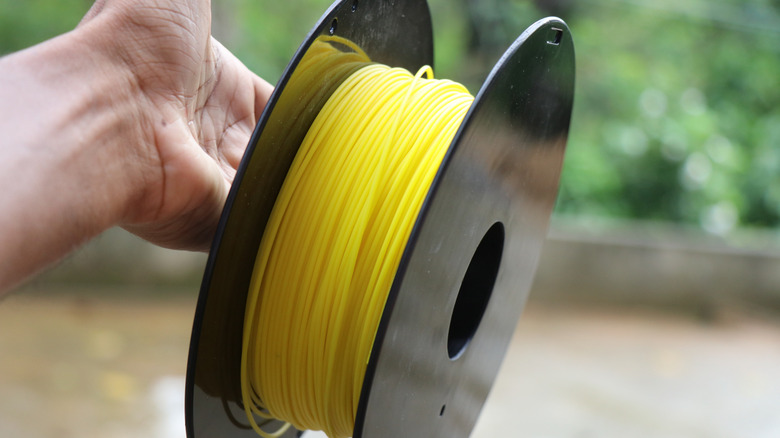
Just as important as the product quality, how you store your filament also impacts the print quality. That's because the material used to make the filament can slowly absorb moisture from the air, which makes it prone to show defects when used in the printer. This can result in weird bubbles, rough surfaces, and thin plastic strings showing up, which are easily mistaken for a setting issue.
However, not every filament is equally prone to moisture damage – nylon and polycarbonate are more sensitive and can absorb enough humidity in just 48 hours. PLA, which is the most common filament and the one you're probably using if you're new to the hobby, is more forgiving, since it tends to degrade gradually rather than failing all at once, giving you more time to notice the signs and act before things start to go wrong.
The good news is that you don't need any complex setup to store all the filaments properly. Most of the time storing them in sealed containers or zip-lock bags is enough to protect the filament from moisture. After that, it's important to remember to reseal it after a print to keep everything alright. If it has already been exposed, there are many useful 3D printing accessories such as filament dryers that can restore it before use.
Slowing down your printing is often the best choice
It's completely natural to want to set a higher print speed to get your project done faster, especially at the beginning of a long one. But pushing your printer above its comfortable range comes with consequences, since going too fast can cause ringing artifacts around edges, corners, and poor layer adhesion. This can even make it so that your printer can't melt the filament and push fast enough to keep up with the speed.
Like other problems that 3D printers have, speed-related problems don't always look like they come from speed. For example, stringing, blobs, and weak layers can also come from loose screws or an unstable frame, which can send you through many different troubleshooting steps until the problem is properly fixed. It's also worth noting that every filament handles speed in its own way – TPU, for example, can't be used quickly, and pushing it will result in a failed print.
So a way to solve most of these problems is to reduce the print speed, even if your project takes a longer time to be completed. Choosing some value between 30 and 50 mm/s on most 3D printers gives the filament more time to bond properly between layers. This results in a better surface and stronger parts overall, making it the best option when you need something detailed and don't want to try more than once.
Getting supports right makes a big difference in your 3D prints
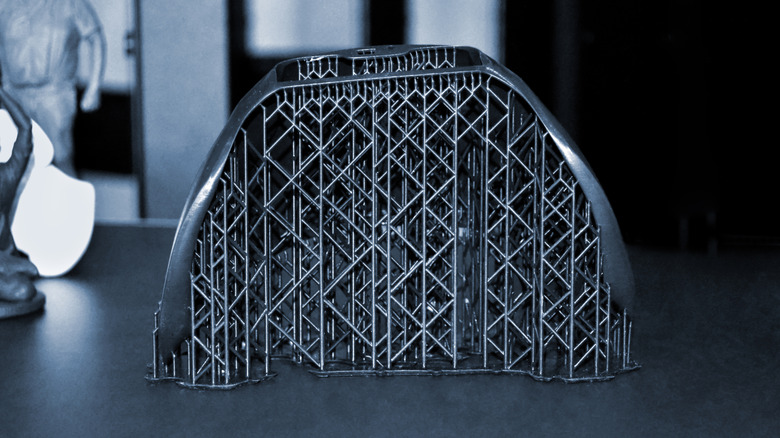
Many 3D printing projects have some parts that stick out in the air with nothing to support them, like a stretched arm or a character holding a sword straight forward. This causes the printer to have no surface to build on, which results in a droopy mess. So if you're new to the hobby, a good rule of thumb is the 45-degree rule, where if an overhang angle goes beyond that, supports are often needed to keep the structure from failing mid-print. Most slicer software can detect them automatically.
That said, letting the slicer do everything on its own isn't always the best approach. Sometimes the auto-generated supports add more than you actually need, which results in longer print times and even more wasted filament. So as you get more comfortable with your projects, the better option is to use the manual support painting feature that some slicers offer.
The type of support also matters depending on the model. Tree supports use less material and are easier to remove, making them the ideal choice for more organic shapes or models with curves and fine details. Linear supports are better suited to flat or more structural designs. It takes a few tries to figure out which works best for each project, but once you understand the difference, it's easier to make supports work better.