4 Settings You Should Change On Your Hisense TV ASAP
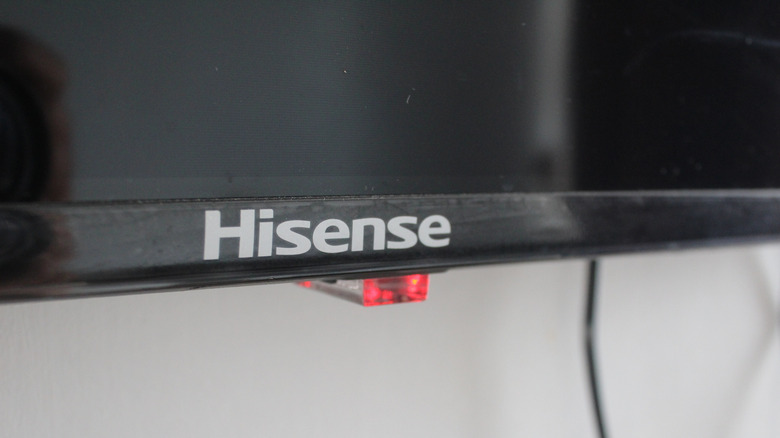
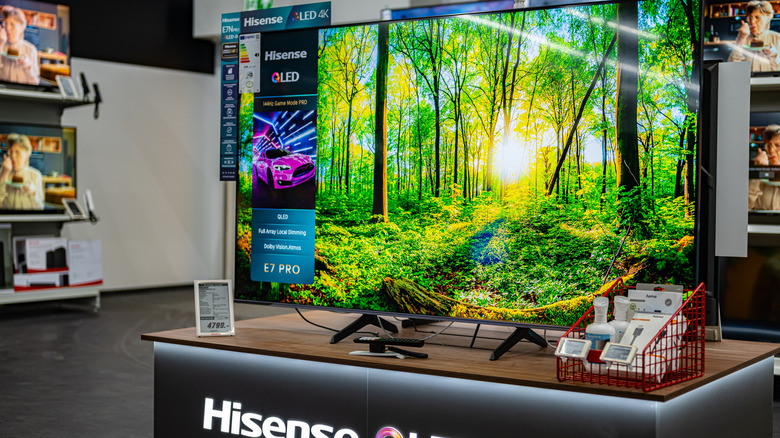
Getting a new TV is exciting, especially when you get a good deal. But, even if you decide to go with one of the best budget TV options out there, that doesn't mean you have to settle for lackluster visuals, as TVs come equipped with a myriad of settings you can change these days to help you get a better picture quality. Hisense has quickly become one of the best cheap TV brands that last, according to users, even offering some higher-end options like MiniLED.
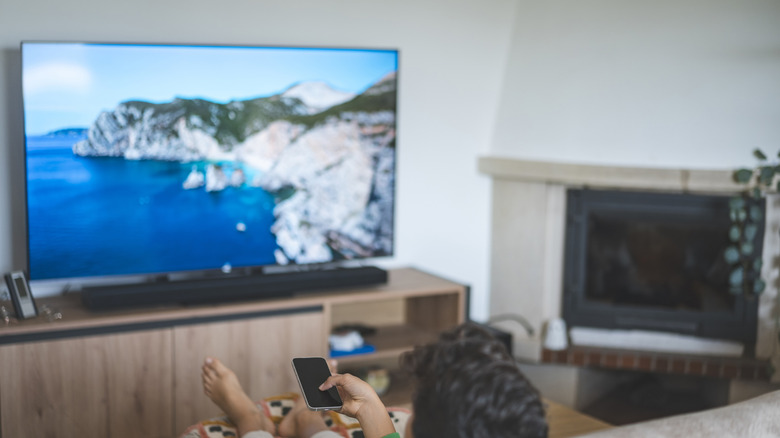
But if you want to make sure your TV looks the best and performs as well as it can, then you'll want to start by changing some settings right after you get everything set up. There are, of course, a myriad of features you can find on your smart TV, including some privacy-related ones. All of these can help you customize your TV and make it perform and look exactly the way that you prefer. From changing privacy settings to adjusting settings that will make your picture look better, here are a few settings you'll want to check on your Hisense TV right away.
Privacy settings
One of the first things you should do when going into any new TV is check for privacy settings that you want to disable. Luckily, it's pretty easy to stop your smart TV from spying on your activities by turning off settings like app usage collection and more. The exact names of settings and the options available to you will vary based on the manufacturer of the TV itself, but you should definitely tinker around with those before getting too comfortable.
Some notable settings to check for and disable if you have them on your Hisense TV are the Device Usage Data setting, as well as the Collect App And Over-The-Air Usage options. Both of these settings give your TV manufacturer permission to collect data about your usage habits. A lot of times, the data included in these collection pools is used to help feed more personalized advertising across your smart TV's functionality.
It's worth noting, however, that not all Hisense TVs have these settings, as online commenters have noted that their Hisense-branded TV did not have these settings listed anywhere in the options. You can check for them yourself by going to Settings > Preferences > Privacy Settings. Other settings to check for are the VIDAA voice setting if you have a Hisense TV with that operating system. This lets your Hisense TV capture microphone information. You should also turn off the Personalized Ads options under Settings > System > Advanced Settings to avoid any unneeded data collection.
Picture mode settings
Once you have changed the privacy settings to your liking, it's time to start tweaking the picture so that it looks exactly how you prefer. Most smart TVs come with several different picture modes in the settings menu now, allowing you to easily swap between options like Vivid, Standard, Sports, and even Game mode. Each of these is designed to fulfill a different appearance and take advantage of additional processing features on your TV to provide a good viewing experience.
For example, Game mode typically offers some extra processing power and changes up the TV's refresh rate if it supports variable refresh rate, to allow for smoother gameplay with less input lag — a must-have for console gaming with the Xbox Series X or PlayStation 5. Ultimately, most of these settings are going to come down to personal preference, but if you prefer something that is closer to what the filmmakers intended, then using Cinema or Filmmaker mode can help dial back any extra processing and deliver as close to the original as possible for your TV.
There are also Theater Day and Theater Night settings that fall into this same category, too. The best thing to do is to combine how these picture modes work — use Vivid, Standard, or Sports and Game mode for non-cinematic shows, like sports shows and more. Just cycle through them to see which you prefer the look of, and keep in mind that different settings may look better with different types of content.
Motion Enhancement
Another setting that has begun appearing on TVs in recent years is Motion Enhancement, or Motion Smoothing. When enabled, this feature tends to make images on the TV appear more "real" and smooth. It does this by essentially smoothing out the motion so that it never looks choppy. While that might sound good on paper, a lot of people dislike the unnatural smoothness that Motion Enhancement tends to create, with some even referring to it as a "soap opera" effect because of how overly smooth it might make the picture look, as this makes movies and other media look more similar to soap operas.
Because of this, many recommend turning off Motion Enhancement if your TV has it. The feature was developed to help mitigate motion blur issues on LCD TVs. However, this is often mitigated naturally using higher refresh rate televisions. When Motion Enhancement is enabled, it takes the frames between motion and the TV creates a new one there to smooth out the motion by guessing what's going to happen next. It's a lot like how frame generation in video games works.
You can leave it on if you want, but if you really want to get the best possible picture quality, then we recommend turning it off and seeing how you prefer it. You can always turn it back on if you find that the feature is more to your liking. Alternatively, you can try turning on a setting called Motion Clearness instead, if your TV has it, as it can help reduce motion blur.
HDR Enhancer

Depending on what type of Hisense TV you get, you might be able to take advantage of a feature called HDR Enhancer. When enabled, this feature will attempt to convert standard dynamic range (SDR) content closer to HDR. While it sounds good on paper, you should make sure this setting is turned off for maximum quality, as it can actually lead to a more washed out and overblown look for the contrast of the image. Contrast essentially helps determine how bright the brightest pieces of an image are, so when you start ramping up that setting, it can easily blow out the image's quality if you aren't careful.
Unfortunately, HDR Enhancer appears to do something similar to turning the contrast up too high. This causes the image to look oversharpened and like the contrast has been overblown, which can hide key details that really help bring a scene to life. This has, sadly, been a problem with HDR since its early days, and while features like HDR Enhancer try to bridge the gap between HDR and SDR, it just doesn't always work out as well as you might hope.