This Free App Can Duplicate Anything You Own With A 3D Printer
With a 3D printer, you can create innumerable objects from the comfort of your own home, including useful tools, pieces of art, replacement parts, and much more. With new 3D printing methods being developed, the 3D printing process is becoming quicker and more accessible than ever before, and there are even apps that can help you turn real objects into 3D models that are suitable for printing. One such app is called Polycam.
Polycam can turn most everyday objects into printable models using nothing more than your phone's camera. It can also leverage your phone's light detection and ranging (LiDAR) scanner — which uses lasers to measure distances between objects — to create 3D representations of the spaces around you. With the app's free photogrammetry tool, you can photograph or film interiors and objects to convert them to 3D models. Once your uploads are complete, the app processes them to identify common points and generate a 3D mesh accordingly. Additionally, Polycam offers a vast, free library of printable scanned assets.
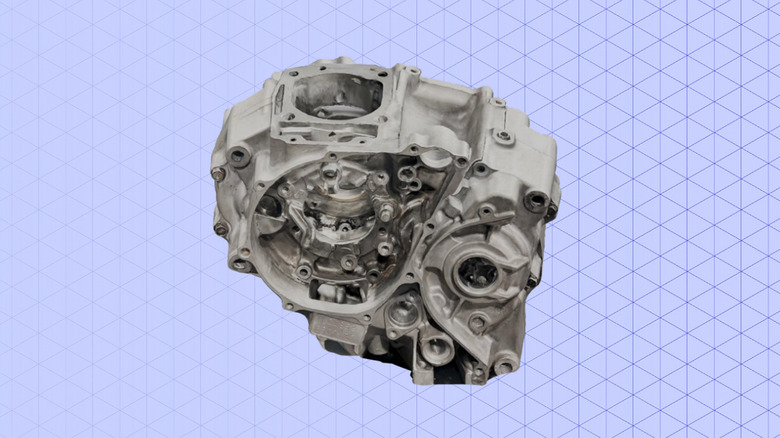
There are several use cases for Polycam. For instance, you could scan a broken plastic component from a tool or appliance, adjust the mesh using free software like Blender or Meshmixer to restore it to the object's original form, then print a replacement. For tabletop enthusiasts and hobbyists, you could scan small terrain features like trees or ruins, then print duplicates at whatever scale you desire. If you're thinking about buying a 3D printer (or already have one), Polycam would make for a great companion app by opening up a number of new 3D printer project possibilities.
How Polycam works
Polycam can translate your photos, videos, or LiDAR data into 3D models that your 3D printer can interpret. To create a quality mesh of an object, Polycam recommends uploading a minimum of 20 photos or a 20-second video. Once that's done, Polycam's photogrammetry workflow outputs a mesh that's useable in common slicer software, although you may have to adjust it before it's print-ready. Keep in mind, however, that Polycam's free tier only allows you to make 10 photogrammetry captures. It also only supports exporting files to GLTF, but you could use a free tool like MeshLab to convert files to formats like STL and OBJ.
With the free plan, the app lets you crop and rescale models to suit your printing needs, and it even offers image adjustment tools for things like color correction and exposure settings. You can also create what's called a Scene, where you can combine several layers of captures in a single view. This is especially useful for laying out furniture and other items in a virtual environment. Under the free plan, however, you're limited to making one Scene with only three layers.
A number of additional Polycam features are available in the app's paid subscription tiers, which include Basic at $12.50 per month, Business at $34 per month, and Enterprise at variable prices. One such feature is the extremely useful remesh tool; with it, you can adjust polygon counts and triangle topology settings to match the level of detail you're after. All paid plans come with unlimited space, object, and AI captures, and with the Business tier and above, you also have access to advanced floor plan tools and shared team libraries.
How to scan and print objects with Polycam

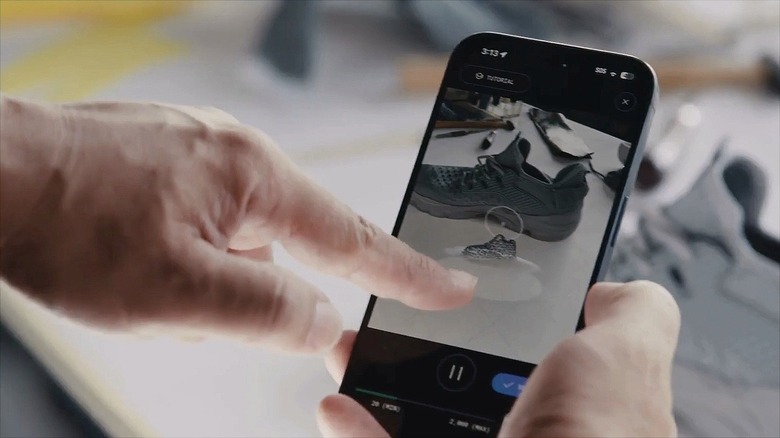
For accurate results, you'll want to place the object you're scanning under even, diffuse light, ideally where it stands out from the background. You'll then need to choose the appropriate capture mode: use Object Mode to transform multiple photos into a 3D object, or select AI Capture mode (iOS only) to convert a flat, 2D image into a 3D model. Using AI Capture, you can either snap a new photo or upload one from your phone. In Object Mode, slowly walk around your target object to capture every angle clearly (including the top and the bottom, if possible). Object Mode works well by default with organic or textured surfaces, but transparent or reflective objects require special treatment before being scanned.
Once you've got your Polycam scan in hand, you'll want to do a little bit of prep work before you push your model to print. First, make sure the model is devoid of any holes or gaps. Then, be sure to crop out any polygons you don't want to see in the final print. You can also use a free program like Blender to refine your model.
Once your model is finalized, you're ready to push it to your slicer software. To make the 3D printing process easier, be sure to add any necessary supports, which are temporary bits of printed scaffolding that support overhanging features sticking out from the main print body. Once you've got the workflow down, it's easy to use Polycam to quickly knock out prints of small household items, replacement parts, or even collectibles — all without you having to manually craft models and meshes yourself.