What Rafts Do In 3D Printing – And When They're Worth Using
No two 3D printing projects are the same. Some designs are simple and can be extruded in one go, while others need to be printed in pieces. Heck, sometimes you even have to consider which 3D printing filament is the best for the job. Many printing designs require supports to maintain structural integrity, but not all 3D printer supports are vertical.
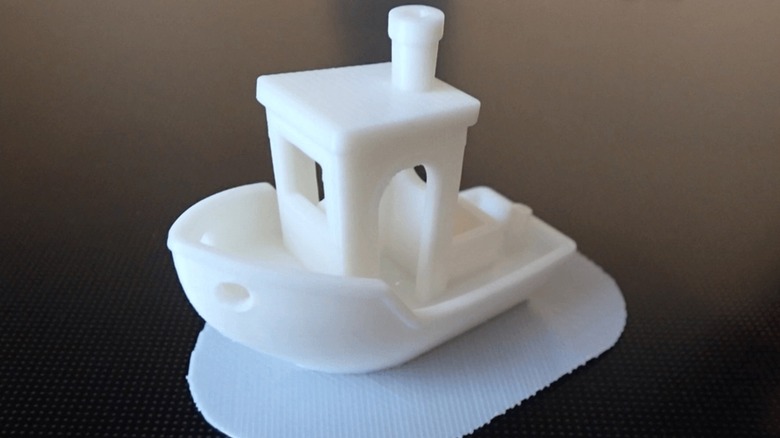
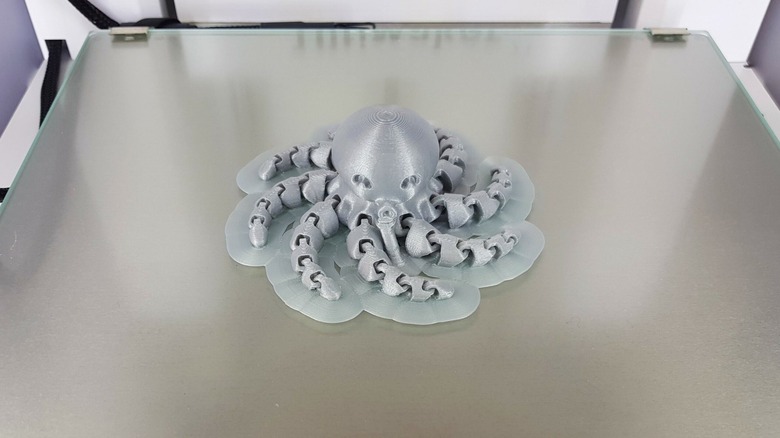
Sometimes a printer will deposit a thin horizontal layer of extruded plastic directly onto a printing bed before starting the actual printing job. These are known as rafts and are designed to keep the "bottom" of the print level and to prevent warping. Unlike standard supports, rafts are usually easy to peel away, so you don't have to worry about them potentially ruining your print's finish.
Rafts also help keep your prints steady while the extruder is moving. Since rafts increase the contact surface of your print's bottom layer, rafts reduce the risk of your print detaching from the bed — poor adhesion is a common cause of 3D print project failure. This increased surface area also comes in handy if the design has small features that are brittle and/or unable to carry the print. Rafts help distribute the weight over a larger area and ensure these small features don't snap or fall over during printing.
When to use rafts
Not all 3D printing materials are created equal, so not all require rafts. One of the main things to consider when buying a printer is whether it will use PLA or ABS. ABS produces a more durable print but is more prone to warping during the process (it also tends to stink more). As such, you should program your printer to lay down a raft before working with ABS. Although, depending on the dimensions of certain parts and the number of vertical supports, you might want to use a raft when printing with PLA, too.
As previously stated, rafts prevent warping and keep prints more stable. A raft can help save your project, but this precaution comes with several caveats. Obviously, using a raft increases the amount of waste material. Moreover, prints that use rafts have a rougher finish on their undersides, which you'll need to consider if your print is upside down. And finally, while most rafts are easy to remove, thicker ones can prove tough to separate.
When using a raft with a 3D print, there is no hard-and-fast rule for settings. You have to take into account the separation distance between the raft and the print (the smaller the gap, the tighter the raft grips the model), the number of layers in the raft and their thicknesses (thicker often means better adhesion but more waste), and how far the raft extends out from the bottom of the print. Sometimes you can find advice online, but other times you just have to experiment and cross your fingers.
Don't confuse rafts for skirts and brims
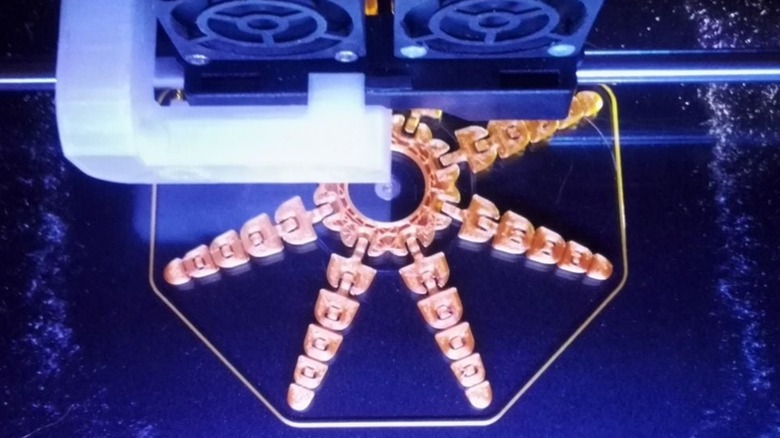
Sometimes when using a 3D printer, you might see it begin by extruding a thin outline around where the print shall be, although this layer doesn't touch the actual print. This isn't raft, but rather what's known as a skirt. Skirts prime the extruder so material flows smoothly and at a constant temperature. It serves the same purpose as the oven's preheat function. Like a raft, you can alter settings such as how many layers you want or how far away the skirt should be from the print. These options usually only change how easily you can remove the skirt and how much material you will waste.
If you want a structure that warms up the extruder while also providing some print stability, you can go with the best of both worlds and use a brim. Unlike skirts, these attach to the edge of the model, which helps hold the model down and prevent warping. However, since the actual print doesn't rest on top of a brim, you end up with less wasted material and a cleaner underside finish. Plus, brims are easier to remove than rafts, though you might need to cut them off with a sharp knife.