5 Reasons Why Your 3D Print Project Might Have Failed
There's something incredibly satisfying about finding a cool 3D print project on sites like Thingiverse and turning digital 3D models into a physical object — but that satisfaction can come with a steep learning curve. Makers can spend hours and days on a single complex design, only to have the final result snap under the slightest pressure or end up as a pile of PLA noodles on a build plate. It's a frustrating experience for beginners and longtime printer heads, but failed prints rarely happen by chance. They're usually the result of specific mechanical issues, incorrect software settings, and environmental factors that can be rectified.
If 3D printer projects feel weak or look messy, the problem usually lies in how a 3D printer extrudes filament or how the first few layers bond to the build plate. From under-extrusion that leaves hollow gaps in walls to loose belts that cause layers to shift mid-print, a small oversight can mess up a user's entire project. By understanding the common issues behind certain failures, users can fine-tune a printer's settings to ensure every print comes out as intended. Bed leveling, the right nozzle temperature for the filament, and the right slicing software settings can fix the issues that have been plaguing that difficult 3D printing project.
Poor bed adhesion
One of the most common reasons a print fails is poor bed adhesion, which happens when the first layer of filament doesn't stick to the build plate. Without a stable foundation, the entire print can warp, lift, or completely detach, resulting in a failed project. It's always good practice to make sure the build plate is clean, level, and heated to the correct temperature for the material being used. For example, PLA usually sticks to a build plate at around 50 degrees Celsius, with ABS usually needing nearly double the heat at 80 to 90 degrees Celsius.
An easy fix here is to use isopropyl alcohol to remove any oils from past projects (and hands) alongside dust that prevents filaments from bonding. If the surface is still too smooth, applying a thin layer of glue stick or specialized 3D adhesive can provide the right level of grip. It's also a good idea to check the Z-offset to ensure the printer nozzle is set to the right height; if it's too high, the filament will just drag along the build plate instead of squishing onto it for a solid bond. Another easy fix is to reduce the print speed for the first layer to give the plastic more time to settle and adhere properly before the 3D printer speeds up for the rest of the project.
Under-extrusion
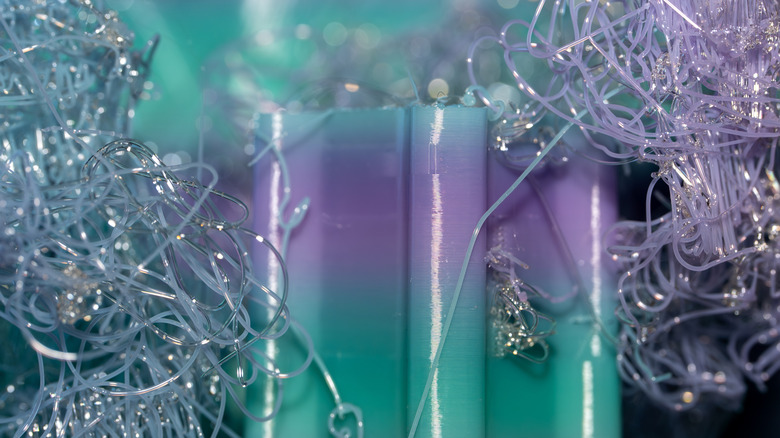
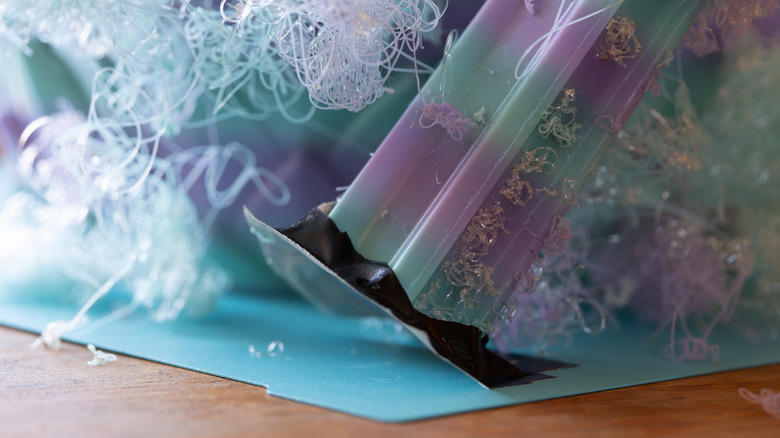
If there are visible gaps between layers, or a 3D project snaps easily, it's likely due to under-extrusion. This happens when the 3D print doesn't push out enough filament to fill the space required, leaving the overall structure with thin walls and holes. It's probably the main reason why 3D printing projects feel weak, as there's not enough material for layers to bond into a solid piece of plastic. This could come down to a clogged nozzle, an incorrect filament diameter setting in slicing software, or the printer nozzle temperature being too low to let filament flow correctly.
You can troubleshoot these issues by increasing the 3D printer's hot-end temperature in 5-degree increments (Celsius) and extruding filament until hot plastic flows smoothly — when you find this sweet spot, that's the right temperature to allow layers to bond correctly. Next, check the extruder's feeding gear — if it's dirty or has stripped the filament, it won't be able to grip it to feed the printer nozzle correctly. Regular maintenance, such as cleaning the printer nozzle with a brass brush, performing a cold pull, or even buying special cleaning filament to remove internal debris, is always good practice. Simple maintenance like this should fix under-extrusion and keep a 3D printer head in good shape.
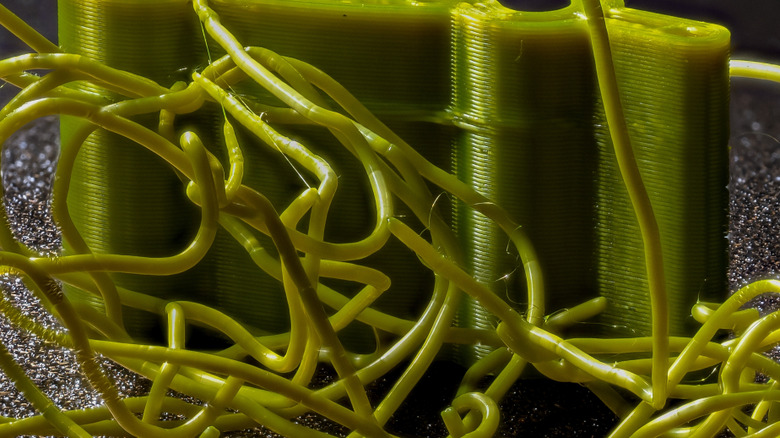
Messy and low-density infill
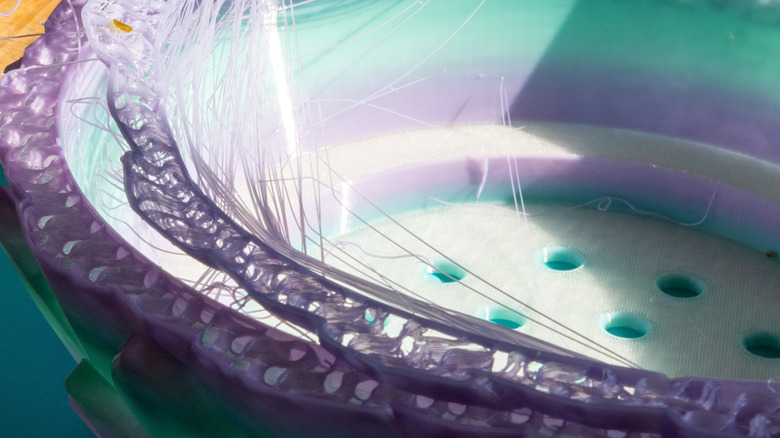
Infill is the internal support structure for a 3D printing project, and if it's messy or insufficient, it will turn any 3D printing project into a fragile mess despite having solid outer walls. Many people use a low infill density to save time and filament, but infill density below 15% usually isn't enough support for those gadget STL files you wanted to print out and try, for example. If the infill looks like a jumbled spaghettified mess, it might be because the infill speed in the slicing software is set too high for the extruder to keep up, leading to internal structural failure. It's usually a good idea to test out infill levels on basic beginner 3D printer projects to check for inconsistencies before going for something more complicated.
For a strong build, choose a more robust infill pattern like honeycomb, grid, or gyroid, which provide better multi-directional strength than simple lines. Users can also improve stability by increasing the number of wall perimeters (also known as shells) rather than just upping infill percentages. Three or more walls will significantly increase the part's resistance and overall strength. If the infill is still failing, check the slicing software to make sure the "infill before walls" option is disabled, which prevents an internal structure from pushing against a project's outer walls and creating artifacts. Following this advice should help users successfully print the most efficient infill instead of opting for a solid print, which is a great way to waste filament.
Loose belts and worn parts
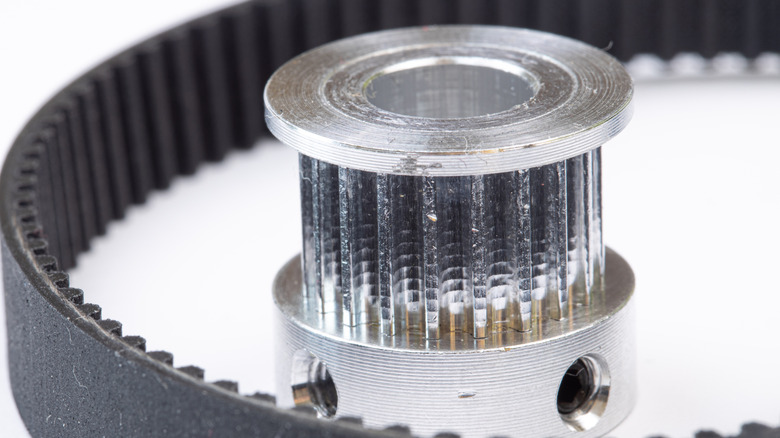
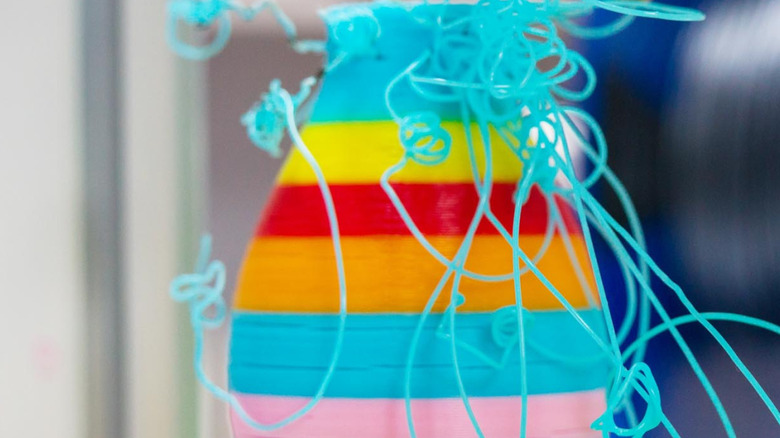
Keeping on top of 3D printer maintenance can often solve problems before they start, including misaligned prints, otherwise known as layer shifting. If a 3D printer's belts or pulleys are loose, the print head may slip out of range or skip print stages when making rapid movements, causing the rest of the project to be printed off-center. Obviously, this ruins the look of the print, but it also makes the entire structure weak — certainly at the point of the shift. Over time, vibrations from the motors can loosen screws on the frame, leading to imprecise movements that leave ripples or "ghosting" on the surface of print projects.
It's a good idea to regularly check and tighten belts until they have a firm tension similar to a guitar string. Also check the set screws on the motor pulley systems as well, as a slipping pulley can easily cause alignment failures. Placing a 3D printer on a sturdy, vibration-free surface and lubricating the rails and bearings will also reduce friction and vibration, allowing the machine to move smoothly and accurately. If the motor drivers are overheating, they may temporarily shut down and cause a shift. If this happens, make sure there's sufficient airflow around the 3D printer electronics, although most modern 3D printers account for this.
Humidity and environmental variables
Even if you have perfect settings on your slicing software and the 3D printer itself, the environment surrounding a 3D printer can cause a project to fail. Something as simple as a draft from an open window or an air conditioner can cause hot filament to cool unevenly or prematurely, which leads to warping or delamination where layers split apart. This is especially common with materials like ABS, which shrink significantly as they cool. It doesn't help that 3D printing filament is "hygroscopic," meaning it absorbs moisture from the air. Moist filament causes "popping" in the printer nozzle and results in weak, brittle prints with potholes in the surface finish.
Using an enclosure or buying a printer that has an enclosed design are great ways to control the print environment's ambient temperature and protect prints from sudden drafts. Enclosures keep heat trapped around the part, allowing it to cool slowly and reduce the internal stress that causes warping. To deal with humidity, users can buy and store their filament in sealed bags with desiccant or use a dedicated dry box. If a filament spool is already brittle or making snapping sounds during a print, investing in a filament dryer to remove the moisture content from PLA, ABS, and more is a wise investment for future projects.