Fixing A USB Charging Port Can Be Easy, With The Right Tools
We may receive a commission on purchases made from links.
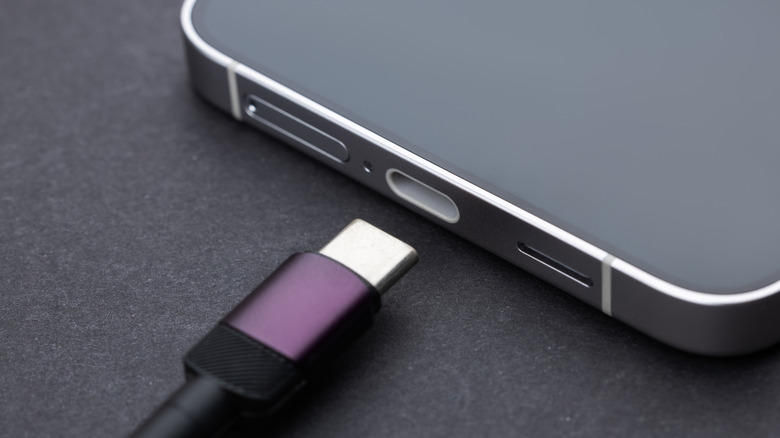
If your phone's USB charging port isn't working, you may not have to take it in to be repaired. Not only can that cost you money but your time to go to the shop as well. Instead of having someone else fix your smartphone's USB port for you, you can do it yourself, and it's not that difficult a job.
There are a few tools and tips you need to be aware of to properly repair the port and not damage your phone. You may be able to follow these guidelines on a number of phones, but this specific scenario is for Samsung-built devices. You'll need a heating bag, opening picks, a PH0 screwdriver, suction cup, tweezers, and an opening tool. Remove the SIM card first before disassembling the back glass of the phone, disconnecting components on the inside, removing screws, and replacing the charging port.
It's also wise to make sure all of your photos, videos, and data are backed up on another device or in the cloud before starting the repair process. Also, check the manual and use genuine parts to replace damaged ones. Whether the USB port is actually broken due to wear and tear or from accidentally dropping the phone, or you're just dealing with common Samsung Galaxy phone problems like the Moisture Detected error, you can take apart your phone by yourself with the proper tools.
What tools you need to fix your USB charging port
The equipment you need to fix your phone's USB port can be bought separately or together as a bundle. You'll find a complete set of tools for repairing phones, tablets, and PCs with the $9.99 Jorest 40Pcs Small Precision Screwdriver Set, only without a heating bag. The iFixit iOpener at $24.95 includes everything you'll need for repairs that involve replacing the USB port. All of the tools are essential for taking apart the phone, so knowing what each tool does is important.
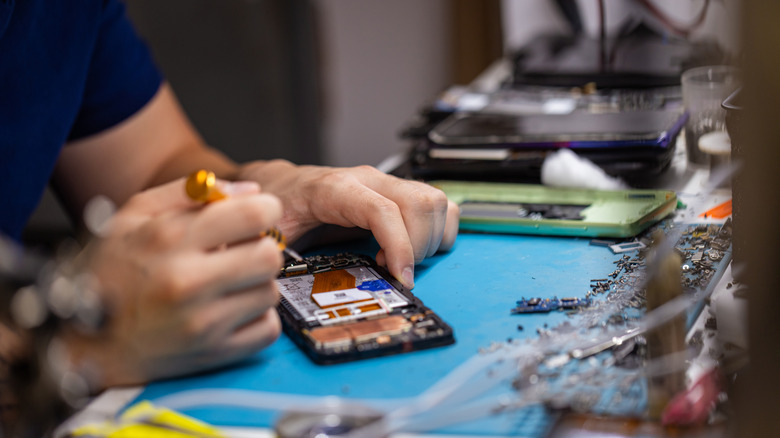
Replacing a USB port is one of a number of DIY Android phone fixes that are easy to do. It's recommended to wear a mask, safety glasses, and gloves while handling repairs. Make sure the battery is completely drained before removing it. Take out the SIM card using a SIM ejector pin and you're ready to begin. Tools, including the heating bag, suction cup, and opening picks, are used on the exterior of the phone to help open the casing so you can get to the interior.
Tools such as tweezers, opening tool, and screwdriver are designed for the inside of the phone. For the screws, you'll need a PH0 model screwdriver for its small size to correctly get to the smaller screws on the phone.
A detailed guide on how to fix your USB charging port
Before starting the repair, check the USB port for any clogs or blockages. Check the device's manual as well to see if it provides any tips to repairing damages. Once you've removed the SIM card, heat up the heating bag in the microwave, remove it, and place it on the back of the phone to spread warmth throughout it, loosening the case. Once it's warmed up, attach the suction cup to the back, then use the opening picks and slide them around the outside of the case to open it.
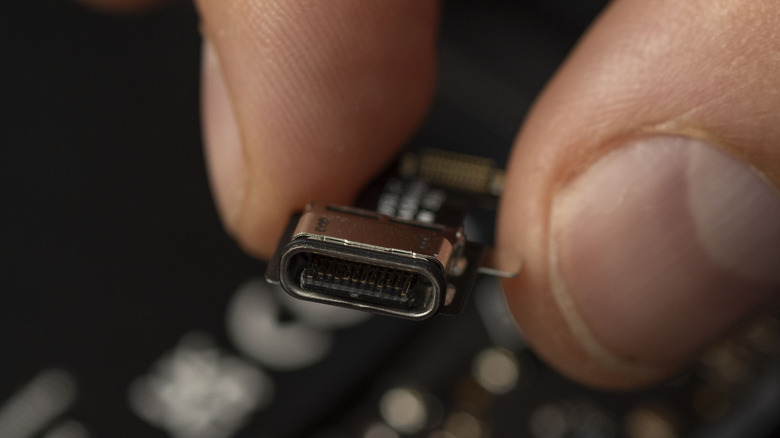
Once inside, follow the phone's manual to understand the components so you know where to use the tools. Use tweezers to help remove tape and internal metal plates and the opening tool to pop open connectors, such as the antennae and main cable. One of the last things is using the screwdriver to get to any necessary screws that keep the USB port in place. Remove them, take out the USB port, and place in the new one. Then complete the process in reverse to reassemble your phone.
These steps depend on the brand and model of your phone, so it is best to follow the instructions provided in your phone's manual. Test the USB port with proper connections -– not these five devices –- to see if it works. If anything is not working afterward, you may need to seek a professional.