

Why Your Word Document Keeps Adding That Weird 'P' Symbol When You Hit Enter
You're typing away on an important work document when, suddenly, every time you press the Enter key, a bizarre, backward-facing "P" appears on your screen. There's no need to panic, though: it's not your computer glitching. You've simply turned on your word processor's hidden formatting marks, and are now staring face-to-face with a symbol that's officially called the pilcrow.
More commonly called the paragraph symbol, the pilcrow is a typographical character that's used to mark the start of a new paragraph. But it's not just a quirk of modern software; this little symbol has a fascinating history. In fact, its origins stretch all the way back to the Middle Ages. Before the printing press was invented, monks transcribing manuscripts by hand needed a way to separate ideas (they didn't yet make use of line breaks). Later, they started using the letter "C" to stand for "capitulum."
Over time, scribes began adding a vertical line through the "C" to make it stand out more. As handwriting continued to evolve, that crossed "C" slowly morphed into the distinctive double-stemmed loop we recognize today. Now when you hit Enter in a word processor, you aren't just moving to the next line; you're actually writing a snippet of formatting code into your document's underlying file structure. The pilcrow is just the software's way of visually showing you where those invisible commands are buried. Still, they can be distracting if you're trying to focus while using essential productivity apps. Here's how to get rid of it.
How to banish the pilcrow if you're using Microsoft Word
If you're using Microsoft Word (though there are many reasons you should stop using it) and find your screen suddenly littered with these ancient paragraph markers, fixing it is a breeze. They usually get turned on by accident when a user presses a rogue keyboard combo or clicks the wrong menu button while trying to format their text (hey, it happens to the best of us).
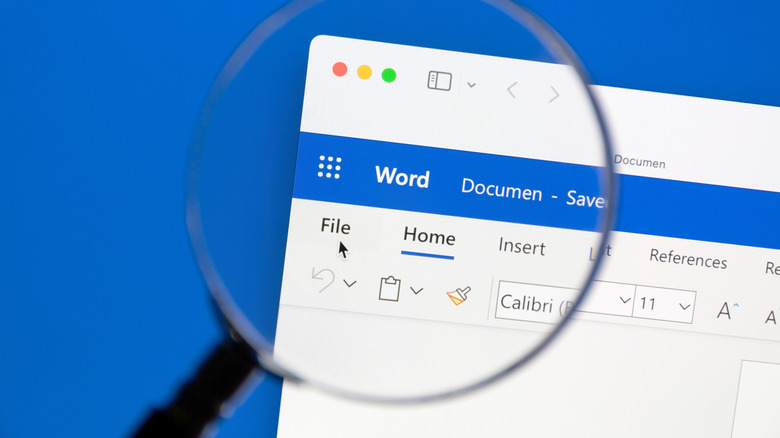
If you're using Windows, look at the ribbon at the top of your Word document and get to the "Home" tab. Next, find the "Paragraph" section right in the middle of the ribbon, and you should see a button that looks exactly like the pilcrow symbol. From there, just click that button, and the symbols will vanish. If you prefer using keyboard shortcuts, toggle the symbol on and off by pressing Ctrl + Shift + 8 simultaneously.
If you're on a Mac, the process is nearly identical. Navigate to the "Home" tab on your ribbon and find the pilcrow icon in the formatting options. Click it to hide the marks. Mac users also have a handy keyboard shortcut: just press Command + 8 together to make the little markers disappear. Regardless of which OS you're using, knowing this quick toggle helps you fix things whenever your document starts looking like a medieval manuscript.
How to disable the symbol in Google Docs and Apple Pages

Perhaps shockingly, Microsoft Word isn't the only word processor that utilizes the pilcrow. If you've made the jump to a cloud-based writing app like Google Docs, you might occasionally run into this same visual clutter. Though Google Docs has great new features and keeps a more minimalist look than Word, it still makes it about as easy to trigger the hidden formatting mark. To turn off pilcrows in Google Docs, navigate to the top menu bar and click on "View." From the dropdown menu, look for the option labeled "Show non-printing characters." If there is a checkmark next to it, the pilcrows will be visible on your screen. Just click that option to uncheck it and turn them off, and your document will return to its clean, distraction-free state. You can also toggle this via a keyboard shortcut: Ctrl + Shift + P on Windows, or Command + Shift + P for Macs.
Pilcrows are also in Apple Pages. Apple's native word processor also tracks these background paragraph breaks, though they refer to them differently, calling them "Invisibles." If you need to remove them from your Pages document, go up to the "View" menu at the top of your screen and select "Hide Invisibles." Alternatively, you can use the keyboard shortcut Shift + Command + I to toggle them on or off in a heartbeat.