

What Does Bridge Mode Actually Do On A Router?
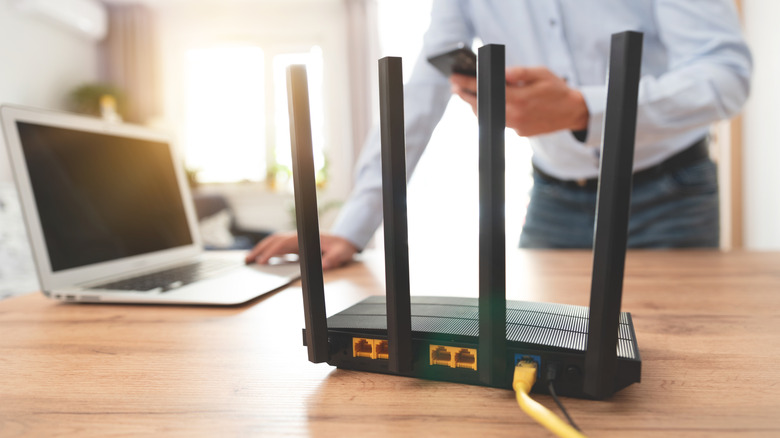
Beyond broadcasting a local network for you and your family to use at home, routers are nifty little gadgets packed with a variety of lesser-known features. For example, did you know you can connect a USB hard drive to most routers to share storage? How about doing the same thing with a printer? There are a lot of cool things you probably didn't know your Wi-Fi router can do. Another such feature is called bridge mode. Bridge mode effectively disables the routing function of the device so it acts as a simple pass-through. It takes the internet connection in, usually from an Ethernet port, and passes it through to other devices and the rest of the network, precisely like a bridge or pathway. It can even convert that wired input to wireless, broadcasting wirelessly to nearby devices, like a traditional router.
Now, you're probably thinking, why on Earth would you ever disable a router? Good question! There are a couple of very specific reasons why you might want to, mainly when you have multiple routers.
Routers are designed to help manage the internal network by issuing and managing IP addresses, firewalls, and other network functions. Having two routers working alongside each other on the same network, both fighting to manage these core network functions, creates a lot of problems. You also end up with a configuration called Double NAT; your network is split into two separate networks, and devices can have a tough time communicating between them. While you do need both a modem and a router, and understanding what they actually do is important, you certainly don't need two routers. Quite the opposite, actually.
Why would you use bridge mode on a router?
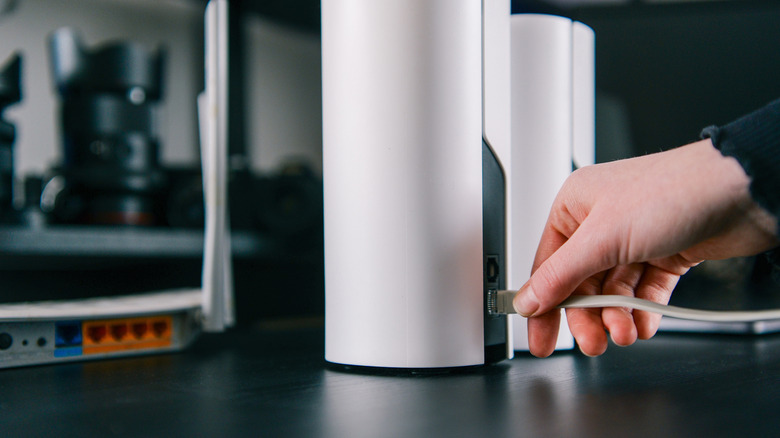
The most obvious reason for turning a router into a bridge is that you want to use your own private router, one you've purchased and that would probably perform much better than an ISP-issued device, but traditionally, you can't. Some ISPs issue router and modem combos with both devices rolled into one unit. The problem with this is that if you want to use your own router, you still need the ISP's modem. However, you can't just connect a router on the other side of that combo unit to magically create a unified network.
To solve it, you put the ISP router into bridge mode—you can do this through the administrative dashboard—which then passes the connection between the modem and the new router you'd prefer to use. Similarly, if you want to set up a mesh network in your home, with a single unit broadcasting to satellites, to improve performance and signal across your property, you can set up the ISP gateway as a bridge.
Setting up a router as a bridge has other practical uses, as well. The router can act as a sort of extender, in cases where you might want coverage in dead zones or hot spots. Or, you could use the router to plug in devices that only have an Ethernet port, allowing them to take advantage of a wireless connection. You can even achieve this with your old routers to great effect after you upgrade to a new one. Since you should replace your router every four to five years or so, you may already have a few sitting around collecting dust.
How do you set up bridge mode?
There are a lot of routers out there from many different brands so the exact steps will vary from model to model. Most companies follow the same basic design principles, particularly when it comes to accessing the administrative dashboard for your router and network. To access that dashboard, you simply need to enter the router's local IP address (usually 192.168.0.1), and you must do it from a device's browser connected to the same network as the router.
If this is your first time connecting, you may need to use a default password to gain access, which you should change as soon as possible, ideally right after you've logged in. Default passwords are usually very simple and are often given in the documentation with your router, either in the user manual or on a small card. On select models, like some smart TP-Link routers, you may be able to use an app to change and adjust settings versus logging in directly.
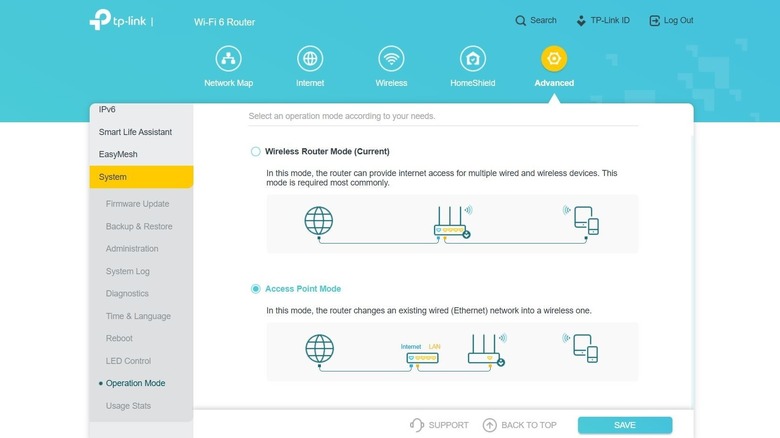
Once you're in, navigate through the settings to something like Advanced > System > Operation Mode and look for an option titled either "Bridge Mode" or "Access Point Mode," which are the same thing. On Netgear, it's under Advanced > Advanced Setup > Wireless Bridge. When that's enabled, the internet connection coming in is simply broadcast wirelessly from the adjusted router as-is. Make sure to click Apply or Save to confirm the changes. You may also have to reboot the router for the changes to take effect.