

How To Back Up Your MacBook Without Paying For Cloud Storage
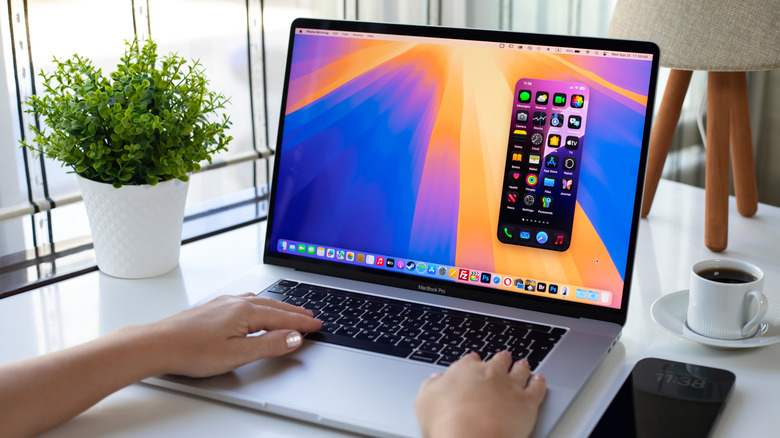
One of the most convenient ways to back up your MacBook is to subscribe to iCloud. After all, whenever you're connected to Wi-Fi and your computer is plugged in, it automatically starts syncing everything. However, this also means you need to rely on a subscription for as long as you want your data backed up. On the other hand, another solution is to rely on local backups so that you not only own your data but also won't have to rely on subscriptions, cloud servers, and more. That said, the most convenient way to back up your data without relying on the cloud is to use Time Machine, Mac's backup tool, to store your data on a local Hard Drive (HDD) or Solid-State Drive (SSD).
Before you start using Time Machine, you also need to understand that once you're responsible for backing up your data, you have to do it manually. If you don't connect your SSD to your MacBook and something happens, your latest backup could be a few days, weeks, or even months out of sync. Still, if you're diligent enough to back up your data every time you finish a big project, come from a trip, or when you go through your files, then you'll discover that having your data stored locally can be the smartest move.
How to use Time Machine and backup your MacBook data
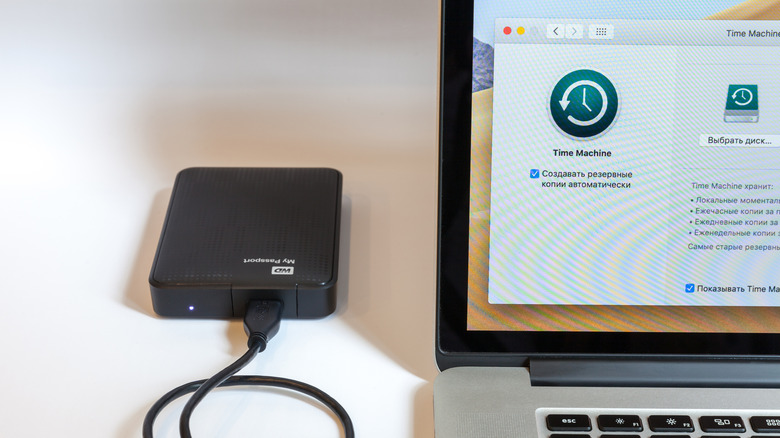
To set up a drive as your new local backup, you need to format the device to Apple File System (APFS), as this is required for macOS Big Sur or later. To do that, connect the SSD to your Mac and open Disk Utility (press Command + Space and type "Disk Utility"); then click View and select Show All Devices. Once you do that, select the top-level external drive mechanism, then click Erase.
Set the Scheme to GUID Partition Map, then Format to APFS or APFS (Encrypted). Finally, open System Settings > General > Time Machine, add the drive, and enable Encrypted Backups — which means only you will have access to your data. After all, if you don't encrypt your data, anyone with your drive can access your files if they have access to your physical storage.
In addition to your Time Machine, you should also have something like a Carbon Copy Cloner (CCC) to create exact, file-for-file duplicates of your internal volume structure. While Time Machine saves snapshots of your history to restore past versions, CCC creates a direct 1:1 copy of your current files. This gives you a secondary, independent backup that you can plug into another Mac and instantly open your files from Finder without waiting for a full migration restore.
Tip and tricks for your Time Machine backup
For your Time Machine, you can choose between an HDD and an SSD. The difference is that HDDs store data magnetically on physical platters. Because they don't require power to hold onto that information, an HDD can sit in a drawer for three to five years without losing your files, making it an ideal, cost-effective choice for long-term "cold storage" (just make sure you keep it safe from drops and magnets). SSDs can transfer files much faster, but they are designed for active, regular use. Since SSDs store data electronically using charge trapped in cells. If left completely unpowered in a drawer, NAND flash can begin losing charge, which might lead to data corruption after one to two years.
To store files locally, remember that redundancy is your ally, and keep two separate physical drives for your data. Leave one connected at your desk for automated daily Time Machine passes, and store the second drive off-site (such as an office or a relative's house), or store it in a safe location at your home. Swap them monthly so that they are both in use and regularly updated.
You should also keep drives in anti-static sleeves or cushioned hard cases, while avoiding hot temperatures or very humid environments. Last but not least, be aware that drive hardware can fail without warning, so replace active backups every three to five years regardless of perceived health. With those tips, you can say goodbye to cloud storage and enjoy your files securely stored offline.