

5 Hidden iPhone Camera Settings That Will Level Up Your Photos
When the iPhone first hit the market in 2007, I never imagined it would become a part of my professional picture-taking process. Even though I've always had a love of imagery, and I was slinging around a video camera professionally at the time too, photography was yet to stick. But the iPhone quickly made it a hobby. Its portability felt like a flashback to the disposable cameras of my childhood, and having mobile access to email, music, and the internet made it easy for me to keep the iPhone — and its camera — with me at all times.
Nowadays, the camera system is why many people choose the iPhone over other options. There are a lot of things your iPhone camera app can do, though many of the features are accessible through settings that are tucked away in the software or are otherwise difficult to spot. These can go completely overlooked by users who aren't familiar with them. A less-used feature like Photographic Styles can add a whole new dimension to your photography. Moreover, manually controlling the AE/AF and Macro settings allows you to fine-tune your shots.
I've been pushing the iPhone camera and its many features to their limits for nearly two decades now, and I've singled out some tough-to-find settings that can help photographers of all experience and skill levels improve the pictures they take on a daily basis.
Photographic Styles
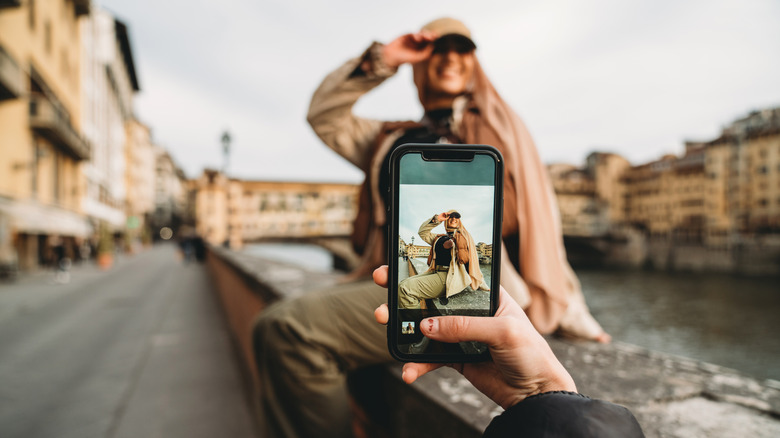
Photographic Styles are one of the iPhone camera's most powerful tools, especially for picture takers who prefer to opt out of any kind of post-production processing. Many iPhone users are likely familiar with the filters available within the camera app, but these only apply a generic layer of effects over a finished image. What separates Photographic Styles from those filters is that they adjust certain aspects while the photo is taken, which allows for a customized and more natural-looking output than applying a filter after all colors, tones, and depth of field have already been captured.
The settings can be somewhat difficult to track down, particularly if you're used to shooting RAW images with your iPhone. The RAW file format is meant for editing photos through a post-production process in software such as Adobe Lightroom, and the format won't work with Photographic Styles. In fact, the option to use Photographic Styles won't even appear in your Camera app unless you're using High Efficiency image capture mode. This is the HEIF format that can be selected at the top of the Camera app on some iPhone models and under Camera > Formats in the Settings app on others.
Photographic Styles have been around since the iPhone 13, but with newer iPhone models comes more opportunity for everyone to be a good photographer. With the release of the iPhone 16 came the ability to adjust your Photographic Style images in the Photos app. Styles available include Standard, Cool Rose, Vibrant, Amber, and Dramatic, and various settings within these Styles can be adjusted and saved for use across all photos you take.
Macro Control toggle
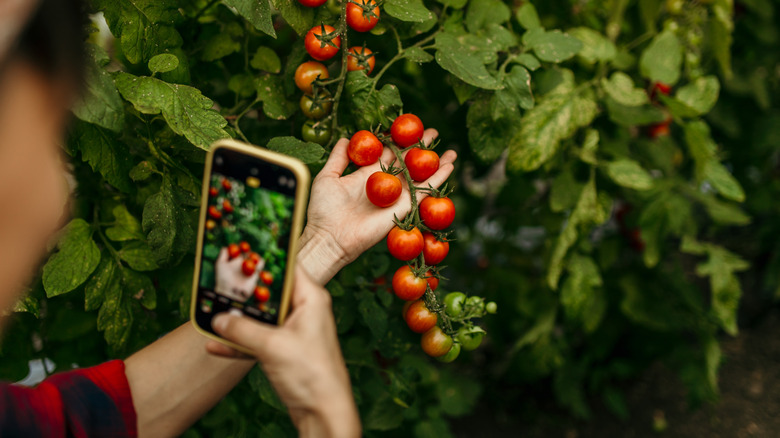
The Macro Control toggle isn't necessarily a feature to find, but it can be an incredibly difficult setting to manage. It can seem to have a mind of its own, which can be particularly frustrating for users who don't have a grasp of what it's meant to do. Macro photography is all about getting as close as possible to small objects, which provides a unique perspective that, when done right, can produce some stunning imagery. Macro lenses are paired with dedicated cameras for a lot of product and nature photography, but they can be used artistically as well.
iPhones and other mobile devices obviously can't replicate the quality of a professional macro lens, but Apple has included macro functionality in the iPhone's ultra-wide lens. That's inherently welcome to most photographers, but it can quickly become a frustration when using the iPhone camera because Macro mode is set to deploy automatically by default. I often find myself with a picture framed up and ready to capture only to catch, in the blink of an eye, a subtle shift in the exposure and depth of field. This is the camera automatically switching into Macro mode.
This is one of the few features that may level up your photography by turning it off. The setting to do so isn't within the Camera app, but under Settings > Camera > Macro Control. There's some middle ground to this as well, as instead of turning it off completely, you can turn it off as you see fit. The flower icon in the camera app pops up when the phone detects a situation in which macro mode is necessary. If you find it's not, you can simply click on the flower to disable it.
AE/AF lock
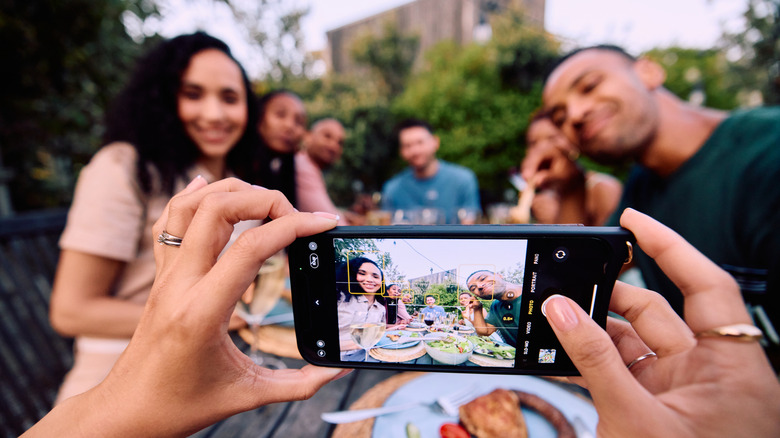
I find the iPhone camera's auto exposure and auto focus capabilities very impressive, but sometimes I zero in on a photo only to decide the framing needs some slight adjustments. Doing so often causes the iPhone to change the exposure and focus completely. But built into the Camera app is the ability to lock in the auto exposure and auto focus. This has been beneficial to me in a number of scenarios, particularly in low light situations, which can cause the iPhone to lengthen the exposure, leaving me with blurry, ghost-like images.
The AE/AF setting is often overlooked, as it's hiding in plain sight, built right into the touchscreen interface. When taking a picture, you'll see a yellow square when framing up. This is the area of the photo the iPhone has set as the focus and exposure point. You can choose this area on your own by tapping the screen. But if you tap and hold, not only will the camera adjust exposure and focus, but it will also lock them. A yellow AE/AF Lock banner will appear, letting you know these settings are locked in.
On the iPhone 16 and iPhone 17 model lineup, this setting can be triggered another way. These phones include a Camera Control button, and in this scenario it acts in the same way as the phone's touchscreen. You can turn AE/AF lock on by lightly pressing and holding the Camera Control button, with the setting turning back off the moment you release it.
File format settings
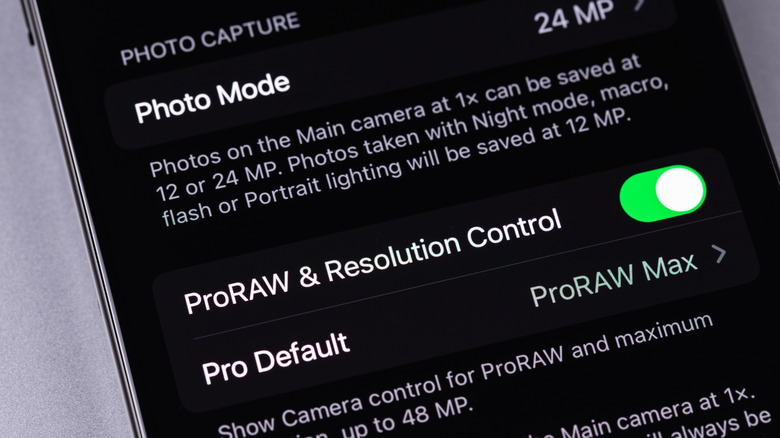
File formats have been one of the most frustrating things for me to wrap my head around as I've grown as a photographer. While Apple does a great job of providing some versatility in the way we capture our photos, switching between them can be confusing and difficult to track down. By default, the iPhone captures images in its High Efficiency file format setting. This saves your pictures as HEIF files, and many iPhone users will never find a need for anything else.
But users who want to ensure compatibility across software and devices may want to consider capturing photos as JPEG files. This is an older file format, but it's still perfectly acceptable in the photography world. JPEG images have worse compression than HEIF, and with the iPhone it can degrade image quality to varying extents. If you decide the JPEG file format is right for you, the setting can be changed under Settings > Camera > Formats.
Here you'll find a number of options, including the aforementioned High Efficiency option and a Most Compatible option, which is the one you want in order to capture images as JPEG files. iPhone Pro models offer a third option, which is Apple ProRAW. This is for photographers who are ready to step away from the iPhone's built-in looks and send their photos through a post-production process, whether that's through software like Adobe Lightroom, VSCO, or even Apple's own Photos app. Some iPhone Pro models also offer a format selection toggle at the top of the screen within the Camera app.
Prioritize Faster Shooting
As I mentioned previously, the iPhone led me to a deep love of street photography. The way most people take pictures mirrors the philosophical approach to street photography, which is in an improvised way as a moment presents itself. In order to capture pictures on the fly, a quick shutter release finger is necessary, and whether you're a parent documenting your family as it grows or a professional photographer capturing stories in the world, the iPhone can struggle to keep up in fast-paced scenarios.
The iPhone's Prioritize Faster Shooting setting is turned on by default, but in an effort to set up the Camera app to be as professional as possible, some users may turn it off without fully realizing what it does. I have certainly been one of them. As new features became available, I drastically underestimated some of the iPhone's capabilities, assuming some controls are better used manually. But Prioritize Faster Shooting works incredibly well when you need to fire the shutter button repeatedly for a brief stretch.
When this feature is turned on, the iPhone modifies how it processes images, freeing the processor and camera system to take more photos in rapid fashion. This can be the difference between photographing a moment you can see forming and missing the shot entirely. Being able to snap that shutter repeatedly as a moment plays out gives you a greater likelihood of landing a quality version of it, and the setting can be toggled on or off under Settings > Camera > Prioritize Faster Shooting.