

X Clever Ways To Use Your 3D Printer (Other Than 3D Printing)
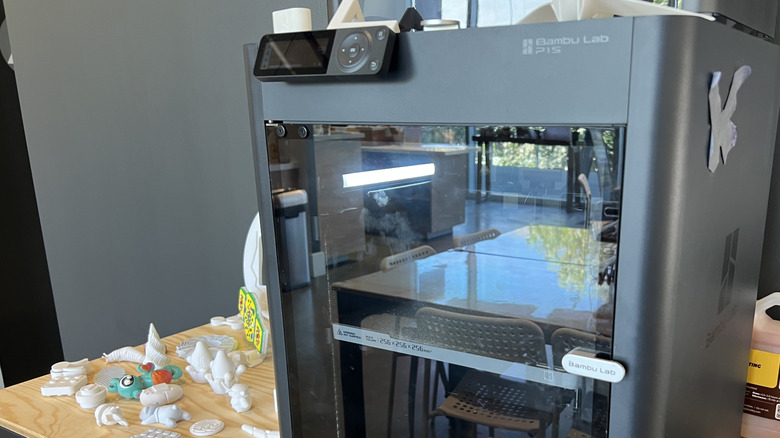
When it comes to innovative modern inventions, few can rival the possibilities presented by the 3D Printer. Decades ago, it was hard enough to print off a double-sided document, but today, the average consumer has the ability to create 3D tools and products with the mere press of a button.
It's surprising how much you can do with a 3D Printer. So much so that the possibilities don't start and end with 3D printing, as these machines have the capacity to double as other industrial tools, and helpful automation for recreational pursuits. This all makes that hefty price tag much easier to justify.
If you're wanting to get more use out of your 3D printer, or are just curious as to what other functions these machines can take on, there are some alternative uses for a 3D Printer, such as a laser engraver, a cutter, a drawer, and much more.
Using your 3D printer as a laser engraver
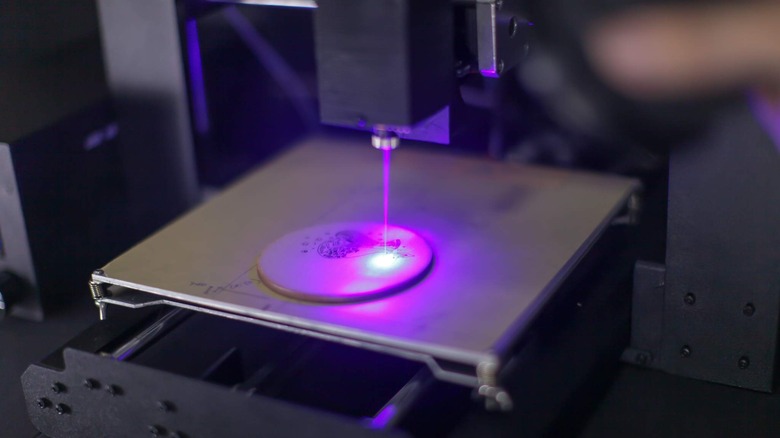
With some simple tweaks to the attachments of your 3D Printer, you can burn patterns into various materials, having your printer act as an accurate laser engraver. Typically, what you need to do this is a 3D Printing accessory known as a dedicated laser module. But, due to the 3D printer itself having a lot of the same functionality of a CNC positioning system, you have everything else you need.
Then, when in action, you simply need to program the movement of your module over the material chosen, and the hotend (now converted to a laser module) does the rest. You'll be powering on, off, and at limited power to engrave the material, using varying intensities to achieve darker and lighter shades.
This is usually a simple alternate use to achieve, as a lot of FDM Printers come with dedicated laser engraving accessories that are plug-and-play. We would still urge caution when it comes to use, such as wearing appropriate eyewear, and being mindful of the materials you engrave.
Using your 3D Printer as a cutter
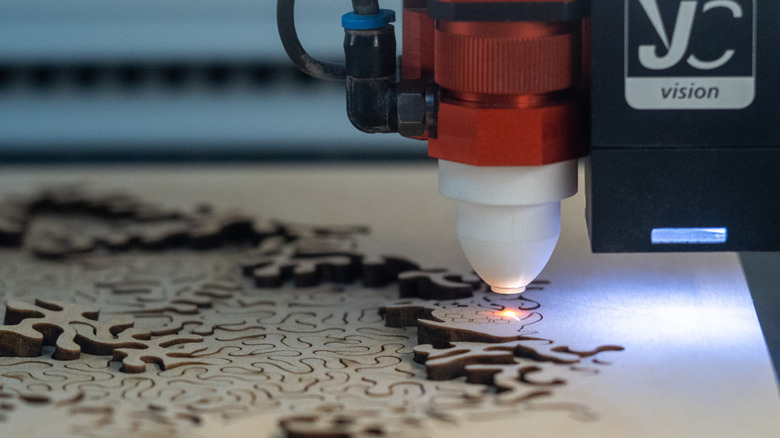
While on the topic of laser engraving, we should also mention the humble 3D printer's ability to cut through certain materials as well. This requires a laser module as well; which again, means that this isn't a DIY situation, as a lot of these modules are readily available, and the principles of use are largely the same.
You plot the desired path of your hotend-turned-laser, instructing when to power on to cut through materials, making precise incisions where needed. However, when using this method, you need to be aware of safety precautions and potential fire risks, and need to assess the laser's power as it needs to be capable of cutting the material in question. Typically, paper, cardboard, vinyl and fabric tend to be suitable options for this.
Alternatively, you can also equip your hotend with a blade, which is more cost-effective, and less of a fire hazard. That said, most printers do not come with a blade holder tool as standard, and this will need to be fashioned or acquired before use.
Using your 3D printer as a plotter
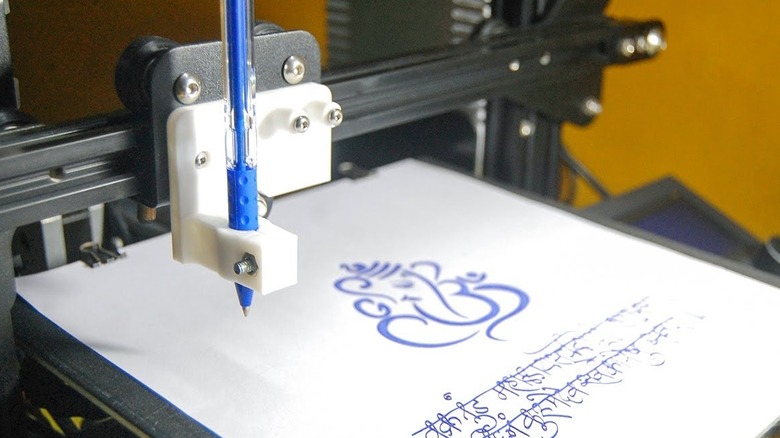
Much like you can attach a blade to your hotend with the right attachments, you can also attach a pen. Which, in turn, allows you to plot and draw very specific designs and patterns with ease.
This opens up a world of possibilities when it comes to creative designs. You can draft artistic sketches, detailed plans and blueprints, maps, or even handwritten notes and documents in a font of your choosing. Just think of the creations you could turn on Etsy with a 3D printer, a pen, and some g-code.
Much like the blade, you'll need to fashion or acquire an attachment that holds the pen in place. It can be helpful to specifically search for a spring-loaded holder, as this typically maintains pressure with the paper without the need for precise height calibration. But, once obtained, all you need is a suitable piece of paper, and you can create a masterpiece in minutes.
Using your 3D Printer for photography
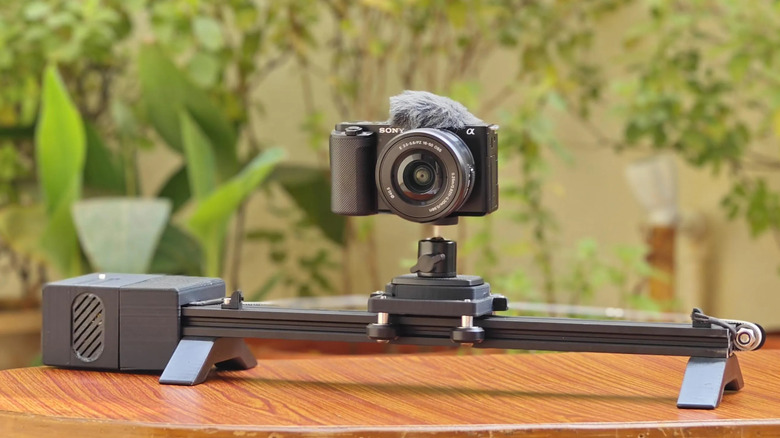
Now for one a little more out of left field. If you're someone that enjoys the pursuit of photography, has a decent camera lying around, and likes to get creative, you can add your 3D printer into the equation. To be clear, this isn't a function for an intact 3D printer, but rather a way to repurpose parts of an old 3D printer.
Your 3D Printer's slider belt is a superb tool when it comes to taking timelapse images. You can repurpose the motorized slider of the 3D printer, attach a camera to the belt, and then control the speed of motion of the slider to create the end-result shot that you want.
Or, if you want even more range of motion to get the angle and movement you desire, you can rig a four-axis camera slider, allowing you to slide, pan, tilt and roll the camera to get the perfect perspective. However, this requires a lot of DIY intervention and is asking a lot of your hotend, as it typically isn't intended to bear this much load.
Using your 3D printer as an automated dispenser
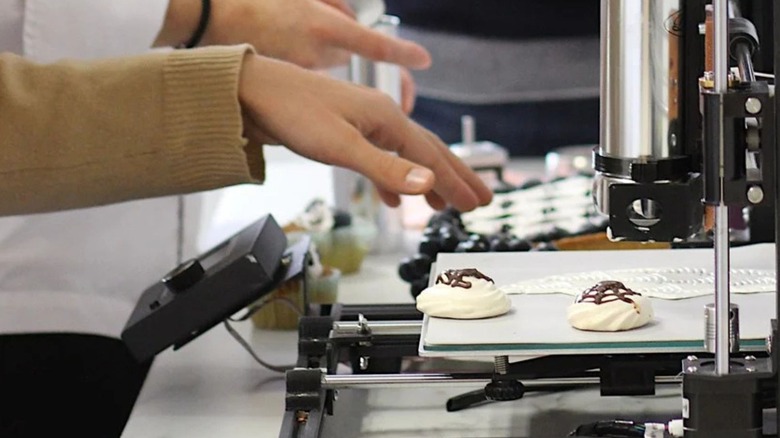
Lastly, there is a use case for turning your 3D Printer into a precise dispenser for all sorts of liquids and pastes, opening the door to various industrial and recreational uses of your 3D printer. On the industrial side, this function can be used to apply a consistent amount of glue, solder paste, or an alternative adhesive to a particular project. A more recreational use for this would be to have your 3D printer produce intricate designs on cakes by piping icing.
To do this, you would either attach a syringe holder in place of the hotend, allowing for precise downward pressure from a stepper motor and lead screw. Then, of course, you would need to attach a suitable nozzle for the viscosity and volume of paste you want to dispense.
So whether it's industrial grade glue jobs, or a cursive happy birthday message on a cake, your 3D printer could be the answer.