

You Can Build A DIY Charging Station That Keeps Every Gadget In Your House Organized
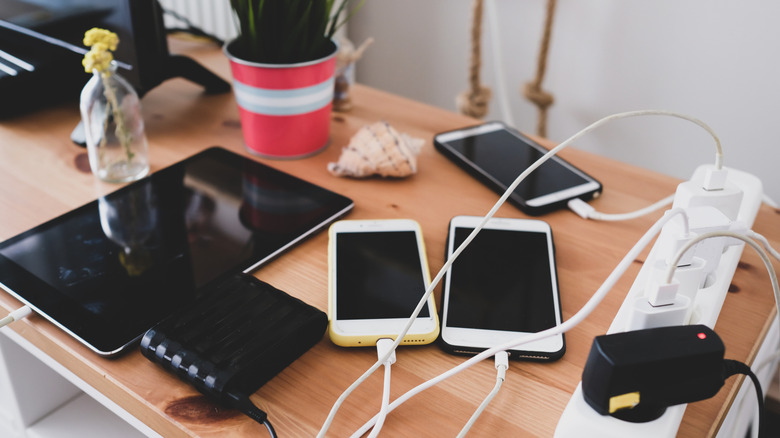
Having a dedicated place to charge all of your devices when needed can make life simpler and more organized. When it comes time to charge your smartphone, you won't have to fish out the charging cable from a drawer or unplug another device to make room. You can even build your very own DIY charging station to keep all of your gadgets charged in one convenient place.
You could buy your own charging station from a number of companies, but they won't offer you as much freedom as doing it yourself. Building a DIY charging station means you can customize it to meet your needs. That means you can create any number of slots and cubbies for your phone, a tablet, and any additional devices. You can even add space for a Steam Deck, Nintendo Switch, or any number of handheld gaming consoles.
Some people choose to build their own DIY charging station out of wood. It's lightweight and can either be mounted or set on a desk. It'll need holes for the charging cables to run through and slots for the individual devices you plan on charging. It's best to know ahead of time how many devices you want to charge so you can plan accordingly, and you will need certain materials and tools to get started.
Tools and equipment needed to build your own DIY charging station

Before you get started, make sure you have the necessary tools and materials required to build your own charging station. You can start by using a single piece of wood or get smaller pieces from your local hardware store. You'll need wood glue, cable ties, a power strip, access to a wall plug, a USB hub, drill, screws, a screwdriver, and sandpaper. Paint is also useful if you want to add some color to the charging station. A saw is needed for cutting the wood and shaping the ports.
Before it's time to build, you'll need to find a place for the charging station, as well. One place you could house the DIY charging station is on a wall. Make sure it's in a place you can easily reach and where the devices won't fall or break. Two other locations are either on a desk or on the floor as if it were a drawer or cabinet.
A good piece of advice is to make sure that you leave enough room for the charging cables to run from the wall plug in or USB hub to the devices. Once everything is in place and the cables can connect to whatever you need to charge, you can use a cable tie to wrap all the cables together and hide them either behind or underneath the DIY charging station. For inspiration, you could look at all-in-one Amazon charging stations.
Build your own charging cabinet
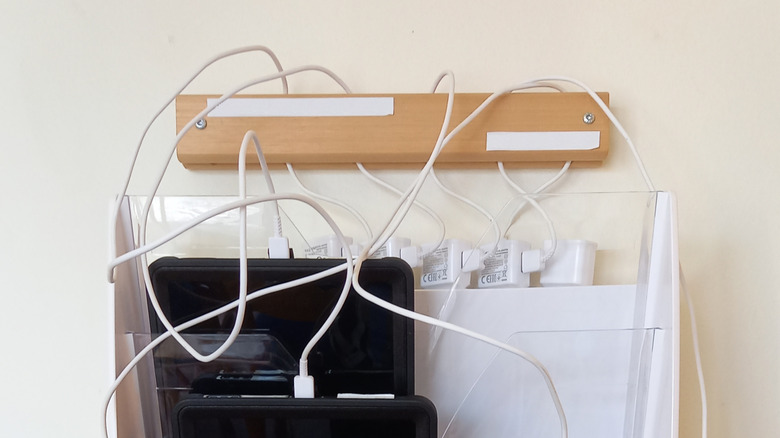
Building your own charging station may be worth it if you want a single place to charge everything you own. Once you know where your DIY charging station is going, you can plan out how it is going to look. Draw up a sketch of the DIY charging station before you build it so you can better see how it is going to take shape once finished. The drawing should include slots for where the devices are going to be placed, so you know how big or wide the station needs to be.
The first step to building the station is to cut the wood for it. Plot out each device beforehand so you can get exact measurements for the slots. Cut each board, leaving a little room to fit each device. After, use sandpaper to smooth out any rough edges. Once they are all cut, you can start assembling the charging station. Use wood glue, screws, and nails to help hold it all together.
Afterward, you'll want to drill holes for the charging cables. Next, you will want to add in the power strip or USB hub where all of the cables will be connected. To finish, paint or stain the DIY charging station to fit your aesthetic, then after it dries, put it in place, and add all of the devices to their proper slots. You can even label the cables to help at a quick glance.