4 Tips To Quickly Get Your Electronics Through TSA
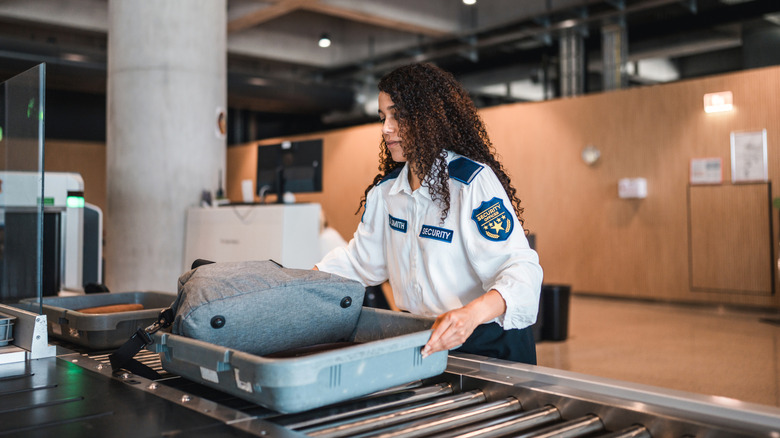
Flying, or even preparing to fly, can be stressful, especially if you don't do so very often. Frequent flyers tend to form a rhythm, adopting practices that moves things along faster. For example, while passing through TSA checkpoints with bags, electronics, and apparel in tow, there are some things you can do to speed up the process. That gets you, and your electronics, quickly through TSA scans so you can be on your way. One general guideline is to always take everything that's bigger than a smartphone — like tablets, or laptops — and put them in a separate bin, unless otherwise directed.
It's also important to stay up to date with policy changes, looking at every TSA electronics rule that's changed in the last year, including keeping up on the allowed items list. You should also note which items are allowed in your checked bags versus your carry-on, and which electronics need to be scanned separately, meaning they'll absolutely have to come out of any bags and into security bins. Beyond that, it may also help to know some tips from those who've passed through checkpoints or understand the process.
Put electronics in standby, not powered down
It may not seem ideal, especially if you want to conserve battery life, but all of your electronics are best left in standby or sleep mode rather than powered down completely. That goes for laptops, game consoles, smartphones, tablets — you name it. That's because the TSA rule about electronics every traveler should know has to do with the ability to power on your devices. If your device simply won't turn on and a TSA agent is trying to check it out, they can disallow it for travel.
The goal is not to read your messages or look through your phone, per se, but to make sure each device is in proper working order and isn't masking a secret — bombs can be disguised inside, or as, electronics. "Powerless devices will not be permitted onboard the aircraft," the TSA notes. Moreover, "The final decision rests with the TSA officer on whether an item is allowed through the checkpoint." If an agent can't power on one or more of your devices and they decide there's a risk, you either have to leave a device (or devices) behind, or you won't be permitted through security.
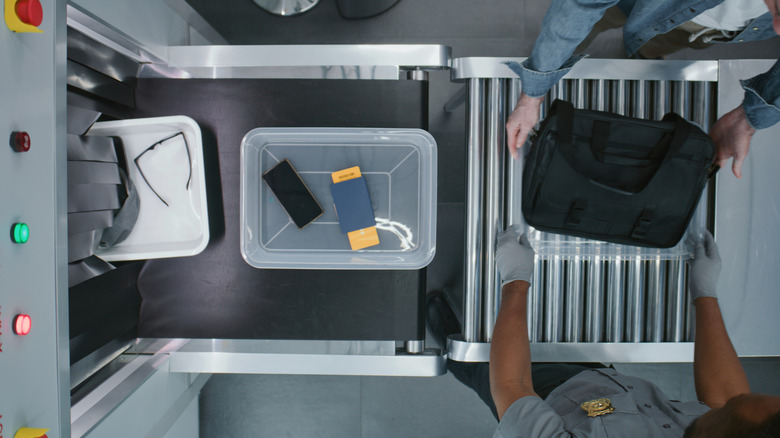
Pack all electronics at the top of your carry-on

It might seem like a no-brainer, but the more stuff you have to remove from your bags to get to your electronics, the longer it's going to take — and the more hassle it's going to be. You should plan ahead by packing your electronics at, or near, the top of your carry-on. Make them accessible, easy to grab, and even easier to separate. It can be hit-or-miss which electronics TSA agents want removed from a bag, so be prepared for the possibility of having to empty your luggage entirely.
TSA screening and security checks are random, and it's possible to be selected, more often than not, for individual screening. Whether you're paired with strict (or not-so-strict) agents is impossible to predict. Being as prepared as possible will increase your odds of the process going smoothly — a major plus when attempting to avoid delays or difficulties at the airport terminal.
Bring a power bank just in case
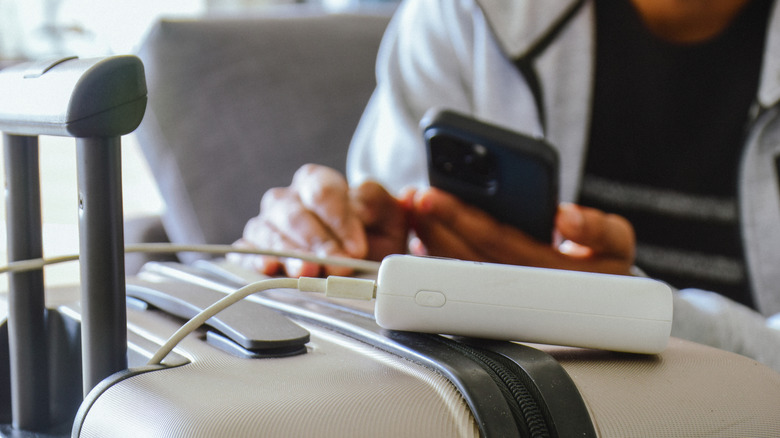
You're allowed to bring a power bank through TSA checkpoints and onto flights with you. However, these must be within a certain range (100 watt hours or less, with exceptions made for larger banks), and they must be packed in your carry-on, not your checked luggage. If you're using a carry-on bag with built-in USB ports, TSA does allow those, but you should reasonably expect to remove any attached batteries or power banks for inspection.
That aside, here's why you should think about carrying one with you when you travel. Remember the aforementioned power-on rule concerning TSA security checks? If you have a power bank with you, you could effectively plug your device into the bank, giving it enough power to turn on in short order. At the very least, you could let it charge for a minute or two before powering on. That might be the difference between a comfortable flight and a travel headache.
Consider TSA PreCheck for the easiest and fastest route
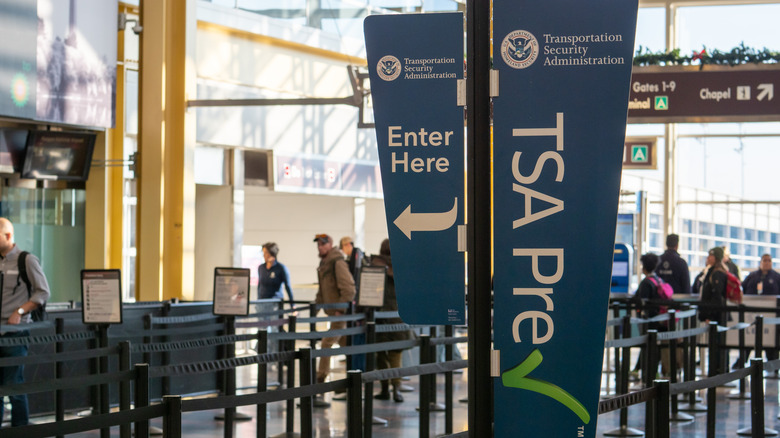
While it used to be an exclusive benefit for TSA PreCheck subscribers, all passengers can now leave their shoes on when passing through a security checkpoint unless otherwise directed. But here's what TSA PreCheck does offer: Reduced waiting times, dedicated security lines that move faster, no separate screenings for carry-ons, electronics can stay in your bags, and you can pack a bigger quart-sized bag with travel-sized containers of liquids and gels. The reason why this is possible, with a more convenient pass-through process, is because TSA PreCheck is granted to passengers identified as a very low security risk.
If you're in a hurry, TSA PreCheck can make a huge difference — but even if you're not rushing, it's a lot less stressful. It costs about $75 to $100 for five years, at which point you'll need to renew. There are different TSA PreCheck providers, with varying prices and varying locations supported. Idemia covers 461 active locations at a cost of $77 per five years. Comparatively, Telos offers 503 active locations at $85 for five years. Applicants must share official documents, such as a U.S. passport or valid photo ID. But once you're approved, and subscribed, you're good to go.