5 Clever Uses For Your Old Digital Frames
If you picked up a digital picture frame at some point, there's a good chance it has ended up in a drawer by now, or simply been left unused. Maybe you upgraded to a newer version with Wi-Fi capability and a companion app. Or perhaps you gave up on it because it's such a pain to choose photos that aren't too boring, but also aren't too candid for guests.
Whichever the case, your old digital picture frame is one gadget you might regret throwing away. That's because if it still turns on and works as expected, there are actually multiple ways you can reuse it. Rather thank staying inside your drawer and collecting dust, that old frame can serve a nifty purpose at home. To help you out, we've rounded up five projects you can build out of your old digital picture frame and help breathe new life into it.
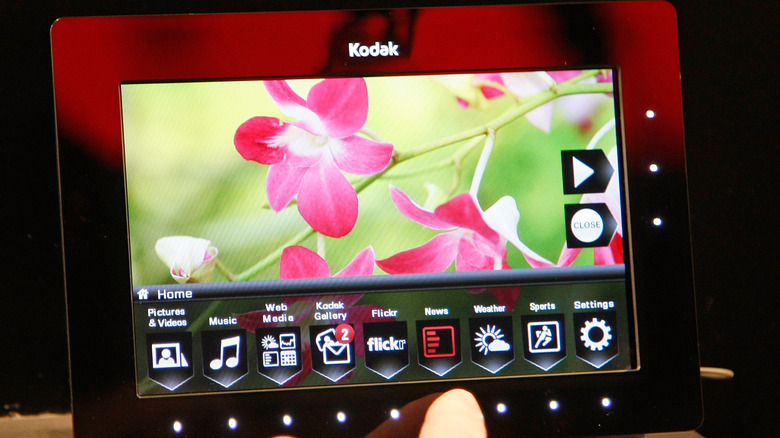
Digital signage
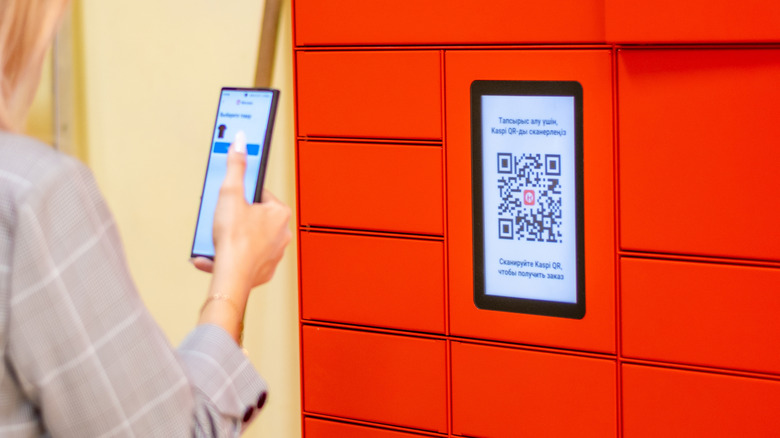
At home, there are instances when you might want to display information like your Wi-Fi network with a QR code, weekly meal plans, chores list, and even motivational quotes. Sure, you can print this out on paper. But an old digital picture frame would also be ideal in this scenario.
For this project, your digital picture frame will serve as a digital sign that can display whatever information you want. All it requires are custom images you'll create. To fit nicely, these images should match two things: The resolution of your digital picture frame and its default orientation. You can find the frame's resolution using an online spec sheet. You might also see it in the settings of the unit. As for the orientation, just load a photo on the picture frame and see which way it's displayed.
Once you know what resolution and orientation to use, you can proceed with making the images. Feel free to be creative, but make any text large enough to be readable from a distance. If you'll be looping through multiple photos, the filename is important too. Name them in order, starting with 000, followed by 001, 002, and so on. Then, add them to a supported external storage device. Some old digital frames require an SD card, while others use USB drives. Once the storage is inserted into the unit, you can start displaying the images of your choice.
Smart hub
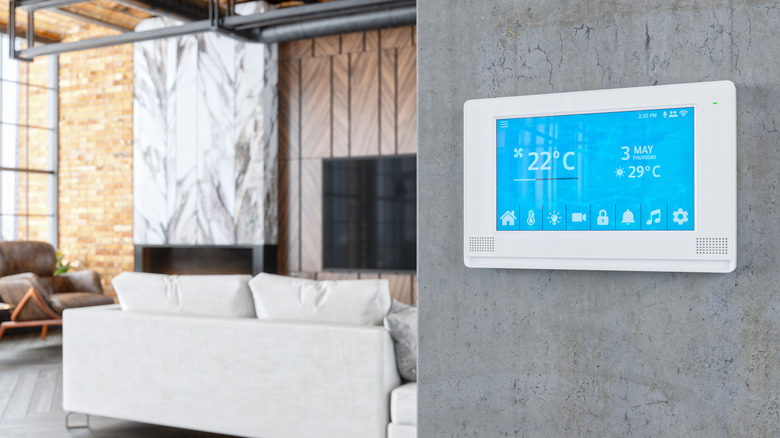
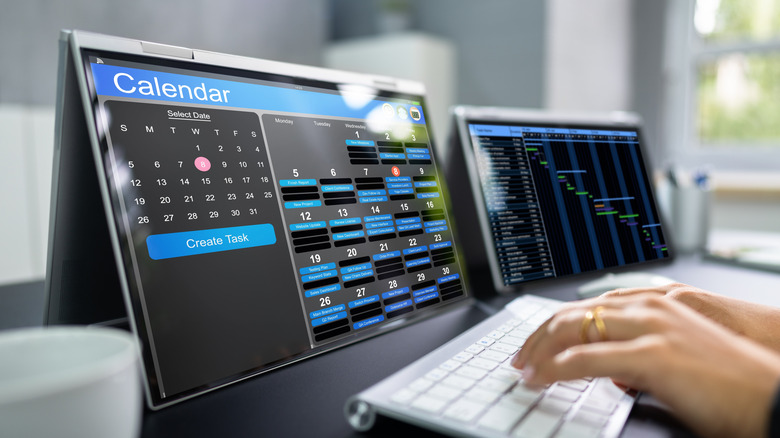
Smart home devices are becoming more accessible these days, and while they help in making your home more convenient and comfortable, having to manage multiple devices can become chaotic. To check the status of a device, you'd usually have to go to its companion app and tap on a few menus. Now, imagine doing that for 10 other smart home devices throughout the day. To save yourself the hassle, you can create a smart hub that will give you all that information at a glance.
This project combines a Raspberry Pi Zero W and your old digital picture frame into a sleek, low-cost Raspberry Pi-powered addition to your smart home. The display is customizable and supports a wide range of data types. For instance, you can show the date and time, current state of your smart home devices, remaining storage on your file server, and even the devices connected to your home network. It does so with the help of the open source SmartFrame software.
Free to use and install, SmartFrame works by pulling information from the internet or your local network. It then formats the data into a clean layout for displaying. At the moment, SmartFrame supports platforms like Outlook Calendar, Philips Hue, WeMo and Kasa smart plugs, and Spotify. It can grab your calendar events, the status of your smart lights and smart plugs, and the music you're playing. Once you're done building the hub, prop it up for easy viewing, use its built-in stand, or install it on the wall with a bracket.
Recipe viewer
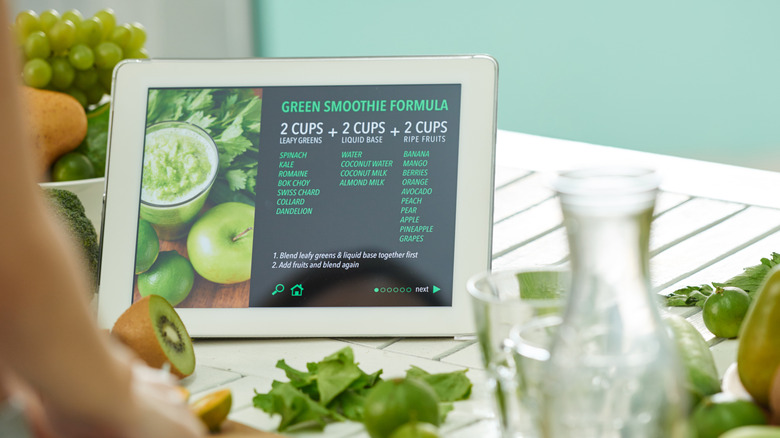
Holding up a recipe book while cooking isn't always easy to do. This is where an always-on display like an old digital picture frame would come in handy. Set it up as a recipe viewer, and you won't have to handle anything but your ingredients and utensils. When it's time for the next step, all you have to do is glance at the screen.
This DIY project requires no disassembly or external hardware. You do have to be creative, though, as the main task is to turn your recipes into images for the old frame to display. A quick way to do so is to take a screenshot of a recipe online and use it as is. If you want a more consistent look across your recipe photos, make them from scratch with online photo editors like Canva. Just choose a background and type the recipe in manually. To make sure the images display properly, match the resolution to the digital picture frame's native setting.
After creating the images, rename the file to the be the same as the recipe. This way, it's easier to find later. Then, copy your recipe photos to an external storage device, insert it into your old digital picture frame, and pick which recipe to display from the menu. Turn off slideshow mode to keep the recipe on the screen until you finish cooking.
Extra display
There's often need for an extra display around the house — from being a second screen for your laptop to giving you an interface for PlayStation when the other monitors are occupied. However, you don't have to buy a new display. Instead, just repurpose your old digital picture frame as an extra monitor for miscellaneous needs.
To achieve this, you need three things: The LCD from the picture frame, a controller board, and some basic experience with wiring. The controller board supplies power to the display and adds HDMI and VGA ports. The ports allow you to pair the display with typical inputs like computers and game consoles. Before buying a controller board, though, find the model number of your frame's LCD. It's usually on a sticker on the back of the display or along its ribbon cable.
To separate the LCD from the picture frame, use a screwdriver and plastic pry tool for disassembly. Then, disconnect the display by releasing the locking mechanism on the board and gently pulling out the ribbon — don't rip it out. Look for the model number and hop online to find a controller board that supports it. From there, you'll connect the controller board to the display, a power source, and your input. Once put together, you can try pairing the monitor with a Raspberry Pi via HDMI to convert it into a cool Raspberry Pi project like a digital calendar or security camera monitor.
Word clock
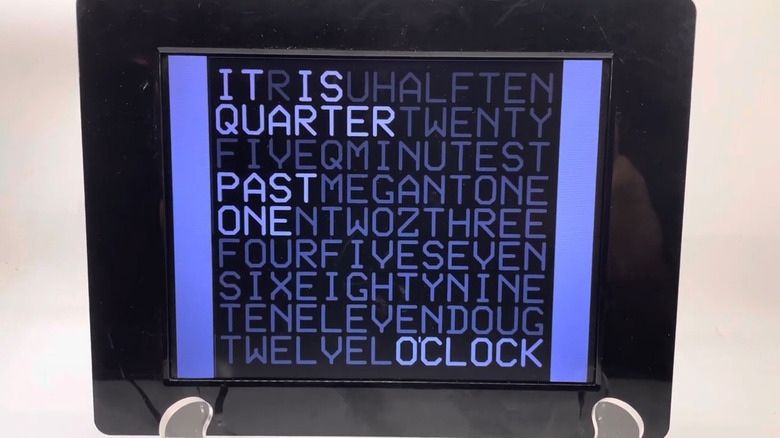
Digital clocks do their jobs just fine, but sometimes, they might look too generic for a space. If you prefer a more creative way to display time, a word clock made out of an old digital picture frame might just be what you need. Specifically, a word clock that displays letters highlighted to spell out the current time.
The highlighted letters change every five minutes to keep the time updated. While it may sound complex, this is a surprisingly straightforward project. The key to this DIY build is a series of 144 photos that look identical, except for the highlighted letters. Your old digital picture frame will then cycle through the photos like a normal slideshow.
To start, download the images from the original project creator FamilyGuy2006 on Instructables. Then, follow these steps:
- Convert the PDFs to JPGs on your computer.
- Change the filename of each image to run in 5-minute intervals, beginning with "It is twelve o'clock" and ending in "It is five minutes to twelve o'clock."
- Copy all the photos to an empty SD card or USB drive.
- Insert the storage into your old frame.
- Look for an interval option in the device settings and change it to five minutes.
Your word clock starts at 12:00, so make sure to begin the sequence at noon or midnight to sync with real-world time.