

How To Get The Best Audio Out Of Your MacBook Pro
Getting the best possible audio from a device doesn't have to be a goal only for audiophiles. For example, the M5 MacBook Pro sports six high-fidelity speakers with force-canceling woofers, and that's not even including external speaker or headphone options. There can be some disadvantages to buying a MacBook, but audio options typically won't be one of them. However, those looking to get the most out of their MacBook need to know a couple of things.
A MacBook Pro user likely knows that the F11 and F12 keys can lower or raise the volume on your system, but there are additional settings that are also worthy of your attention. In addition to setting the audio output on your MacBook, Apple has included options to balance the audio or mute it entirely. Some third-party tools may also help tweak certain settings, but Apple includes this tool in its Music app.
If you're really looking to boost the audio on your device, it may be time to consider some higher-end options. For example, a portable digital-to-analog converter (DAC) can be a great way to level up a device via its USB-C port, serving as a good introduction to high-resolution audio. Of course, how you want something to sound is ultimately up to you, so check out these MacBook Pro audio options to see if any of them can make your sound a little sweeter.
How to adjust audio on a MacBook Pro
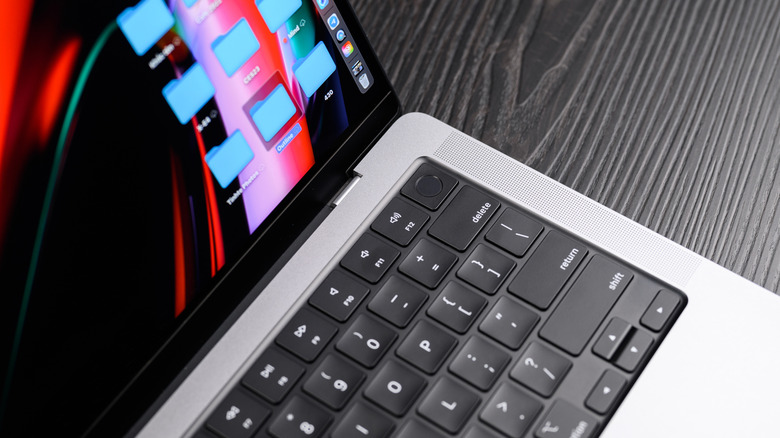
MacBook Pros offer a good variety of sound output options. Along with AirPlay support for casting audio from one device to your MacBook, you also have your built-in speakers or external options like headphones or external speakers. Having these options can be great for meeting your needs, but first you need to know where to make the connection on the software side. Fortunately, you just need to look in System Settings.
Here are the steps:
-
Navigate to the Apple menu from the menu bar.
-
Choose System Settings.
-
Click Sound from the sidebar.
-
Choose Output.
-
From this section, you can select your audio output. This includes choosing from your AirPlay devices, anything plugged into your sound port, USB speakers, or even the device's built-in speakers.
If you have an external audio device connected to your sound port, be sure to select Headphones from the Output list. There are also additional options from the Output menu. This includes using the sliders to adjust the device's volume or to balance the sound between the left and right speakers. You can also mute audio with the Mute checkbox.
Users can also adjust the Alert volume slider under Sound Effects to raise or lower alert volume. Just remember it's based on the master volume of your MacBook. Considering Apple still includes headphone jacks on new MacBook models, knowing these settings can be helpful for setting up and fine-tuning your audio.
More advanced options
One way to get the most out of your audio is to use an adjustable equalizer (EQ). An EQ lets you adjust audio frequency bands, so you can boost the bass or thin out the treble to dial in a sound you prefer. Unfortunately, if you want to adjust the EQ system-wide, you'll need third-party software. You can find free options in the Apple App Store, including EQ Studio, which has a 4.9-star rating. However, the Music app does have its own 10-band adjustable EQ.
You can change each band individually, but there are also 22 presets you can experiment with, including Hip-Hop, Electronic, Rock, Small Speakers, and more. With the Music app open, you can find these settings by selecting the Windows tab and choosing Equalizer. You can also access them through a keyboard shortcut by pressing Option + Command + E. Give the controls a try to see what you like best.
For those who use the Music app, there's also the Sound Enhancer option, which adjusts the bass and treble response to boost the "perceived wideness" of the stereo effect. Finding it is easy; simply open the Music app, select the Music tab, and then choose Settings. Click Playback, then you can enable Sound Enhancer. It has a slider for adjustments, and it can be turned off if you don't like it. Of course, remember that you can also take advantage of Spatial Audio on a MacBook.