

5 Google Pixel Settings That Actually Speed Up Your Phone
Nobody ever said designing your own mobile chip is easy, and that's something Google is learning with its in-house Tensor line used in its Pixel phones. The Tensor chips still trail the likes of Qualcomm and Apple in raw performance. Yes, a Pixel offers plenty of polish after multiple generations; it's Google's flagship line after all, where everyday use is pleasingly smooth, but once you start pushing the phone's performance to its max, this is where you can notice the cracks.
But rather than live with frequent frame drops, Adaptive Connectivity that sucks up battery, unfocused windows that eat RAM, and ever-dwindling storage as you install more and more apps, we have gathered together five crucial settings you can change to improve your Pixel's performance. With a few changes and a little maintenance, you too can enjoy your Pixel as the flagship it's meant to be, with smooth frames and a reliable connection, all while keeping your RAM and storage as free as possible for optimal productivity.
So rather than going with the default settings that generally exist to conserve battery and offer a balanced performance, you can indeed push your Pixel to the limit with just a few tweaks. So if you've always wanted to speed up your Pixel, but didn't know where to start, we put together a handy cheat sheet for both Pixel newcomers and seasoned veterans alike.
Remove all animations

Turning off Android's animations can make any Android phone feel more responsive. While Google has repeatedly tuned Android to reduce stuttering, even on Android 17, dropped frames are very much a thing. So rather than constantly being confronted by this jank, you can simply turn off the OS's animations, which also speeds things up since there are no frames wasted.
While Google generally hides the ability to adjust and turn off animations in Developer Options, on Pixel devices there is a much more accessible option in the phone's Accessibility settings (no pun intended). Simply navigate to Settings > Accessibility > Color & Motion and then toggle on the Remove animations option. This is faster than first having to enable Developer Options and then diving through those settings to find the options necessary to turn off all animations. Google actually simplified the process with a consumer-facing option within Accessibility, which is very welcome. You'll also conserve a little battery life by turning off animations, cutting down the time it takes to focus and launch apps.
So now that you've disabled your Pixel's animations, you should notice that navigation feels that much zippier without them. While you lose out on a few visual cues, like the process of an app focusing on your screen when you open it, the trade-off can assuredly be worth it to make your phone feel faster.
Enable Smooth Display and force peak refresh rate
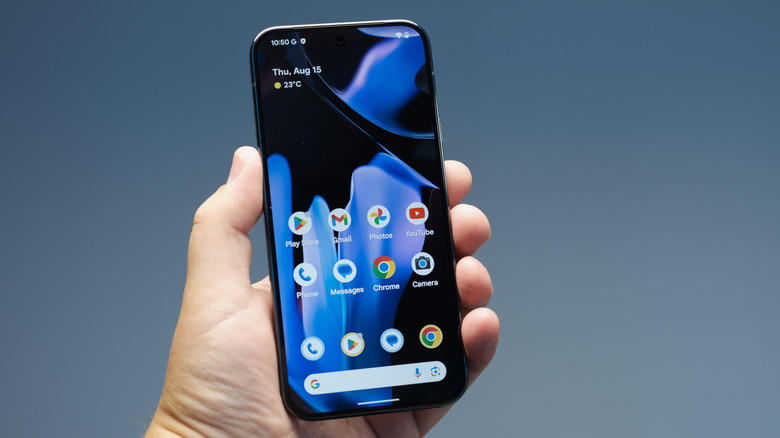
High refresh rate screens help to mask dropped animations, making them smoother. But by default, Pixels are now set to 60 Hz, which is pretty silly to not take advantage of the phone's higher refresh rate screen. Thankfully, there are a few settings that can lock the 120 Hz frame rate to the screen to ensure everything you do feels that much smoother. But there is a catch: you have to actually toggle two settings to get 120 Hz to stick.
The first setting you should adjust is called Smooth Display, and you can find it in Settings > Display > Smooth display. Toggle that on to raise the refresh rate up to 120 Hz. The keyword here is "up to," meaning the screen still isn't locked to 120 Hz. So you now need to skip on over to your Developer Options, which offers plenty of useful Android options that will change how your phone performs, including keeping your phone locked to a static high frame rate. Navigate to Settings > System > Developer Options > Force peak refresh rate, and toggle it on. Now your frame rate is uncapped and locked to the screen's highest rate, ensuring everything on your screen is drawn as quickly as possible.
While you should keep in mind that some apps, like games, will set their own frame rate, by and large, the screen will stay locked to 120 Hz for the smoothest possible experience. Yes, always using a high refresh rate will chew through your battery faster than keeping the phone locked at 60 Hz, but the sacrifice is generally worth it to make your phone feel snappier.
Turn off Adaptive Connectivity

If you've noticed your Wi-Fi drops randomly, or that your connections to mesh networks aren't as consistent as they should be, then you should benefit from turning off Adaptive Connectivity. The feature is supposed to make your connectivity better and conserve battery by switching to a less demanding wireless signal, whichever that is. Say, if you only need to pull down a little data for a weather app, 4G will do, rather than using 5G and slightly more battery, and the same goes for Wi-Fi. The problem is that Adaptive Connectivity, when it struggles, can wind up using more battery than intended.
Worse, plenty of Pixel users have run into this exact issue, which is why many of them recommend turning it off altogether. Disabling Adaptive Connectivity essentially forces your phone to stick to the networks you've chosen, like 5G and/or Wi-Fi, to receive the fastest data speeds possible at all times. Another issue that can arise is connection drops, as your networks continually switch, which is unpleasant. Of course, Google ships its Pixel phones with the feature enabled, assuming it will help your battery life, but if you find this isn't the case, you may benefit from turning it off.
Open Settings > Network & internet > Adaptive Connectivity, then unselect Auto-switch to mobile network as well as Optimize network for battery life to ensure the feature is fully off. However, if you notice your battery is draining more than it did before you turned off both options, toggle Optimize network for battery life back on.
Enable Suspend execution for cached apps
If you've experienced excessive battery drain due to a cached app, then you know how frustrating it can be. Luckily, if there are apps depleting your battery when your Pixel is idle, you can enable Suspend execution to squash their background shenanigans. Basically, not every app that gets suspended fully cooperates, and can suck down data while killing your battery. In these cases, a change in your settings can easily improve the situation: not allowing cached apps to continue to run, freezing their last state instead so they are ready the next time you focus them.
In order to adjust this feature, you will have to jump into Developer Options, so make sure it's available by tapping on the phone's build number seven times. With the menu active, navigate to Settings > System > Advanced > Developer Options > Apps, and click Suspend execution for cached apps, which brings up a new window where you can select Enabled or Disabled. Choose Enabled, and the setting is now on, allowing your open apps to freeze when unfocused.
There is a flip side to all of this, where this freezing of apps can cause its own battery drain, since you will have to use more energy to not only freeze all of your apps when not in use, but also to reopen the apps that were frozen. So, if you are a power user who jumps from app to app to app all day long, you may want to leave the feature disabled, but for light users, turning the setting on can be a boon. As with any change to your settings, test things out and see what works best.
Remove unused apps to clear storage
Last but not least, if you find your phone feels sluggish due to a multitude of installed apps, it may be time to remove the less-used ones hogging your storage. There are a few benefits you'll see: not only more storage, but also less background activity, as the fewer apps installed, the less opportunity there is for an app to run wild. Of course, you need to figure out which apps you can live without, and many Google offerings are easiest to remove. If you don't use Google Play Books, YouTube Music, or Google TV, these are all easy to delete from the Apps section in the phone's settings.
Removing most apps on your Pixel is pretty simple. Thankfully, there are plenty of Android phone apps you can safely uninstall. So if you find an app you don't want to see in your drawer, most can be deleted outright, and system apps can at least be disabled. Open your Settings, and click the Apps listing towards the top of the screen. From the new Apps screen that just opened, click on See all at the bottom of the abbreviated apps list. Now you should be on a page where you can view every installed app. Click any app you wish to remove, and then tap on Uninstall, or Disable if Uninstall isn't an option.
Basically, it's a good idea to clean house every so often. While it's understandable that some apps are only used occasionally, remember that you can always jump into the Play Store to reinstall anything you removed the next time you need it. There's no real need to hoard apps these days.