14 Useful Android Developer Options That Will Change How Your Phone Performs
Most Android users think "Developer Options" are only meant for developers or tech experts. That's why most users completely ignore it. They have no idea how this hidden menu can transform how their phone feels and performs in everyday life. Developer Options offer powerful features for everyday users, like faster animations, better audio, smarter multitasking, and genuine battery savings. Who doesn't need that?
It takes less than a minute to access Developer Options. Head to Settings > About Phone > Build Number. You need to tap the Build Number seven times in quick succession. You'll see a countdown: "You are now 3 steps away from being a developer". Once you enter your PIN, Developer Options will now appear inside Settings. You will usually find it under the System section. That's all it takes to unlock a surprisingly powerful set of controls on Android. Some options can make your phone feel faster and smoother in just a few taps. We'll talk about 14 Android Developer Options that are actually worth trying.
Animation scale tweaks
You might have noticed that some smartphones feel lightning fast while others feel sluggish despite having powerful hardware. That's because of animations. Your phone uses animations every time you switch between screens or interact with menus. Of course, these visual effects and transitions look nice, but they also add a slight delay every time you tap or swipe on your phone. You can reduce this visual delay by reducing or turning off animations on Android. This secret setting is under the Drawing section of Developer Options. You'll see three options: Window Animation Scale, Transition Animation Scale, and Animator Duration Scale.
By default, these are set to 1x. When you drop them to 0.5x, every one of those animations runs twice as fast. When you turn them off completely, your actions will appear almost instantly. Tweaking animation scales won't improve your phone's processing power. Instead, it will reduce the time Android spends showing visual effects. As a result, your phone feels dramatically snappier and more responsive, with the same hardware. This works literally on any Android device. It doesn't matter if you own a budget Motorola G or a flagship Galaxy S26 Ultra, this is one of the most noticeable tweaks that gives you an instant speed boost.
Memory monitor and running services
Let's face it. Most people blame Android itself when their phones slow down. They will try the usuals like restarting their phones or closing a few apps. Most people don't know that Android offers two diagnostics inside Developer Options that tell exactly what's happening behind the scenes. Memory monitor shows the average RAM used over the last 3 hours, 6 hours, or 12 hours. You'll also see the amount of RAM used by individual apps and system services. It is useful in identifying resource-heavy apps or diagnosing memory leaks. Let's say your phone has been sluggish all afternoon. Instead of doing the guesswork, you can visit the Memory Monitor section. It will help you identify whether a heavy app or background sync is slowing down your phone. This way, you can exactly know what to replace or close.
Running Services is another useful tool. It is a live task manager that shows every active background process in real time. It also shows how much RAM each is consuming. You can diagnose slowdowns caused by rogue background apps and battery drain issues. For instance, you notice that your phone battery drains by 30% overnight. Running Services can help you discover that a third-party weather widget was constantly running in the background to fetch location updates.
Suspend execution for cached apps

There can be instances when you go to bed with 80% battery and wake up to 55%, that too, when nothing is active. No downloads, and even the screen is off. In such a case, the culprit is often a hidden background setting most users never touch. Suspend execution of cached apps is one of Android's most significant and lesser-known power-saving features.
Android usually keeps recently used apps in a cached state. This allows apps function as soon as you reopen them. It sounds good, right? However, some cached apps may continue performing background tasks. Suspend Execution for Cached Apps freezes these apps when you're not using them. They are stored in memory, but Android doesn't allow them to unnecessarily consume CPU resources. This means Android doesn't waste precious resources on apps sitting in cache. Basically, it's putting your apps into hibernation rather than shutting them down completely. This improves the phones' battery life and gives it a smoother performance.
Force Peak Refresh Rate
If you paid extra for a smartphone with a 120Hz display, you probably expect it to stay at 120Hz all the time. But that's not the case. Sometimes, when you're scrolling through Instagram, you might feel your phone is running at 60Hz. That's because it probably is. Most smartphones don't offer the highest refresh rate by default. They switch to a lower refresh rate to save battery life.
Force Refresh Rate acts as an override switch. It prevents Android from switching to a lower refresh rate. As a result, your phone's display will run at its highest supported refresh rate constantly. Gestures respond more naturally, and scrolling through social media feels smoother. The effect becomes even more obvious in fast-paced games. When you've invested in a premium smartphone, this will actually make your phone feel premium.
When your display runs at its highest refresh rate, it will use more battery. Well, this isn't a dealbreaker for everyone. If you value a smoother, more responsive experience, you might be happy to make the tradeoff. If you want to see your phone's refresh rate in real-time, you can enable the "Show Refresh Rate" option.
Background Process Limit
Android is generally very good at managing memory and background processes on its own. Your phone keeps several apps ready in the background. This allows you to jump onto them whenever you want. Of course, this offers convenience, but it also comes with a downside. When your phone runs several apps behind the scenes, they can consume unnecessary memory and processing power. Of course, this won't hamper performance on premium smartphones with ample RAM. On the other hand, if you've got a device with 4GB or less RAM, this can make a huge impact. It can lead to battery drain and impact the overall performance.
Android also hides a Background Process Limit setting in Developer options. It gives you the freedom to decide how many apps Android can keep running in the background. It can free up RAM and reduce resource consumption. If you notice your apps load slowly or your phone is sluggish after several hours of use, you can reduce background processes to run things smoothly. If you own a budget phone with limited memory, you must change this setting. By default, the Background Process Limit is set to "Standard limit". You can change it to " At most 4 processes" to speed up your phone without affecting performance.
Force Dark Mode on every app
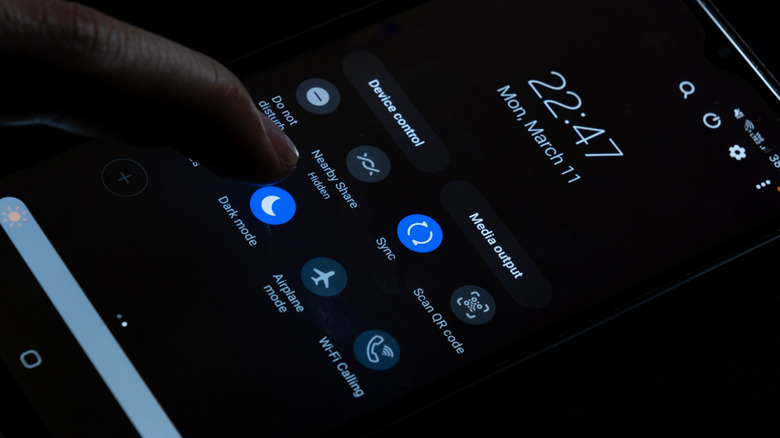
Do you love using dark mode? If so, you have to know this hidden Developer option. Android's system-wide Dark mode is great. It applies a dark or black background to your phone's interface and supported apps. However, not all apps support Dark mode. There are still some banking or utility apps that are blinding white because their developers haven't implemented dark mode. Fortunately, Android users have a nuclear option. Developer Options include a forced dark mode that applies a dark theme even to incompatible apps. This comes in handy when you're browsing late at night or reading in dimly lit environments. Dark mode gives you better readability and reduces strain on your eyes.
Dark mode can also help reduce power consumption on OLED or AMOLED smartphones. That's because an OLED screen requires less energy to display black pixels than bright ones. Some studies show that using dark mode on OLED smartphones can help you save 30 to 40% battery at higher brightness levels. So you see, that's a win-win situation. To enable this feature, go to Developer Options > Hardware Accelerated Rendering > Override force-dark.
Force 4x MSAA

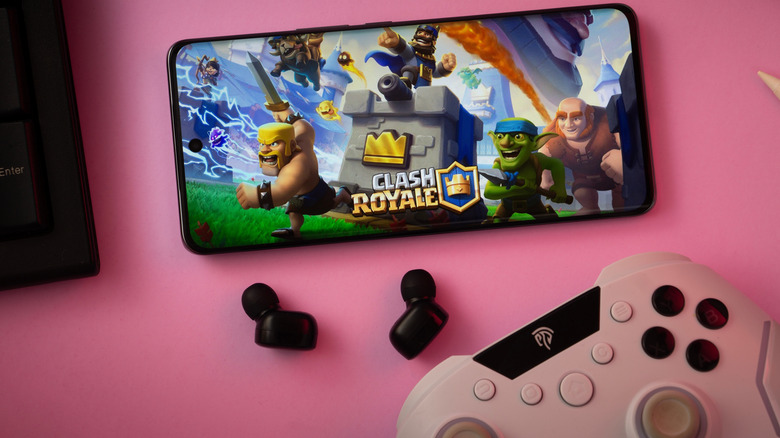
In most mobile games, when you look closely at the edges of objects, you'll see a jagged, pixelated staircase-like effect, especially around diagonal lines and curves. This effect is called aliasing. Basically, it's the visual artifact that can make games look less polished and older than they actually are. To combat this, there is an anti-aliasing technique that smooths jagged edges and improves the image quality of your mobile games. Implementing 4x MSAA (Multi-Sample Anti-Aliasing)is entirely optional for app developers. Many developers, especially for casual and mid-tier games, simply don't bother about it. This is probably because it adds GPU cost or their game engine defaults don't include it.
Force 4x MSAA can bypass the developer's decision. It enables multisample anti-aliasing in OpenGL ES 2.0 games. This gives you smoother edges and crisper text in 3D environments. If you're a casual gamer, the difference is minor. On the flip side, if you play games with detailed 3D environments like Call of Duty: Mobile, the difference is genuinely dramatic.
Bluetooth Audio Codec

There are two settings in the Developer Options that give you an audio upgrade without any additional hardware purchases. When you connect a Bluetooth audio device, most Android phones default to SBC (Sub-Band Coding) codec. Newer phones and headphones support superior codecs like AAC and LDAC. The problem is that Android doesn't always use the best codec automatically. So, even if you've invested in a premium smartphone like Galaxy S26 Ultra and headphones like Sony WF-1000XM6, Android might default to SBC. Now, this doesn't mean there's no way to fix this. The Bluetooth Audio Codec setting allows you to force the connection to a supported codec. It's a great option for audiophiles or users with premium wireless headphones. It will give you better sound on your Android device.
The next one is the Disable Absolute Volume option. It allows your phone and Bluetooth accessory (like headphones or a speaker) to have completely separate volume levels. This will give you finer control over audio levels. Also, it can help you fix volume-related issues that sometimes occur with Bluetooth devices.
Force Split screen mode
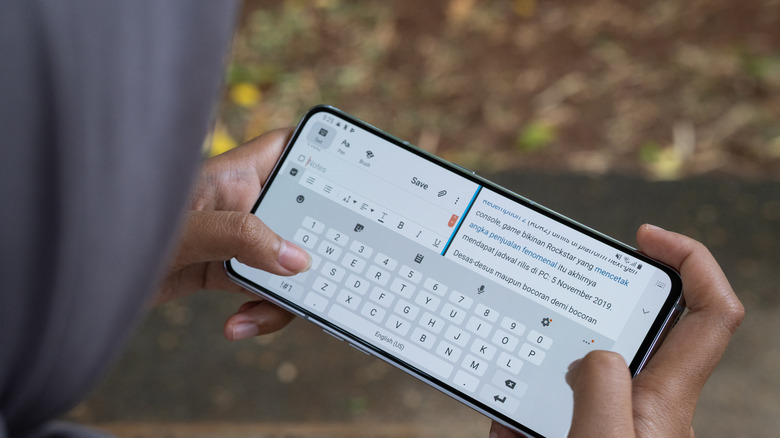
One of the best productivity features that Android offers is split-screen mode. That being said, it's also one of the quietly broken ones. When you open your recent apps and try to split YouTube with a gaming app, you might hit a wall: "App doesn't support split screen." In such a case, you close YouTube and try another app. When you still get the same message, you might give up. You might think some apps work in split-screen mode, while others don't.
That's because some app developers can explicitly mark their apps as non-resizable. As a result, Android can't place them into split-screen or floating-window mode. Some common examples are banking and specific gaming apps.
Developer Options offer a setting called Force Activities to be Resizable that overrides these restrictions. That means, just like in dark mode, you can also force split-screen mode on your apps. This will allow you to run any unsupported app in multi-window mode. It makes a big difference if you often multitask on your phone. You can compare products across two shopping apps or chat with friends while reading an article. Basically, it turns your phone into a flexible workspace, especially on foldables and larger smartphones, where two apps side by side are actually practical.
Wi-Fi Scan Throttling
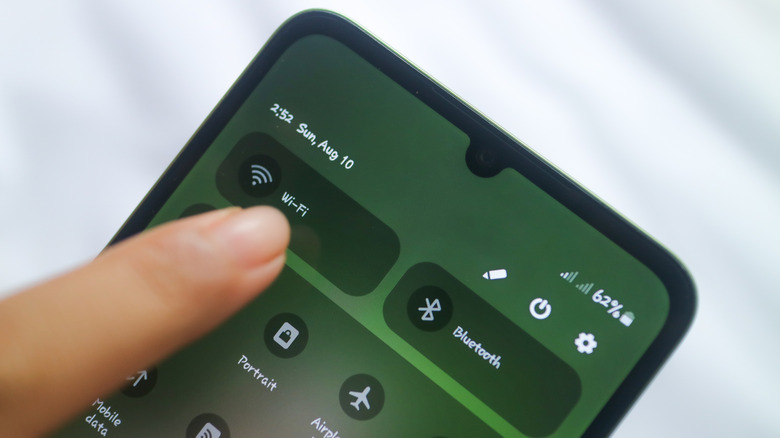
This is perhaps one of the least-known Android settings on the entire list. It may also explain the problem you've been blaming on your router for a long time. Your phone constantly scans for nearby Wi-Fi networks in the background. It measures signal strength and identifies the access point that offers the strongest connection. This helps your phone to find stronger connections and improve location accuracy.
Also, your phone can switch seamlessly between Wi-Fi access points as you move around. In Android 9, Google introduced Wi-Fi Scan Throttling. It limits how often apps can scan for nearby Wi-Fi networks. Of course, this helps conserve battery life, but it can also slow down certain services.
When you disable Wi-Fi Scan Throttling, your phone can check for nearby Wi-Fi networks more often. This can improve location-based features and make your smart-home automations more reliable. For example, your lights can turn on faster when you arrive home. Also, your phone can quickly switch to your home Wi-Fi as you walk through your door. Yes, it's a niche setting, but it can make a noticeable difference for the right users.
Enable USB Debugging
This one is different from the other options we've mentioned. Everything else that we've discussed offers quality-of-life improvements. USB Debugging gives you a different level of Android control. This feature is mainly designed for users who want to work with ADB tools, sideload apps, or troubleshoot more advanced device issues.
When you enable USB Debugging, it activates the Android Debug Bridge (ADB). Basically, it's a command-line tool that allows a computer to communicate directly with and control your device at the OS level.
Developers often use this feature to test their apps and troubleshoot crash logs. You can also use this feature to sideload apps, remove pre-installed apps you don't use, recover files, or mirror your screen on a PC. Besides, you can use advanced tools that unlock extra customization features without rooting your device. You can also enable wireless debugging if you wish to wirelessly control your phone with ADB.
Mobile Data Always Active
This is one setting in Developer Options that should be turned off or on based on how you use the Internet on your phone. We are talking about Mobile Data Always Active. This setting is enabled by default on most Android phones. This means your phone is maintaining a cellular network even while you're connected to your home or office Wi-Fi.
This reduces lag when a connection drops or becomes unstable. You won't have to deal with that 10-second reconnection delay. The transition will be so seamless that you won't even notice it. This offers great help if you make calls over Wi-Fi and then walk outside or work in environments with patchy coverage.
Now, let's say you mainly use Wi-Fi on your phone all the time. In such a case, this setting can lead to redundant, persistent battery drain. We all know that Mobile data generally uses more battery than Wi-Fi. When you keep them running simultaneously, you are simply wasting your precious battery life. In such cases, you must turn off Mobile Data Always Active to save your battery.
Change the Default USB Configuration
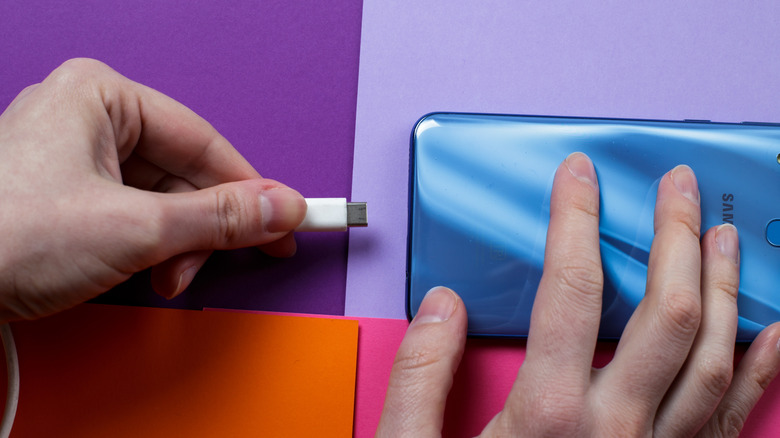
Now, this one is a small change, but you will immediately feel that you should have discovered it years ago. When you plug your Android phone into a PC, Android always asks you what you want to do with the connection. A notification will drop down: "Charging this device via USB. Tap for more options." When you tap it, a menu appears, and you select "File Transfer."
You have to do this every single time. Android never remembers it for you. For security reasons, Android always defaults back to charging-only. After all, a device in file-transfer mode is more exposed than one in charging mode.
If you often connect your phone to your PC, you can change the default USB configuration. This option is also buried in Developer Options. You can set the default to something better, like file transfer, no data, MIDI, or tethering. This saves time and eliminates repeated prompts. Once you make the change, your Android phone will automatically use your preferred option whenever you plug in your device. If you transfer photos or documents daily, this setting will eliminate an extra step.
Force GPU Rendering and Disable HW Overlays
These two settings are often misunderstood, even by folks who use them. We are talking about HW overlays and force GPU rendering. Let's understand what each setting does. Force GPU Rendering helps your older apps run more smoothly. It allows them to use your phone's graphics processor (GPU) instead of the CPU for certain visual tasks.
For example, if an older app feels laggy when scrolling through menus, this setting makes animations and navigation feel smoother and more responsive. On modern phones, you'll feel a noticeable difference in apps that haven't been updated in a long time. Disable HW Overlays changes how Android draws everything on your screen. Usually, visual elements such as the status bar and notifications are handled by dedicated hardware. This reduces the workload on the GPU. When you enable this setting, the GPU handles everything instead.
On some devices, this can help reduce visual glitches like screen tearing and occasional stutters. As a result, you'll enjoy smoother animations and cleaner rendering. However, it also increases GPU usage. This overhead is negligible on flagship devices. If you own a budget phone, it can reduce battery life.