

5 Ways To Make Your Game Controllers Last Longer
We may receive a commission on purchases made from links.
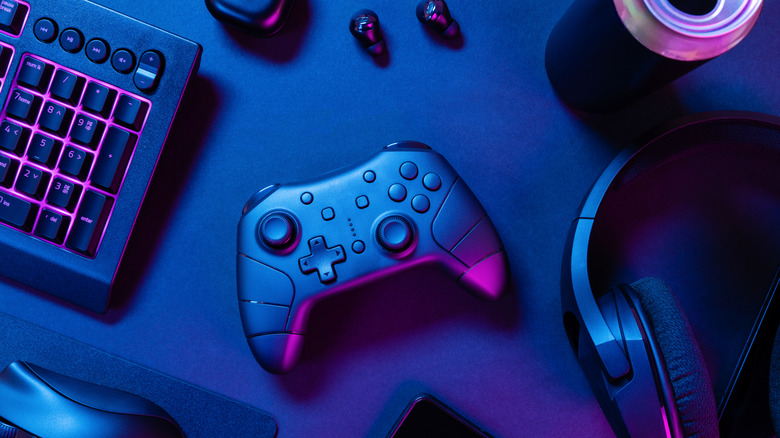
Gaming hardware has become more advanced, immersive, and expensive over the past few years, and the same can be said for controllers. Many newer controllers feature incredible (yet delicate) components, like haptic motors and a variety of sensors. While this tech really boosts your digital adventures, it also introduces more potential points of failure, and a single broken component can ruin a gaming session. Thankfully, there are a few ways to keep your controllers in good shape for years to come.
Everyday wear and tear can quickly degrade your gamepad if you aren't careful, even if you have one of the best gaming controllers. Aggressive button mashing during a tense multiplayer match or simply leaving the device exposed on the couch can shorten its lifespan. Stick drift is one of the more common complaints, often caused by dust and debris creeping into the sensor housings. When you think about steep replacement costs (ranging anywhere from around $70 up to about $200), it becomes clear that taking a proactive approach to hardware maintenance is necessary.
Fortunately, keeping your gear in top shape doesn't require a ton of fancy knowledge or pricey repair kits. By adopting a few easy habits and being open to DIY replacements, you'll be able to drastically boost your controller's lifespan.
Keep your controllers clean to prevent internal damage
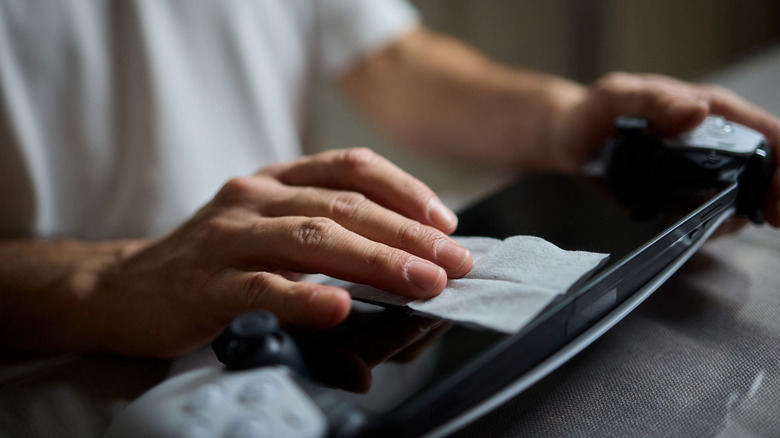
One of the easiest (and most ignored) methods for maintaining gaming controllers is just cleaning them every now and then. As you play, the natural oils from your hands, along with gunk like dead skin cells, sweat, and dust, accumulate all over your controller. Over time, that doesn't just make its surface look and feel gross, it can even get into the internal mechanisms and cause problems. For example, any debris that gets caught inside the thumbstick area or under buttons can cause missed inputs or even the dreaded stick drift.
To combat this, it's helpful to get into the habit of wiping down your hardware regularly. This can be after every long session or once a week during your regular cleaning routine. Mind what you use, though — regular household cleaners can damage your controller, potentially erode rubberized grips, and strip the protective coating off the plastic shell. Instead, just grab a microfiber cloth, dampen it with a little isopropyl alcohol, and wipe your controller down. It evaporates quickly, minimizing the risk of the liquid seeping inside, plus it easily cuts through grease and disinfects the surface.
For harder-to-reach areas, grab a soft-bristled toothbrush. Gently run the bristles around the thumbstick bases and along the plastic housing seams to kick up any trapped gunk. This only takes a few minutes but offers +5 defense against the grim buildup that can force players to buy early replacements.
Store each controller properly between gaming sessions
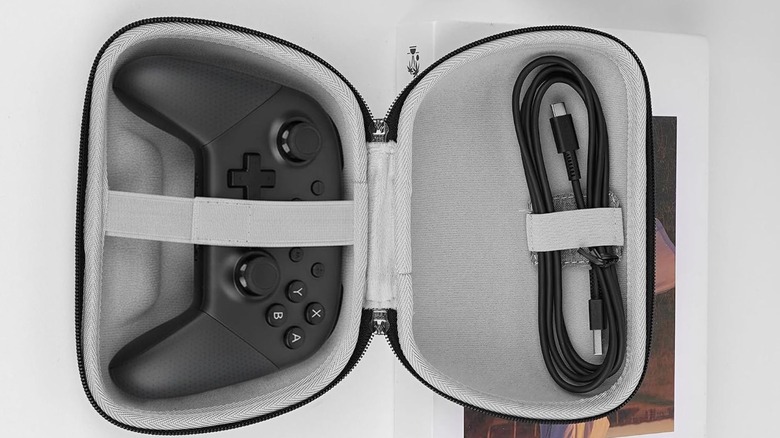
Proper storage is just as important as regular maintenance when it comes to protecting your controller. While every gamer is probably guilty of setting their controller down way too close to a pizza box or can of soda, or even just tossing it haphazardly onto the couch, that's not actually how you should treat a controller. Why? Because pets can chew on the thumbsticks, someone might accidentally sit on the triggers, or something gross might get spilled onto it. Controllers deserve so much more.
The best approach is to designate a safe resting spot for your controller whenever you power down your game. Charging docks and especially protective hard-shell cases are ideal. If neither of those options are in your budget, consider just putting the controller somewhere generally safer, like an entertainment center drawer. It's all about keeping your controller in a stable environment where it can't be easily reached by pets and kids, and even by environmental factors like humidity and direct sunlight.
Additionally, it's just as helpful to manage your cables properly for wired models. Wrapping the cord tightly around the body of the device might seem tidy, but it can stress the internal wires and the connection port. Instead, opt for something less straining, like coiling the wire loosely, then using a Velcro tie to secure it.
Avoid any drops and sudden impacts to your controller
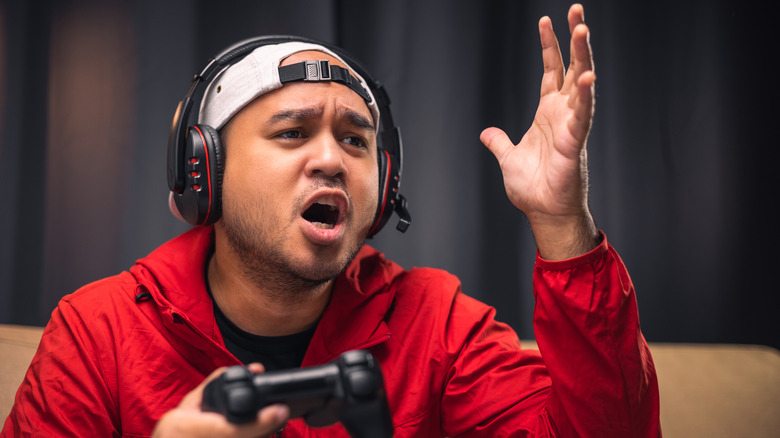
Maybe it sounds obvious, but protecting your controller from drops and frustrated throws across the room is the surest way to keep it in good shape. Though older controllers may not have had a ton going on, modern controllers are packed to the brim with sensitive components like sensors, delicate trigger springs, and haptics. Their outer shells hold up pretty easily to regular handling, but they have lower odds of surviving the shock of a hard drop onto a tile floor. Even a small tumble from a couch can potentially permanently knock something loose.
Unsurprisingly, one of the main causes of controller damage happens alongside intense games. Players can consistently mash buttons super hard, which slowly wears them (and their sensors) out faster than they would normally. And when matches get heated (especially when gamers get mad at a match outcome or another player), it's not unheard of for them to jump up and drop their gamepad mid-celebration or just flat-out chuck it across the room in a fit of rage. As you might guess, such acrobatics aren't great for controllers and can easily damage them. It's fairly easy to help prevent such damage from happening, however. Try to get in the habit of setting your gear down on a table immediately after each round (and maybe buy a stress ball).
Adjust your battery-saving settings to ensure longevity
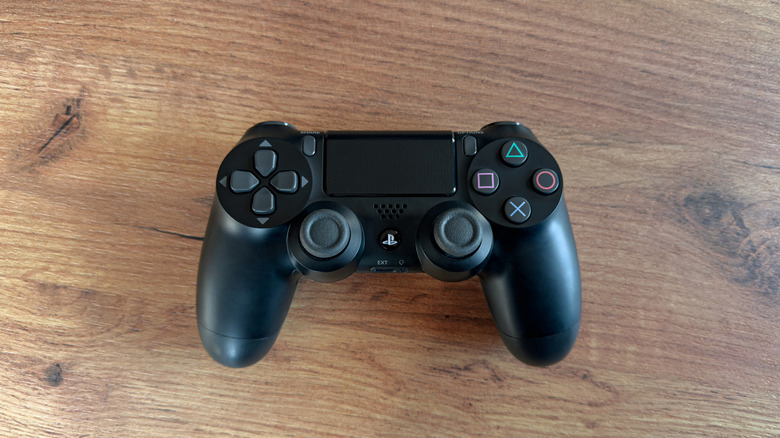
Wireless controllers typically use rechargeable batteries to keep things portable, and you might even be able to charge your controller with a phone charger. While that gives you the freedom to play without having to worry about cords getting in the way, it brings another issue to the table: the fact that batteries naturally lose their ability to hold a charge over time. Even though this degradation is inevitable, it's still possible to delay the inevitable by tweaking some built-in power management and battery-saver settings.
First, turn down or disable the most power-hungry features. Things like light bars, haptic feedback, and rumble motors are all immersive, but they race through battery. But if you dim them, you'll decrease the overall drain on your controller's battery — you won't have to recharge it nearly as often, resulting in fewer overall charge cycles. That's a huge net positive!
You can also toggle the auto-shutoff timer. Pausing your console to cook some dinner, for example, means the controller is just sitting there powered on the entire time. Setting the device to automatically turn off after 10 or 15 minutes of inactivity means the battery isn't completely and unnecessarily wasted. These small tweaks require little effort on your part but pay huge dividends in keeping your controller healthier for longer.
Replace damaged parts over time instead of buying new
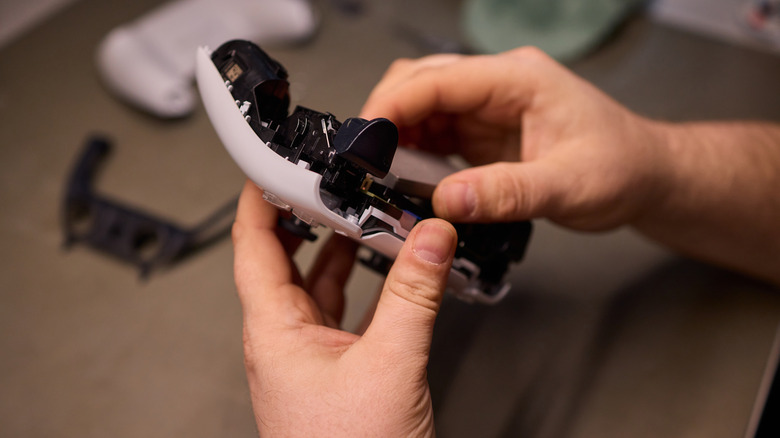
You might be wondering how long Xbox controllers usually last, as well as those from other manufacturers. Are all gamers destined to end up throwing theirs in the trash after a couple of years? Well, even if you're meticulous in caring for your controllers, their mechanical nature means that certain parts are practically fated to wear out. But one worn-out component doesn't mean you should condemn the entire controller to the gallows. Some folks in this situation just head to their local game store and buy a new controller as soon as their thumbstick starts drifting, but you might want to consider saving yourself some money by just replacing the busted parts yourself.
The modern repair movement is making it easier to source quality replacement parts online. It shouldn't take much effort to find affordable replacement kits for things like trigger springs, internal-only batteries, thumbsticks, and conductive rubber pads for face buttons. These kits usually only cost a fraction of the cost of new controllers and sometimes even include the tools you'll need to safely open and repair your controller.
While taking apart an expensive piece of tech can seem daunting at first, the process is actually pretty straightforward. If instructions aren't included in your kit, there are thousands of step-by-step tutorials online that'll walk you through the process for virtually every modern gamepad on the market. By spending about 20 minutes following a free guide to swap out a faulty part, you keep electronic waste out of landfills and your budget intact. There's nothing to not love about that!