

5 Cheap Repairs That Turn Broken Audio Gear Into Thrift Store Gems
We may receive a commission on purchases made from links.
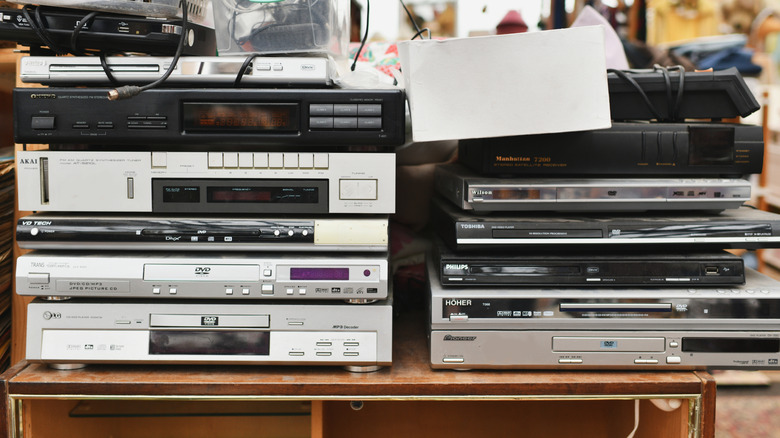
I like to fancy myself a professional thrifter. What once started as a fun hobby turned into a small business that helped pay my way through college. My specialty was with vintage electronics, buying them up cheap, refurbishing them, and flipping them for a modest profit. Because of that, over the years, I've learned to spot broken audio gear that can easily be repaired.
A number of the repairs needed to bring vintage electronics back to life are often pretty simple. Many repairs don't even require any specialized skills to complete, unlike something more delicate like trying to fix a broken HDMI port. While you might not be looking to start a new side hustle selling refurbished gear, you could still save a lot of money by fixing old audio gear. And with vintage audio gear being in such high demand today, knowing some easy fixes can really come in handy.
The following are some of the simple repairs that you should keep in mind the next time you come across some broken or non-functioning audio gear in the wild. These repairs are also great if you currently have some old, partially functioning audio gear stuffed away collecting dust.
Installing new replacement belts
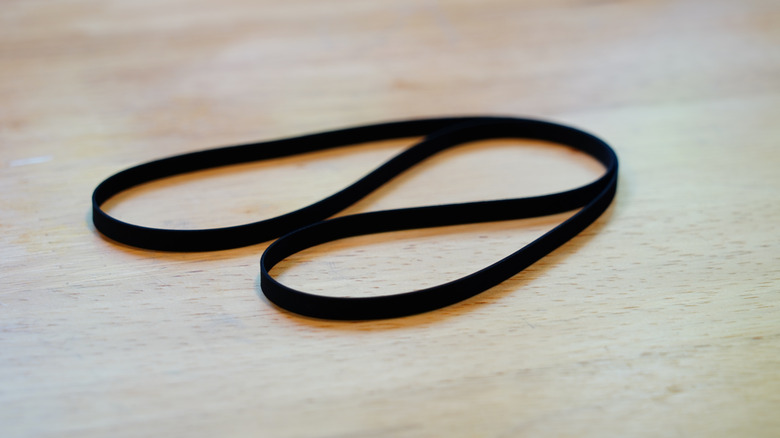
If you're collecting physical media, you're going to need some sort of player in order to enjoy your content. From cassette players and turntables to VHS and Laserdisc players, many of these devices share one common thing: a belt drive. Cassette players and turntables use these belts to spin vinyl and to feed tape, while optical drives use belts to open and close disc trays.
One of the most common issues is with belts drying out from years of non-use. The rubber gets brittle and can fall apart. And even if a belt isn't broken, over the years, it can stretch, causing audio to sound like a horror movie. The good thing is that belts are usually easy to replace on something like a turntable. You can usually lift up that platter and run the belt across a couple of wheel drives.
Belts are also really cheap — a bag of turntable belts on Amazon runs for under $10. Cassette and digital players are more difficult to replace because of their compact size, but the process of running the correctly sized belt across drive wheels is the same. If you're looking to replace the belt on something other than a turntable, it should be similarly cost-effective — a bag of 100 assorted belts for electronic repair will only run you around $7.
Replacing broken or missing knobs
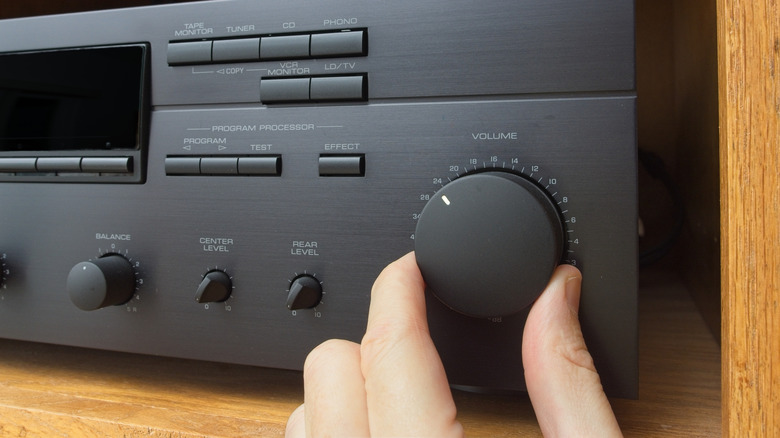
If you visit thrift shops enough, one thing you'll start to notice about the electronics and audio gear you come across is that they often come with a few broken or missing knobs and buttons. I can't count the number of times I've come across a stereo amplifier missing its large main volume knob.
People will often skip picking up these pieces of gear because finding new old-stock (NOS) replacements can be expensive and difficult. And without all the various knobs, older gear can often lose a little bit of the aesthetic that helps it to stand out and sell. Thankfully, modern technology has helped to address this problem with the advent of cheap at-home 3D printing.
If you find a vintage piece of audio gear with a broken knob, you can simply type the model into the search field of a 3D printing website such as Thingiverse. If you have a 3D printer, printing replacement knobs is a breeze. And if you don't have access to a 3D printer, Amazon has assorted knobs like these Bakelite Potentiometer Pointer Knobs that can be used to fix vintage audio gear.
Swapping out broken vacuum tubes
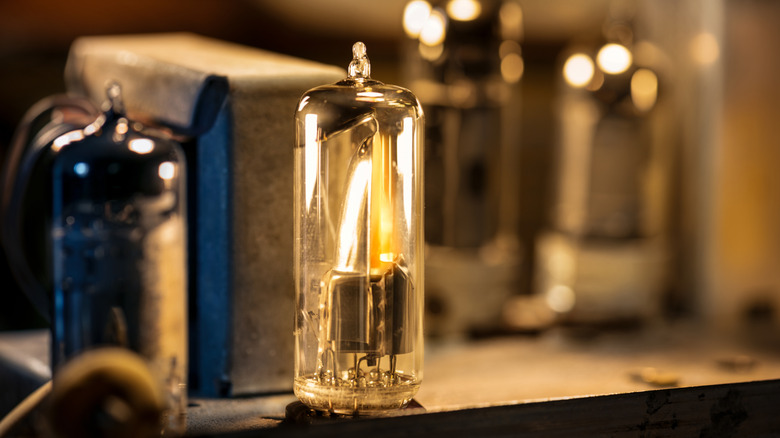
Tube technology often feels like something out of the pages of 1950s science fiction. Vacuum tubes became central to early electronic amplification after Lee de Forest's 1906 Audion, and they helped shape early radio technology. These vacuum tubes often have a distinct orange glow, and they help to amplify guitar amps, old radios, and home entertainment amplifiers.
While tube amps have a very complex and retro-futuristic look, replacing them is easy. On many amps, replacing a preamp tube can be as simple as removing the old tube and inserting the correct replacement, once the amp is unplugged and cooled. Some musicians have noted that it's easier to replace a tube than to replace the strings on their guitar. Knowing how simple it is to replace a tube is why a vintage amp might be the thrift store gem you've been walking past.
Vacuum tubes come in all sorts of shapes and sizes, so it's important to know the right type of tube you need for your given amplifier. You can expect to pay anywhere from around twenty to eighty bucks for a pack of replacement tubes. And if that vintage amplifier in the thrift store is selling online for thousands of dollars, a $50 tube is a steal.
Replacing capacitors
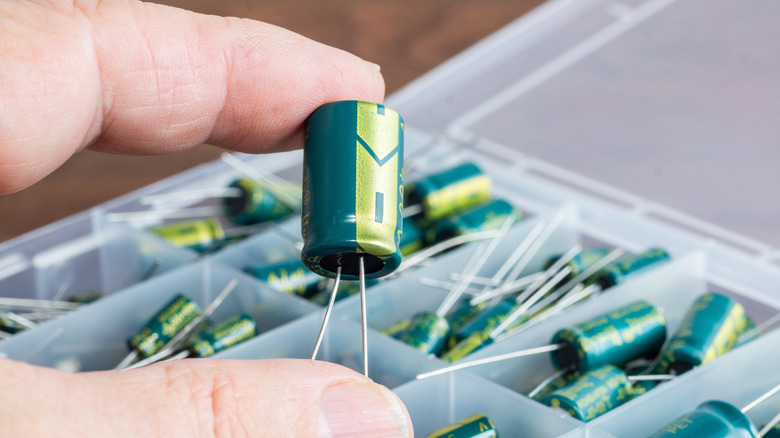
My 65-inch TCL Roku television's picture went out just ahead of the World Cup, because life's timing is impeccable. Having experience with repairing LCD televisions and their common failure points, I knew it was one of two things: Either the LED light strips burned out, or a capacitor on the power board went bad. After inspection, I found out that it was a bad capacitor — one that I replaced in only a few minutes.
Now, this repair requires a little bit of skill and some extra tools, most notably a cheap soldering iron. After unplugging the device and safely discharging the capacitor, you can remove a bulging or popped capacitor by heating up the solder joints keeping it on the board, then pulling it off. You can then insert a new capacitor and solder new joints to keep it in place.
The YouTube channel How Do You? DIY has a great video on the basics of soldering, breaking it all down and teaching you everything you need to know in a few minutes. It's a simple skill to learn, but one that can change your entire repair game. So many electronics that get sent to the landfill can often find new life with nothing more than a $5 pack of capacitors.
Repairing a power cord plug
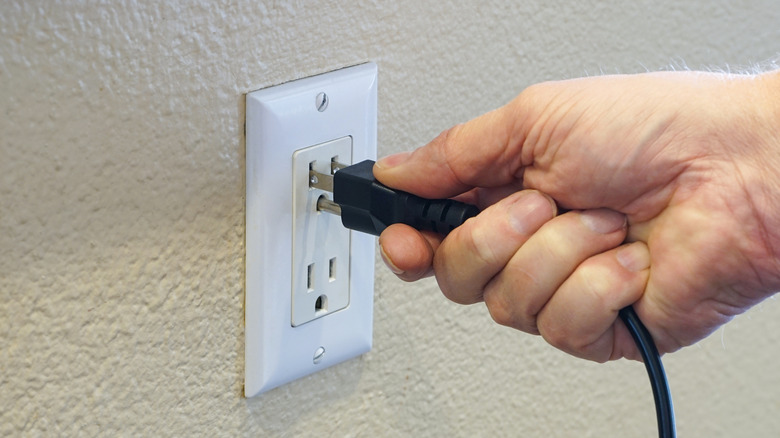
One point of failure on older audio gear can often be with the power plug. It's not uncommon to see broken or bent pegs on vintage electronics, leading to damage, risk of fire, and other problems. It can also be hard to identify power adapter issues, as they don't always show signs of physical damage to the naked eye.
Cable stressors, age, and more can impact a power cable's ability to feed proper power. And I can't even begin to tell you the number of times that I've come across vintage electronics that have had their plug end randomly cut off. Thankfully, much of the time, replacing a power plug is a quick, easy, and pretty cheap fix.
You can snag a pack of replacement plug ends on Amazon for under $10, and if you're getting into repairing vintage tech, it's a good idea to keep a few in your toolbox. Picking up a cheap pair of $5 wire strippers is also a great idea when attempting this sort of repair, so that you don't have to fumble around with a pair of scissors and accidentally make things worse. Not that I have any firsthand experience with that.