

5 Google Pixel Phone Features You Need To Manually Enable
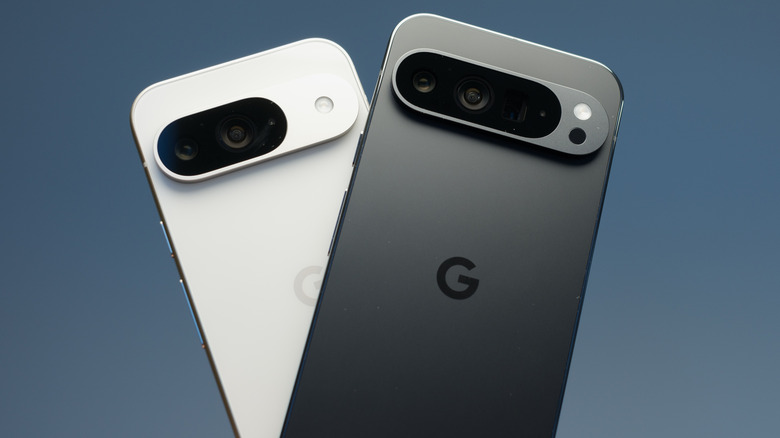
The Pixel's Tensor chips aren't really known for spectacular battery life, and thus many of the niftiest features that ship with a Pixel are off by default. Sure, these features may have headlined at I/O, but once they land on a Pixel, the default is often to keep them off unless a user goes into their settings to turn them on. The trouble is, it's hard to find these settings unless you already know what you are looking for, and worse, some are even hidden inside an app's settings, rather than the phone's — and that's not even dipping into the developer options that are hidden by default.
By and large, you can at least use the phone's search feature within its settings to find what you need. But rather than wasting your time hunting and pecking, we have gathered together five of the more prominent features you need to manually enable on a Google Pixel phone, with clear instructions on how to navigate to those settings to toggle them on, ensuring you get the most out of your phone's quality-of-life features.
So, if you've always felt like you could get more functionality out of your Pixel, but have yet to explore all of the wonderful features you can take advantage of by simply toggling them on, this roundup is for you. No matter if you'd like to turn on call screening, use a swipe gesture to easily pull up your assistant, keep the screen properly rotated whether you're sitting up or lying down, wake your screen by simply lifting your device, or take advantage of the phone's smooth 120 Hz display, you're covered with our detailed instructions — which also means you can easily revert these features should you run into any trouble.
Automatic Call Screen
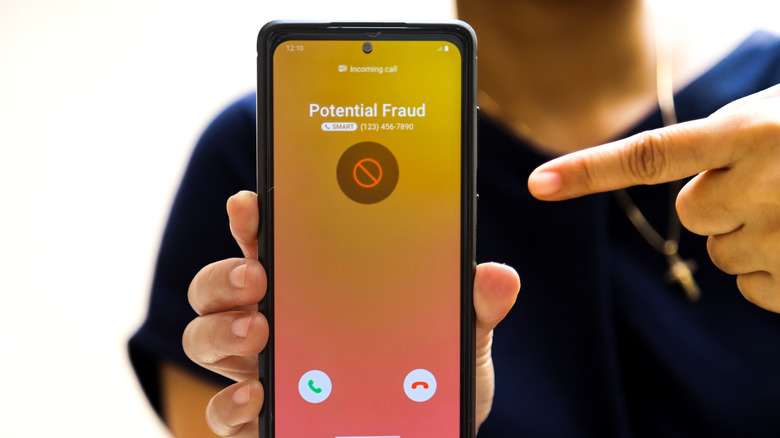
Unwanted robocalls are annoying, and Google is clearly aware, having launched its Call Screen functionality with the Pixel 3 in 2018, which grew into Automatic Call Screening, a feature that eventually made its way to more Pixels in 2020. In its current form, you can set your phone to automatically answer and filter spam calls, with the help of AI, which is why we recommend the feature as a top tip for setting up your new Google Pixel phone.
Essentially, Automatic Call Screen uses Google AI to answer spam calls from unknown numbers, asking the caller to identify themselves, and then it transcribes the response so you can easily see what the caller wants. Though in practice, most spam callers hang up the second they realize they're talking to a bot (which is to say almost immediately). Still, there is something very satisfying about forcing spam bots to interact with your own bot.
While there's a reason Google does not ship Pixel phones with the feature turned on (which has to do with false positives, such as missing calls from large organizations like doctors and employers), it's easy enough to toggle it on to test the waters. Open the Phone by Google app preinstalled on your Pixel, tap the hamburger menu in the upper-left (three horizontal lines), then select Settings from the slide-out menu. From here, select Call Screen under the "Call Assist" heading, then toggle on Automatic Call Screen at the top of the page. This is also how you can turn off the setting, just in case you get more false positives than you can live with. Otherwise, if you've been experiencing a high number of spam calls, Automatic Call Screen is a Pixel feature designed to help.
Swipe to invoke assistant
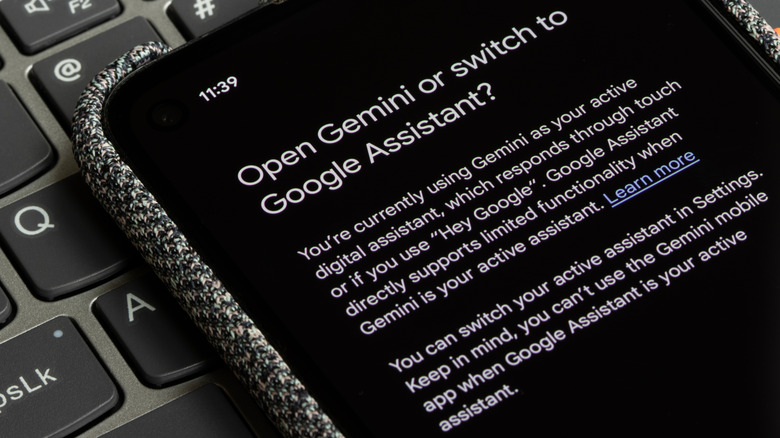
There are actually a few different shortcuts available on a Pixel phone that make it easier to invoke your digital assistant, whether you've set that to Google Assistant or Google Gemini. One such shortcut we've covered with the many things you didn't know your Google Pixel can do is the option to launch your assistant by double-tapping on the phone's back. But there's an even more convenient shortcut: one where you swipe inward from the bottom screen corner to launch your assistant, which is aptly titled "Swipe to invoke Assistant." This setting even outshines using the power button to launch your assistant, reducing wear and tear, allowing you to reserve that shortcut for a different function, like launching your camera. This way, you have a dead-simple method to bring up your assistant by swiping diagonally on your screen.
To turn the feature on, navigate to your Settings app, then head to Display & touch > Navigation Mode > Gesture Navigation and tap the gear icon. On the next screen under the "Digital assistant" header, you can toggle Swipe to invoke assistant to turn the feature on. And if you find you accidentally trigger your assistant a little too often with this shortcut, it's just as simple to turn it back off.
Best of all, this diagonal design allows for one-handed use — it's pretty easy to pull off reliably with either thumb, as well-designed gesture controls should be. It's also a handy method to launch your assistant without voice controls, keeping the function silent, perfect for any work or school setting. The gesture also can help ensure your screen remains uncluttered, eliminating the need for a search bar, similar widgets, or app shortcuts to launch your assistant of choice.
Auto-rotate screen with Face Detection
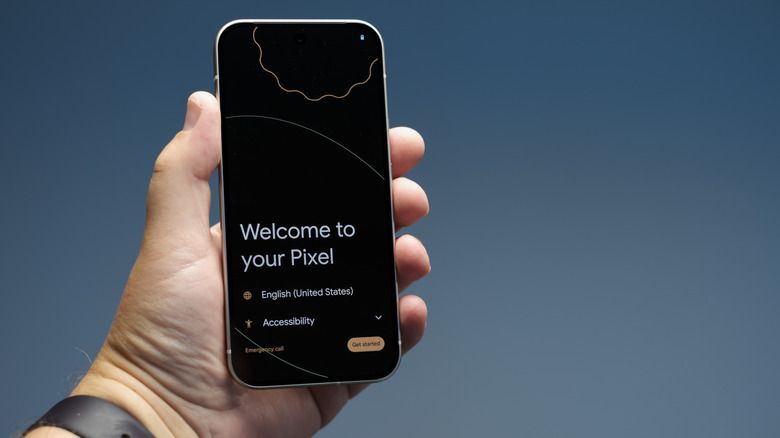
The ability for our Pixel phones' screens to auto-rotate is certainly a welcome feature, so that no matter how we hold our phones, content is oriented correctly, be it horizontally or vertically. However, if you've ever held an Android device in bed, perhaps while lying on your side, you may have run into an issue where the screen isn't orienting itself correctly, due to your body's sideways positioning. Well, Google has a fix for that: you can turn on Face Detection so your screen orients itself to your eyes, no matter how you are sitting or lying. That's right — with a simple setting, you can ensure your phone's screen always matches the orientation of your eyes, which can be handy if you use your phone a lot when lounging around the house. It's a bedtime fix for your screen.
Now, for those of you who are security-conscious, this particular face tracking is done locally, keeping these selfies under your control. However, opting to turn the feature on can use more battery than when off, and with all face detection, some form of lighting can help your camera see your face, which means you could run into trouble with detection in a pitch-black room while viewing dark content. Then again, the flexibility added with Auto-rotate screen with Face Detection is hard to beat, which is why it's considered a solid hidden feature to turn on.
Jump into the phone's Settings, then navigate to Display & touch > Auto-rotate screen and make sure Use auto-rotate is enabled. From there, enable the Face Detection toggle, and now your front-facing camera will help to orient your screen more accurately, no matter which direction you are facing.
Lift to check phone
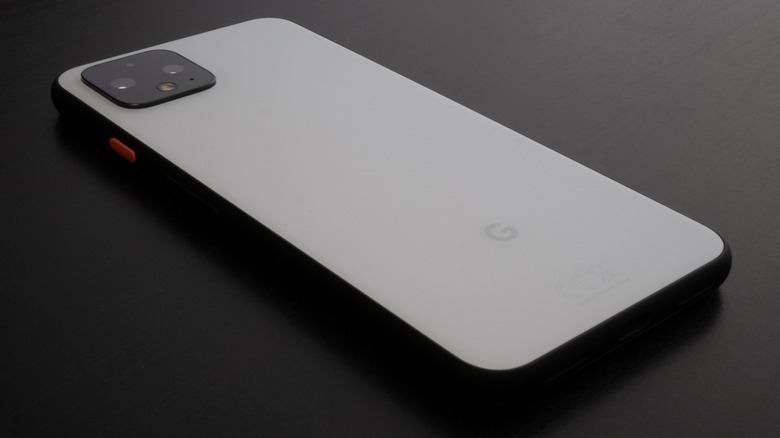
One of the more natural motions when interacting with a phone is the act of picking it up, and Google has tapped into this with a feature called "Lift to check phone," turning on your screen so you can see your notifications. Should you couple this feature with Face Unlock (not to be confused with Face Detection), not only will your phone wake up when lifted, but it will unlock when the front-facing camera sees your face. This way, you can interact with the device without having to manually unlock it. Even if you don't use Face Unlock, Lift to check phone is plenty useful so you don't have to tap the power button just to turn the screen on.
It's easy enough to toggle on the feature by jumping into your phone's Settings, then navigating to Wallpaper & style > Lock screen > More lock screen settings > Lift to check phone. This will open a new screen where you can enable Lift to check phone, which is also where you can turn it back off.
However, Lift to check phone can use extra battery with repeated accidental wakes — the screen turning on for an extra five to 10 seconds can add up over several times a day, but this is to be expected when the phone is set to wake when it's lifted. If you find your battery isn't lasting as long as it should, simply turn the feature off to see if your battery drain is resolved. Basically, Lift to check phone excels when you leave the phone flat on a desk for the majority of the day (like at work), and only lift it when a notification rolls in, keeping accidental wakes to a minimum.
Smooth Display
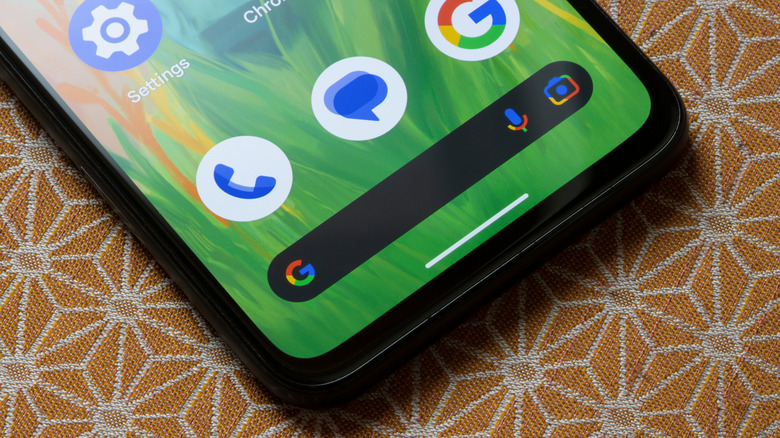
Google's Pixel phones may offer high-refresh-rate screens, but if you want to make full use of the 120 Hz display on some models, you'll have to enable the feature. It's one of a handful of Google Pixel settings that actually speed up your phone, so it's certainly one we recommend trying out. By default, recent Pixel phones are locked to 60 Hz to conserve battery, much like most of the disabled settings in today's roundup. But the feature is only a toggle away from being activated, which can make for a rather smooth experience (hence the name).
In order to turn on Smooth Display, head over to the phone's Settings app, tap on Display & touch, and look for the "Other display controls" header. The second option here is Smooth display: Turn it on, and now your screen can reach up to 120 Hz. The refresh rate is now adaptive, using fewer frames when nothing is moving on the screen, then ramping up when things start to move, like UI animations, reaching well beyond the stock 60 fps.
Turning on Smooth Display is great for any video or game that supports high refresh rates, allowing games in particular to feel more responsive since you have that many more frames to react to what's animated on the screen. Plus, the entire OS feels and looks much smoother, since you have up to double the frames for animations, leveling things out should a frame or two be dropped, allowing for a buttery-smooth experience. Plus, you can take things further by locking the frame rate to 120 Hz by forcing the peak refresh rate in your Developer Options, if you prefer a static frame rate over an adaptive one.