

5 Nvidia App Settings You Should Change ASAP
While getting a new Nvidia GPU is generally a huge graphics upgrade, making sure the Nvidia app has the right settings for your build is equally important. That's right, I'm focusing on the Nvidia app instead of the legacy control panel, which is cleaner while consolidating modern features like Deep Learning Super Sampling (DLSS) overrides. While the default settings are a stable baseline for most users, diving into the menus can unlock significant performance gains, reduce input latency, and fix common visual issues. It's like buying a sound card and then plugging it into a cheap set of speakers. Gamers need to make sure their components are working at their best considering the price of entry.
This goes for everyone from competitive gamers to enthusiasts looking to squeeze every drop of CUDA goodness out of their latest AAA game titles. Making a few strategic adjustments is well worth everyone's time. Just make sure that your graphics card is running at the native monitor resolution in Windows display settings, as the Nvidia app relies on this foundation for all its variable refresh rate implementations. With the following tweaks and adjustments, gamers can make sure their graphics card is earning its keep and running at its absolute best, providing the stability, responsiveness, and frame rates that modern PC gaming demands.
Disable global game optimization for better stability
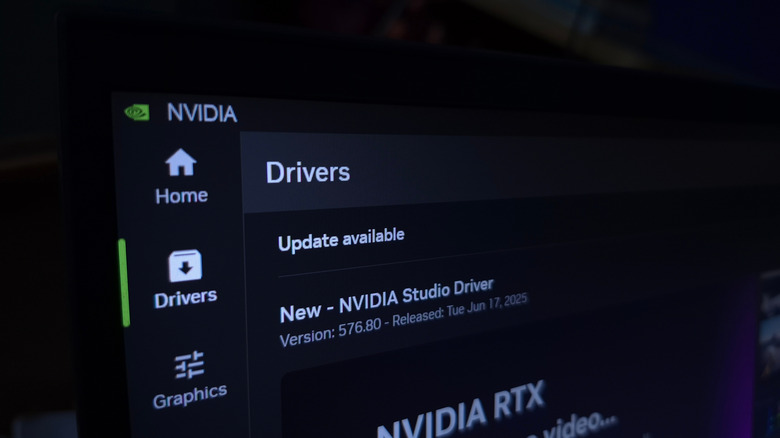
It can be tempting to just turn on automatic game optimization and let Nvidia handle the settings, but it's generally better to keep this feature off. Nvidia's automated profiles frequently apply aggressive frame generation or upscaling metrics that aren't suited for every title, especially competitive games. This often results in an unstable, muddy, or inconsistent image depending on the specific title being played. There are plenty of amazing features that Nvidia offers, but this really isn't one of them.
It's far more effective to handle game-specific tweaks manually via in-game menus or by creating individual application profiles with the Nvidia app. By maintaining manual control on a game-to-game basis, gamers avoid the performance overhead of unnecessary upscaling and keep visual output as sharp as possible across a gamer's entire library.
This approach avoids unnecessarily reducing visual quality for negligible performance gains, giving total control over how each game looks and performs. Always remember that default settings are designed to be safe, but manual, per-game tuning unlocks maximum performance without generating unwanted graphical artifacts.
Configure G-Sync
For those using a G-Sync or G-Sync compatible display, enabling this feature globally is widely considered to be the single most impactful change gamers can make to enable a smooth gaming experience on PC. To make sure variable refresh rate technology runs flawlessly without screen tearing, set G-Sync to "On" for full-screen applications.
To get the best results, avoid the "full screen and windowed" mode unless it's time to troubleshoot an incompatible and older game. This particular setting can frequently misfire on standard desktop applications, forcing monitors into low, stuttering refresh rates. For the most fluid experience, pair the G-Sync toggle with vertical sync forced to "On" within the global driver profile.
This creates a "set and forget" configuration that prevents a gamer's frame rates from exceeding a monitor's maximum threshold, successfully eliminating tearing while maintaining low latency. This combination provides a premium, tear-free gaming experience while ensuring their display and GPU are always perfectly synchronized, preventing jarring screen tears that interrupt immersion.
Leverage DLSS and DLAA wisely
For owners of Nvidia GeForce RTX 20 series GPUs and newer, the custom DLSS override framework offers a powerful way to improve image quality. When using custom DLSS presets, selecting "Preset L" on modern RTX 40 and 50 series hardware often secures the sharpest possible image with minimal upscaling artifacts.
While Nvidia's flagship graphics cards are great, older-generation cards can be great value too. For owners of older RTX 20 or 30 series graphics cards who notice a performance hit with "Preset L," it's a good idea to use "Preset K" instead, which is the best choice overall for that architecture. If players notice there's no anti-aliasing toggle available to turn on, they can go for the super resolution override option to force Deep Learning Anti-Aliasing (DLAA) instead. This uses artificial intelligence to smooth out jagged edges and shimmering textures, while DLSS on Nvidia GPUs boosts performance by rendering a game at a lower resolution and upscaling it.
It forces the engine to run anti-aliasing passes at the display's native rendering resolution, which provides a significantly cleaner output than standard temporal anti-aliasing (TAA), resulting in a higher-quality immersive experience without the shimmer associated with lower-resolution upscaling. This level of control allows gamers to force superior image quality even in games that weren't originally designed with such modern features in mind.
Use automatic shader compilation
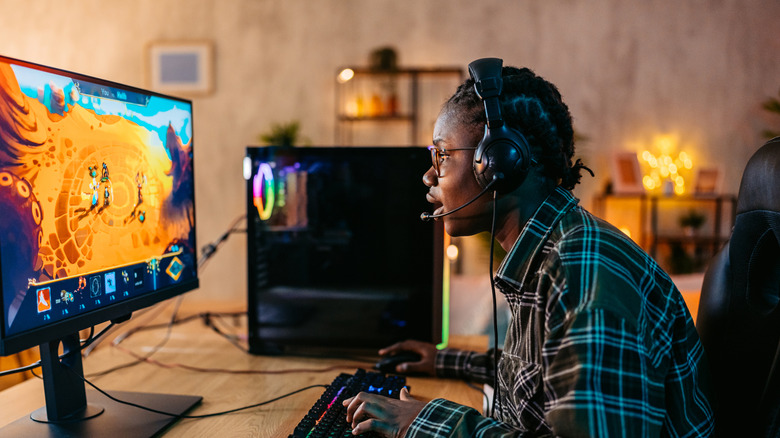
Want to reduce in-game stutters as assets are loaded into a boss fight or chaotic level climax? That's simple, just turn on automatic shader compilation. This allows a gamer's GPU to rebuild and manage shaders in the background while a PC is idle after a driver update, preventing performance "hitching" often associated with shaders compiling in real-time during intense gameplay sequences.
As well as doing this, stick to the default driver setting for the shader cache, which is 16GB. While some users believe custom sizes provide better performance, the default configuration is specifically designed to handle most titles without overflowing or causing storage-related instability. For those into emulation, this is why shader packs are often recommended when running Nintendo Wii U and Switch backups, as the emulator doesn't have to work to generate shaders.
Keeping these background processes optimized helps to make sure the graphics card and PC hardware are always prepared for a game playthrough without micro-stutters. Offloading these tasks to a PC's idle time allows the GPU to focus entirely on rendering frames during active gameplay, which is essential for maintaining a high and stable frame rate. It keeps the system responsive, even in open-world titles that tend to compile shaders as players explore new areas.
Enable the Nvidia overlay
Keep the default in-game overlay enabled, as it serves as a lightweight and low-overhead addition that can capture high-quality local recordings, take screenshots, and monitor real-time system metrics like frame rate and GPU usage. Accessing this via Alt+Z allows players to keep an eye on how their hardware is behaving during gaming sessions.
When using the Nvidia overlay for recording gameplay, navigate to the video capture settings and change the frame rate to 60 FPS for the best results and a highly shareable format. Make sure to also leave the video bitrate at high or set to maximum for fast-paced action. I've also used SteelSeries among other alternatives, but the Nvidia overlay is the most efficient and least invasive capture software in my opinion.
If the Nvidia overlay looks too sharp or distorted when playing in HDR mode, there's a "Configure Heads-Up Display" menu. Set the front color to "Custom" and enter the code #bbbbbb to dim the UI elements while keeping them perfectly visible. This keeps monitoring tools useful without being too distracting while gaming, giving users a professional-grade suite that's always at a user's fingertips.