

4 Ways To Make A Cheap Home Projector Look Better
We may receive a commission on purchases made from links.
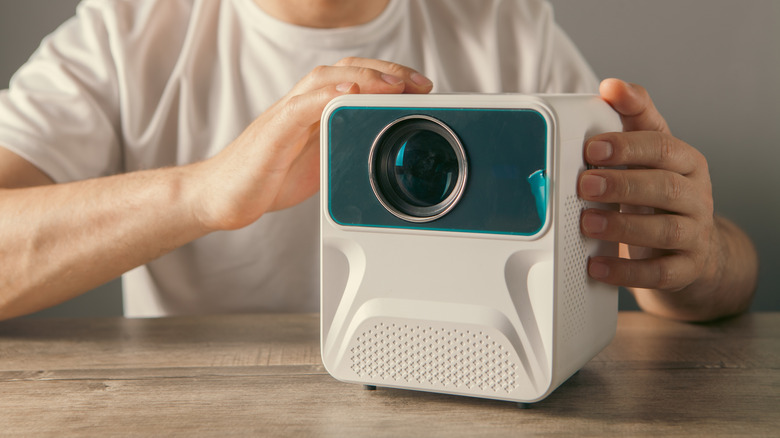
Building your very own home theater doesn't have to be the kind of project that'll bankrupt a household. TVs are less expensive than ever before, as are audio systems and all the necessary cables for wiring up your hardware. Investing in a projector costs less than ever, too, especially if you care more about image size than image quality. Some of the smallest projectors are still capable of throwing a 100-inch projection or larger; it's variables like brightness and color accuracy that take the biggest hit when the price is ultra-low.
This isn't to say that every inexpensive projector on the market delivers a lackluster picture, but if you're spending less than $100, there's going to be something that's relatively lacking. It may not just be brightness and colors; bargain-bin projectors can also be limited in terms of available inputs, HDR capabilities, and image correction tools (e.g., auto-keystone, zoom, etc.). We also wouldn't be surprised if a sub-$100 projector had a fairly loud fan. Fortunately, there are ways to improve the picture quality of even some of the worst projectors out there.
We'll be focusing on a few of the most practical enhancements, and one of the biggest is ambient light control. Cheap projectors usually aren't able to output enough brightness for daytime viewing, but adding a couple of items to your theater room or outdoor movie zone can make quite the difference.
Invest in a solid projector screen
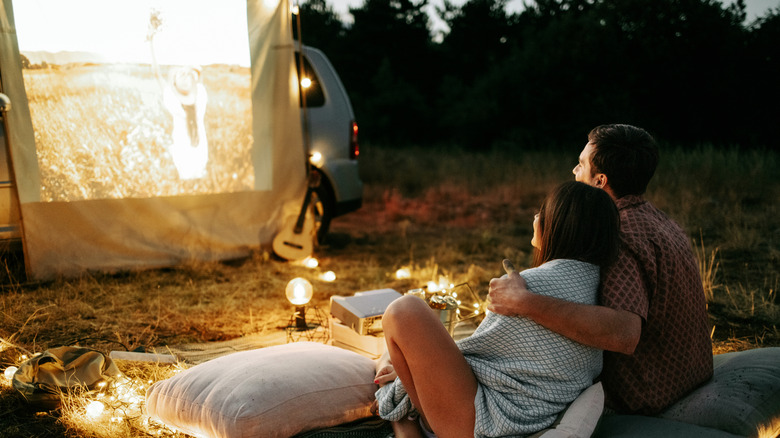
A bargain-bin projector may not manage much in the way of brightness, colors, and contrast. To that end, projecting movies and TV shows onto a decent screen can make the best of your projector's capabilities. Many projector screens are made using ambient light-reducing materials, so that the projected image may be rendered as sharply as possible, sans glare. An ambient light-rejecting (ALR) screen may also help to preserve colors and contrast, especially in a brightly lit room.
Yes, in many cases, an ALR screen could actually cost more than the cheap projector you scored on Amazon, but it's a great investment for indoor and outdoor movie nights. There are plenty of portable ALR screens to choose from, and many can easily be stowed away. The 80-inch model from Visulapex, which costs $86, is worth checking out. It can either be stand-mounted or hung from a wall, and even comes with a stand and carrying case.
Monetarily, nothing beats the zero-dollar cost of projecting onto a regular wall, but even the cheapest projector screen is better than nothing. Drywall isn't so great at preserving picture details to begin with, and matters only get worse when you add ambient lighting to the equation. Try to build the best screen you can afford into your projector budget; you can thank us later.
Do what you can to control ambient lighting
Technically, we could have roped this part in with our above discussion of projector screens, but ways you can go about mitigating ambient light could also be a whole other article; consider this section the middle ground. Right off the bat, we can tell you that keeping your cheap projector indoors is always going to be your best bet. Other than keeping any outdoor lighting to a minimum (and investing in a decent screen), there isn't much more you can do to reduce moon-and-stars ambiance.
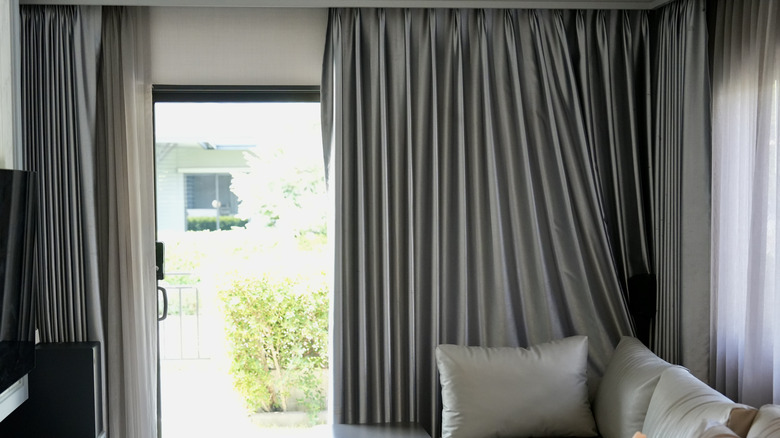
It's a bit of a different story indoors, though. Lamps and other light fixtures can desaturate a projected image when placed too closely to it. For best results, try dimming the lights, relocating your light source(s), or just keeping the lights off when using the projector. Furthermore, if you do a lot of movie-watching in the daytime, we recommend investing in one or more sets of blackout curtains for rooms that receive a lot of sunlight. They're easy to find, too, and some can even be customized to fit your windows.
Should you do most of your projecting in one room of your home and you're allowed to paint, darker wall and ceiling colors are less reflective; that means ambient light will have less opportunity to bounce around your viewing space. Even painting one side of the room, or a single wall section, can have a positive impact on your projector visuals.
Get familiar with lens and picture settings
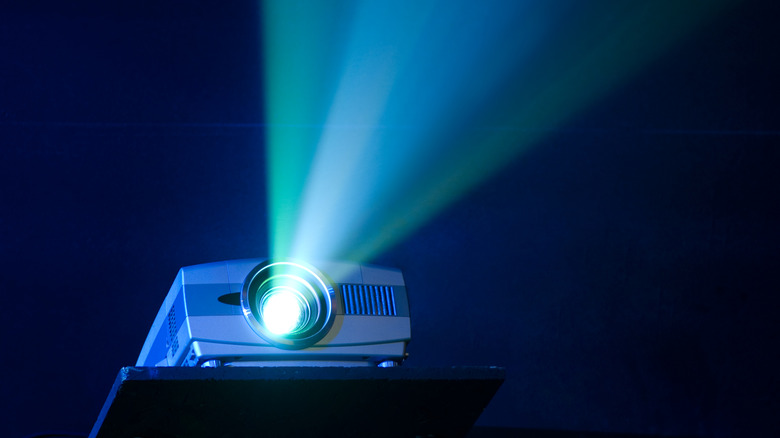
An inexpensive projector may not offer much in the way of picture settings, but it pays to familiarize yourself with the available adjustments. On the cheapest of cheap models, these may be nothing more than brightness and focus controls, and even those may offer little in the way of improvement. But knowing you can pump up the illumination, even just a little bit, might be the saving grace when you're the one with all the movie night equipment.
Let's take a closer look at this $110 Happrun Native projector: Not only does it offer keystone correction, but it also has a manual focus for its lens. The former can be used to straighten a final image that isn't perfectly aligned with a screen or projection surface, while the latter allows you to increase or decrease image size, which can help with clarity. These adjustments may not make much of a difference, especially on entry-level hardware, but every little bit counts.
It also pays to be aware of your projector's resolution and refresh rate limitations. While Happrun advertises "4K support," the projector in reality is capped at 1080p. That means that when you connect a 4K source, the resolution will be downscaled to 1080p. The Happrun unit we're referencing has a native 60 Hz refresh rate, too; inputting anything higher (e.g., a 120 Hz signal from a game console) will result in downsampled motion performance.
Keep your projector well-ventilated
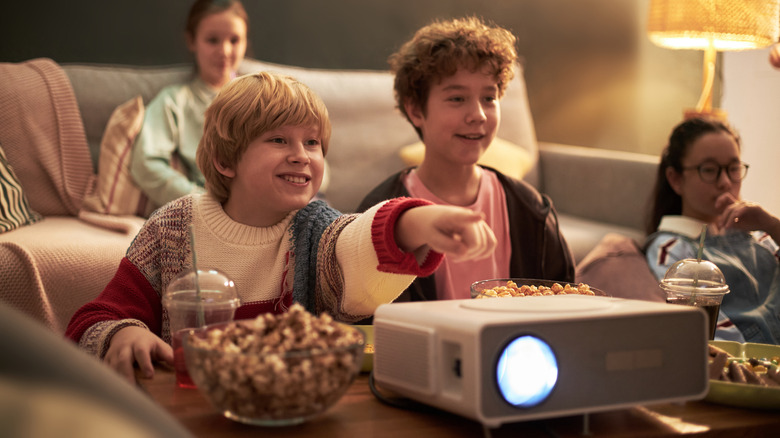
Say it with us now: Heat is the mortal enemy of consumer electronics. This is why the lion's share of projectors, big or small, typically includes a fan, on top of chassis vents, for proper heat dissipation. It's normal for a projector to feel warm to the touch during operation, but when warm feels more like hot and the internal fan is running loudly, your projector is probably at risk of overheating. And even if this doesn't result in a power failure, it could impact your picture quality.
Your projector's internal components can only pull so much weight, and adding too much heat to the equation can result in less brightness, washed-out colors, and other visual detractors. We'd also be willing to bet that a no-name, sub-$100 projector brand isn't going to care as much about heat dissipation as the more established and noteworthy manufacturers; a decent fan and enough ventilation might be a big ask. That means it'll be up to you to keep your cheap projector as cool as possible.
So what can you do? For starters, you should always keep your projector out in the open, as stuffy media cabinets or a shelf loaded with books may block your projector's vents. Pet hair and other gunk can get trapped in the plastic grilles, too. Our suggestion: keep a can of compressed air on standby. You can also add a cooling pad to your projector setup, and many of these accessories can be used for laptops, too.