

5 Things That Are Ruining Audio Quality On Your AirPods Pro
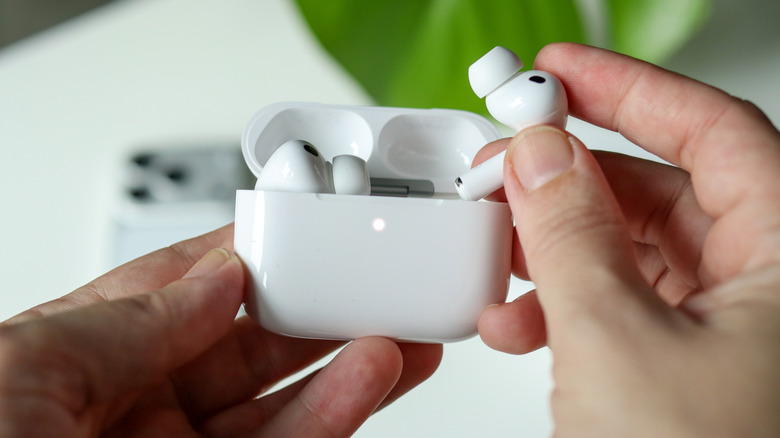
First available in October 2019, Apple's AirPods Pro are the souped-up counterpart to the company's baseline earbuds, but not everything is always perfect at Cupertino. Take the AirPods Pro 3 as an example. They feature the H2 chipset, better noise cancellation than the AirPods 5, Conversation Awareness, and Adaptive Audio. Taken together, all of this usually results in an immersive audio experience — but it's one that can nonetheless be marred by several factors. If you think your audio is suffering, here are some things that may be causing issues.
One of the biggest contributing factors to achieving quality sound largely depends on how the AirPods are sealed within your ears. This means using the right tips and ensuring the AirPods' mesh stays clean. However, moisture and water can also create problems, as can bad Bluetooth connections and even Apple's own Spatial Audio. We'll dive into what kind of audio problems users can run into, along with some ways to address them. Most solutions simply involve adjusting certain settings, but some problems may require additional materials.
As an AirPods Pro 2 owner, this article's writer can tell you from experience that making sure there is a proper seal and keeping the earbuds clean are two of the biggest contributing factors to audio quality issues. Ultimately, how things sound is up to the listener, but remember to check the audio quality settings on any streaming services or audio sources you may be using before diving into diagnosing your AirPods. Knowing the right settings to eliminate background sounds can also be useful if your environment is noisy.
A bad seal impacts audio
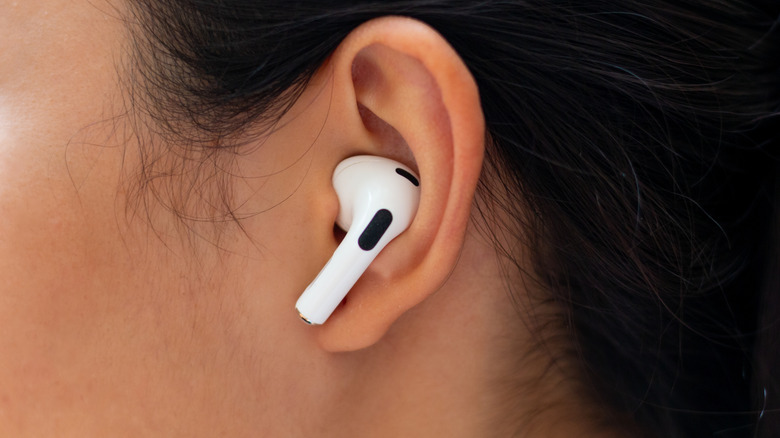
One thing that separates AirPod Pro models from the base AirPods is the fact that the Pro models are meant to create a seal within your ear canal. BGR has a guide comparing the AirPods Pro 3 with the AirPods 5 if you want more details on the differences. Nonetheless, a proper seal helps deliver a deeper bass response and better noise cancellation, and it also helps with the accuracy of the heart rate sensor in the AirPods Pro 3.
Depending on what model of AirPods Pro you have, the earbuds come with ear tips in a number of different sizes. Medium tips are attached to the AirPods Pro when they're fresh from the box, though more should also be included with the packaging. Apple recommends starting with the medium tips to see if they properly seal around your ear canal, then moving to different sizes based on your own comfort. Paired iPhones will also offer an Ear Tip Fit Test or Acoustic Seal Test (AirPods Pro 3 only) for users to get a better idea of how well their earbuds seal.
If your AirPods are paired with your iPhone or iPad (using iOS 13.2 or later), navigate to Settings > Bluetooth from the display. Look for your AirPods among the list of Bluetooth pairings and select the information icon (a lowercase "i") next to them. Select Ear Tip Fit Test or Acoustic Seal Test, depending on your model. The test can help you determine if you need to make further adjustments to the tips or use differently sized tips entirely.
Earwax can spoil the fun
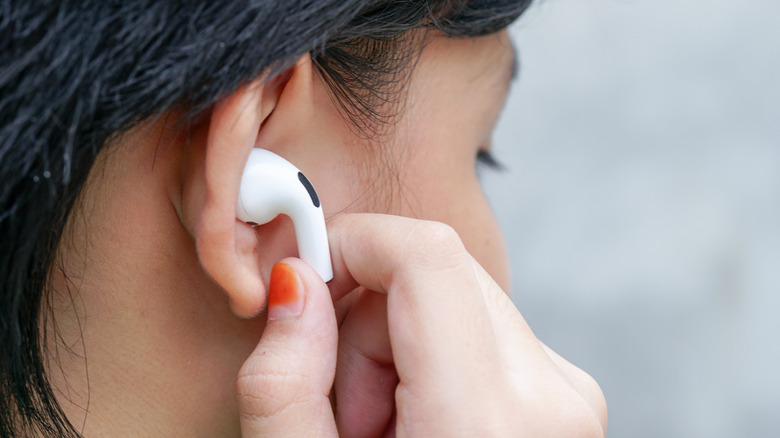
Much like how the audio quality of your AirPods Pro can be impacted by the seal they make with your ears, earwax and other grime may be a detriment to your overall sound. Dirty ear tips may break the necessary sound seal, but there's also the issue that earwax or other materials may be in the speaker mesh of your AirPods Pro. If your audio is sounding muffled, a good cleaning may just do the trick.
Knowing when to clean your earbuds may depend on a variety of factors, and there are tools you need for a good scrub. Apple recommends the Belkin AirPods Cleaning Kit — however, distilled water, micellar water, paper towels, and a soft-bristled brush can also be your friend. On the AirPods Pro 2, you can clean the mesh portions of the earbuds (the black areas), but Apple recommends avoiding cleaning other areas (you can wipe them with a cloth if they're dirty). For the AirPods Pro 3, you can clean the black speaker mesh as well as the bottom microphone on the tips of the earbuds.
For cleaning, Apple recommends placing a small amount of micellar water in a cup to saturate the toothbrush bristles. With the mesh of the AirPods facing upward, brush in circles for around 15 seconds. Flip the earphones over and blot them with a paper towel, ensuring contact is made with the mesh. Repeat this process up to three times for each mesh area. Dip the brush in distilled water and repeat the process to rinse off the micellar water. Allow them to dry for at least two hours before using them or placing them back in their case.
Moisture is not your friend
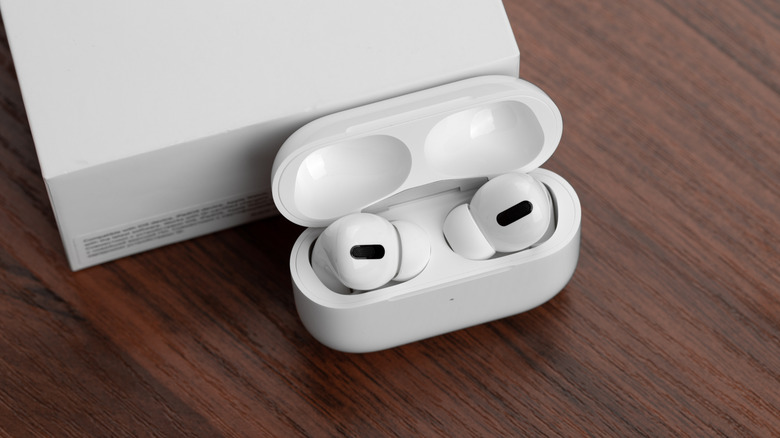
All AirPods Pro models have a certain level of sweat and water resistance, and the AirPods Pro 2 and Pro 3 also have a certain level of dust resistance. However, this does not mean that any of these devices are waterproof, and there can be instances where too much moisture can begin to cause problems like muffled sound. In terms of water resistance, it's also good to remember that these resistances can degrade over time. According to Apple, there is no resealing the AirPods Pro, so keeping them in good condition can be crucial.
If moisture gets to the internal components, this can spell disaster for your sound quality or even the AirPods Pro in general. Don't get us wrong, your AirPods will handle a little bit of sweat and moisture just fine, but full water submersion, hot water, steam, and soap can all be issues for your device. Try your best to avoid heavy rain, and wipe your AirPods Pro dry after heavy workouts. Never charge wet AirPods, and never let the charging case get wet.
Should your AirPods Pro get wet, get them away from water immediately and use a lint-free cloth to dry them further. Allow the AirPods and charging case to completely air-dry (several hours or even overnight) and don't use a heat source to try and rush the process. Test the earbuds before putting them back in their case. If the AirPods get wet from something other than water, use Apple's cleaning guide.
Bluetooth connectivity matters
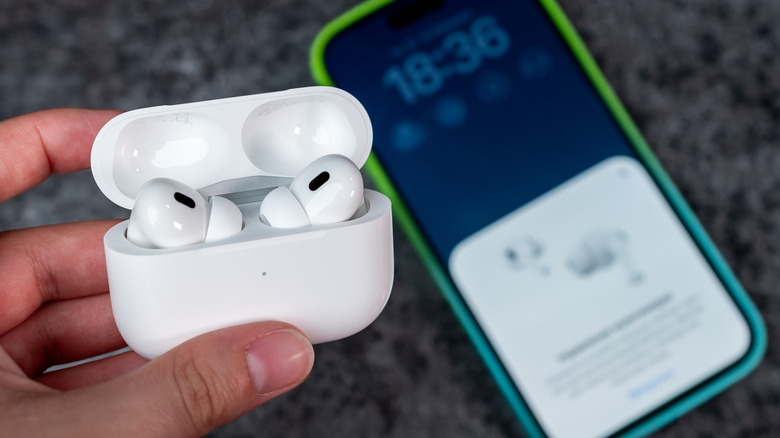
The small size and wireless connectivity of a pair of AirPods can be rather tantalizing for listeners wanting portability and convenience, but Bluetooth can also have an impact on the overall sound quality of your device. One way Bluetooth can impact sound is that it doesn't always support lossless audio, including Apple Lossless. Should you expect lossless or Hi-Res audio from something like Apple Music, you're going to need some wired headphones.
When listening to audio, if you find it's cutting in and out or sounding super compressed, it may be a problem with your Bluetooth connection. This can also hold true if your audio is inconsistent, or if you find that it's randomly mono (single-channel). Having your AirPods Pro too far away from the connected device can cause latency or other issues, as can being in a setting where there are lots of Bluetooth or other wireless connections, such as a university or office.
Fortunately, there are some things you can do on your end if Bluetooth is acting up. Keep your AirPods Pro close to the connected device and check your Bluetooth connections. For example, navigate to Settings > Bluetooth on an iPhone to see your list of connected devices. Tap the "i" (information) icon next to a device and select Forget This Device to remove unnecessary connections. If the connected device is running the latest OS and has a Wi-Fi connection, connect your AirPods Pro to power and leave them next to the device for 30 minutes with the charging lid closed to try and force a firmware update. Knowing the common problems users have with AirPods may also help.
Spatial Audio affects performance
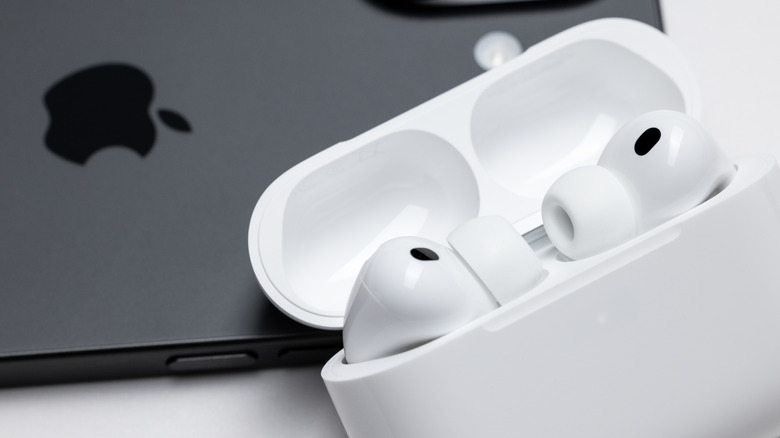
We here at BGR can tell you all there is to know about Apple's Spatial Audio, but the gist is that the feature helps give audio a three-dimensional sound experience, meaning different sounds can seem like they're in different areas of a room even when you're listening with AirPods. It can help make things more immersive, but it really helps if your chosen audio source can actually handle it.
When listening to audio, if you think things sound distant, washed out, weirdly spaced, or like they have an odd echo, it may be that the audio files you're listening to don't gel well with Spatial Audio. This can be particularly true with podcasts or audio that has a low bit rate. You can try disabling Spatial Audio, which can be done on an iPhone, iPad, and Mac. For an iPhone or iPad, wear your AirPods Pro and then open the Control Center on your mobile device. Touch and hold the volume control and then select Spatial Audio from the bottom right. You can then select Off from the left.
On your AirPods-connected Mac, put your AirPods Pro in your ears and select the AirPods icon from the menu bar (or go to System Settings > Menu Bar > Sound). You can then select Off from the next menu. Considering Spatial Audio may be a matter of personal preference, you may need to experiment with the setting when dealing with multiple audio formats or bit rates. Knowing where Spatial Audio settings are located, however, is a good starting point.