

5 Beginner Mistakes To Avoid When Building A Liquid-Cooled PC
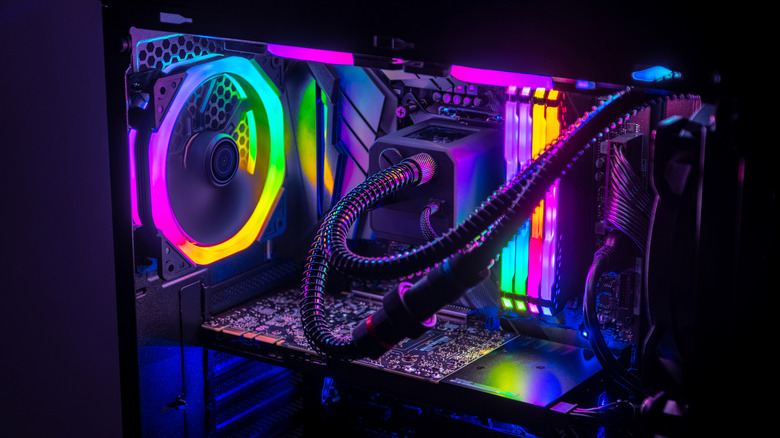
Building a gaming desktop with a liquid cooling system can help improve its performance and make it quieter. But it's a complicated setup that leaves opportunities for beginners to make costly mistakes. It's not like the typical air cooling scheme and, with multiple parts involved, a mistake here could cause some unforeseen issues.
As a rule, these problems don't usually affect liquid cooling all-in-one systems since those are generally delivered as closed devices and need less assembly. However, the same doesn't apply to custom builds. These loops give users more control, but they also add complexity, which is one of the major disadvantages of liquid cooling. So the user can choose, link, fill, and test all the parts, which means small errors can jeopardize the safety of those components and the overall system.
In fact, many of these mistakes happen even before you start buying every component. Many long-term problems can result from picking incompatible parts, misjudging radiator capacity, or rushing the fill process. Because of this, we've outlined some common mistakes to avoid when putting together a liquid-cooled PC, especially if you're building a custom loop.
Skimping on radiator capacity for a liquid-cooled PC
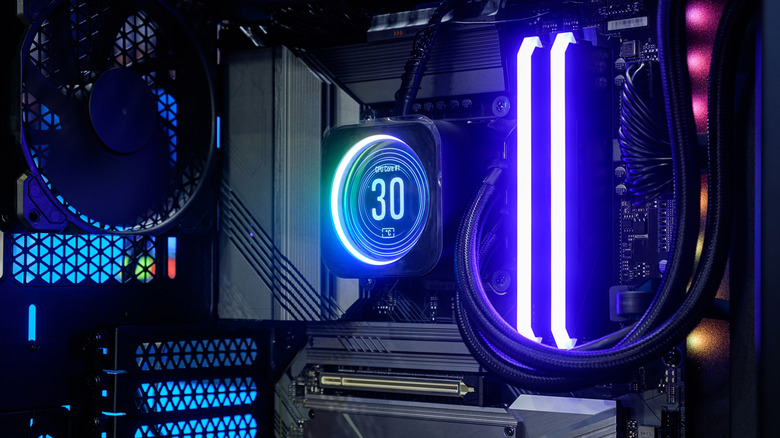
One of the first mistakes many users make when building a liquid cooling system is focusing first on whether the model fits inside the case. Of course, this matters, but you also need to consider how much heat the computer needs to dissipate. Since the radiator transfers the heat absorbed by the liquid into the surrounding air, using a model with too little capacity for the CPU and GPU can result in higher temperatures and harder-working fans.
For that reason, radiator size should be one of the priorities before choosing the other parts. Among the liquid cooling specifications you need to consider are thermal capacity and case compatibility. A system with more components can produce more heat, so the radiator needs enough surface area to dissipate that energy without relying too heavily on the fans.
It is also important to check how much space the complete setup requires. Fans, GPU, reservoir, pump, and even the position of the fittings can create conflicts inside the case. For that reason, a case that supports a 360-millimeter radiator does not necessarily guarantee that every configuration of that size will fit without problems.
Buying incompatible tubing and fittings
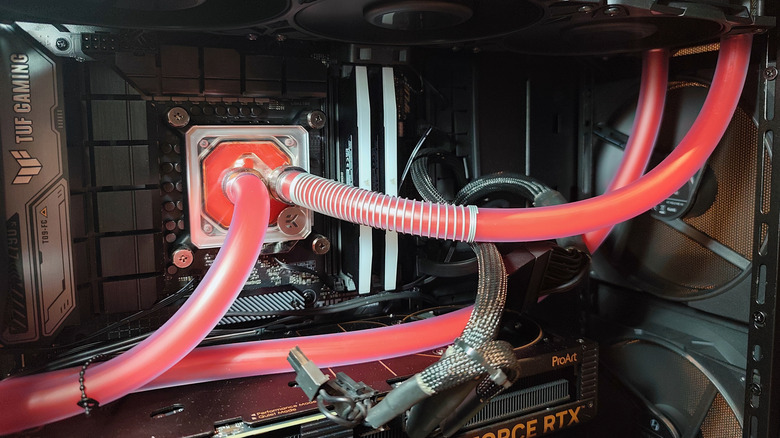
After choosing the radiator, another common mistake among liquid cooling users is buying tubing and fittings without checking whether the measurements actually match. In custom loops, connections for soft tubing and hard tubing are not interchangeable, so the diameter needs to match the selected parts. Even a minimal difference can prevent a proper seal, causing leaks and forcing you to replace parts you already bought.
A crucial step before buying the parts is to understand how liquid cooling works before deciding the path of each tube. Once you know where the pump, reservoir, radiator, and water blocks are, the hookup gets easier. Soft tubing can kink and restrict flow if bent too tightly, while hard tubing requires more precise cuts for proper fit.
Therefore, it is worthwhile to check the inner and outer diameters of flexible tubing, or the outer diameter of rigid tubing, before buying fittings. Also, it's a good idea to plan the whole loop path in advance to avoid tight connections or leaving the tubes under tension. The less you improvise here, the less the chances of problems arising in the future.
Skipping the leak test before turning the PC on
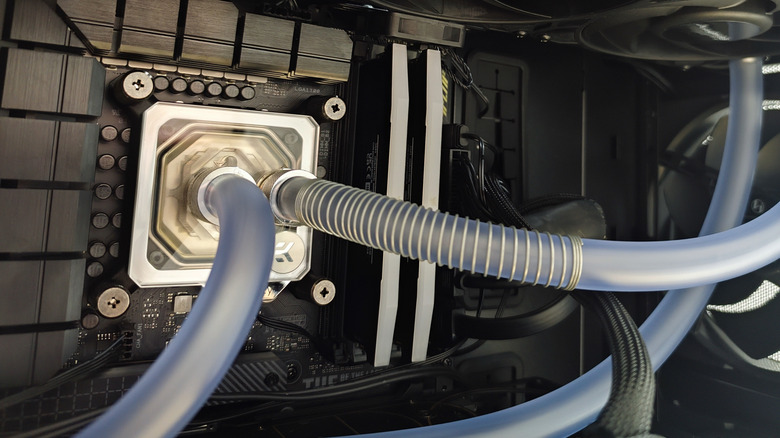
After all the connections are made, one of the most important things to do is a leak test. You don't just fill the loop with coolant and turn the computer on — you have to check for possible leaks first. Small things like a loose fitting, an O-ring out of place, or a poorly seated tube can cause liquid to leak out when the pump first starts running and can put your graphics card or other components at risk.
In this process, it is important to only connect power to the pump and allow the coolant to circulate through the system while you inspect each connection until you are sure there are no leaks. You can then feed power to the motherboard, GPU, and other components. It is also important to keep the reservoir filled during this test, as running the pump dry can damage it. If you see any leaks or other signs of liquid cooling failure, power everything down, fix whatever is wrong, and then run the test again.
Mixing incompatible metals or using the wrong coolant
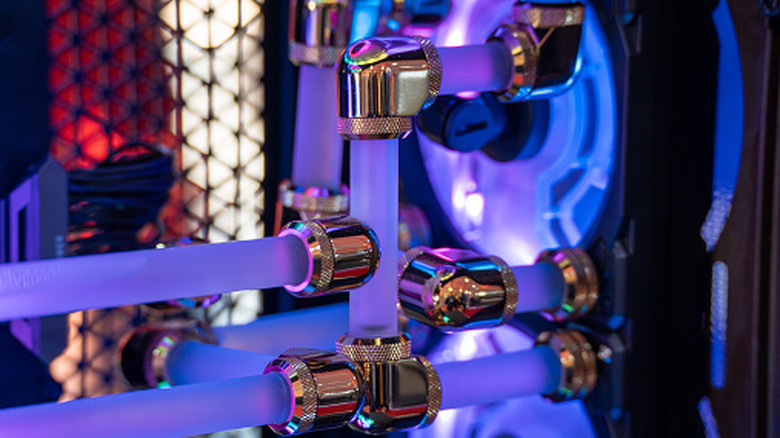
A mistake that can ruin your custom loop is mixing incompatible metals in the same cooling system. For example, putting aluminum parts with copper components can lead to faster corrosion over time. Since there's a constant flow of coolant through all these parts, you need to choose materials that are compatible with each other so they don't wear out.
Also pay attention to the liquid you use in the system. For example, you probably shouldn't use tap water, as it has minerals and other impurities that can cause problems, and the same goes for makeshift mixes that don't always provide good corrosion protection. Knowing the best liquid to use in a PC before you fill the system saves you from problems that may only show up months later.
Generally, the safest bet for anyone building their first liquid cooling setup is to buy a coolant that's made for the system, particularly solutions that already have the necessary additives to protect against corrosion. It is also worth checking which metals are present in water blocks, radiators, and other components before purchasing them, as this helps avoid making a choice that can compromise durability.
Forgetting drainage and maintenance down the road
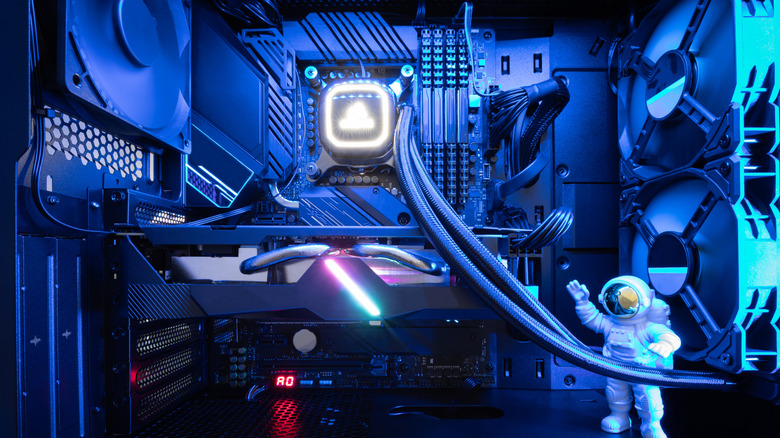
Another common mistake is planning your loop around how it will look after assembly without thinking about future upkeep. Periodic maintenance is required for custom systems, and it is very helpful to add a drain valve at a low point in the loop. Without one, you will have more work to do when changing the liquid, as you will have to remove fittings or even tilt the case, which increases the chance of spills and damaging another part during a process that should be simple.
It's also worth thinking about how you will get to the rest of the loop months after assembly. Residues can build up in the water blocks, reservoir, and radiators. Coolant degrades over time and needs to be replaced. This is why it is important to leave enough room to access these parts, remove components, and open the system, reducing the work required during maintenance. If you do this from the start, it helps keep your loop looking good and doesn't become an issue when you need to replace or clean something else.