

Not All Windows Users Should Enable Secure Boot - Here's Why
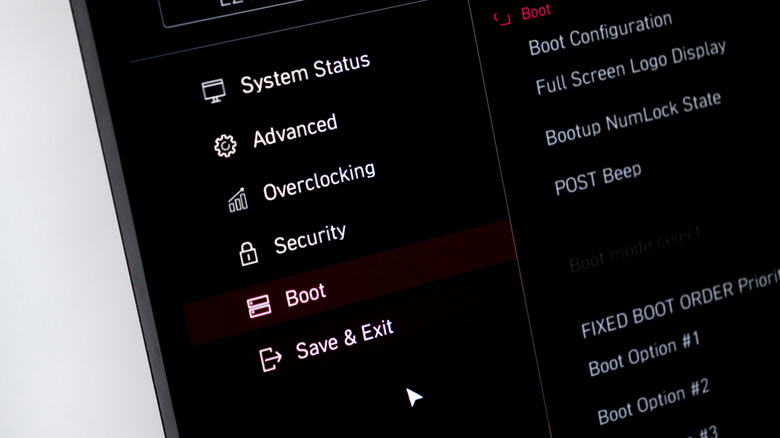
Secure Boot is a Windows security feature that most people don't even know they have enabled. It protects your PC from malware before the machine fully boots, but that level of security can cause some problems in certain situations. Most people hear about Secure Boot for the first time when trying to play the latest multiplayer games since most of them won't let you connect without it enabled. Tweaking Secure Boot settings requires a trip to your PC's BIOS, which is intimidating for non-tech-savvy users.
You can set Secure Boot settings once and forget all about it once you're able to load into "Battlefield 6" or "Valorant," but there are actually a few situations where you'll need to disable Secure Boot. Older hardware configurations can encounter compatibility issues with Secure Boot, for example, and dual-booting a secondary operating system like Linux is difficult with it turned on. Disabling it does come with some serious security drawbacks, though, so it's best to take things on a case-by-case basis.
How to enable secure boot
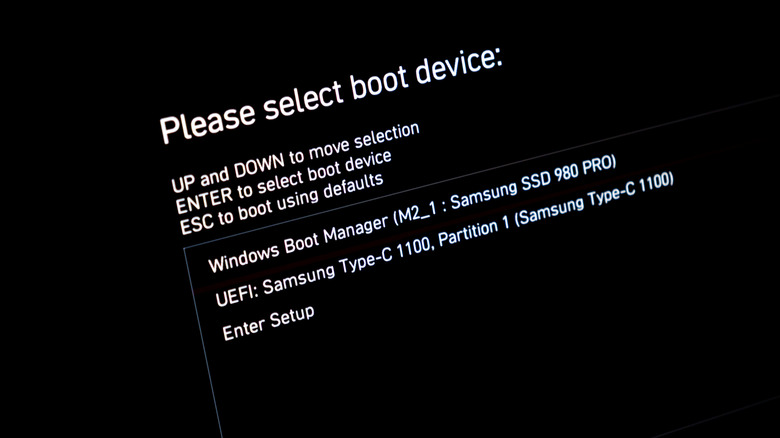
Setting up Secure Boot on Windows 11 only takes a few minutes. First, you can check to see if it's already enabled on your machine by pressing Windows + R to open Run. Then, type "msinfo32" and click OK to bring up a system information menu. If you see Secure Boot State set to on, then it's already up and running. To enable Secure Boot, you'll need to access your system's BIOS. This is where you'll find important base-level settings for your machine, so don't change anything unless you know what you're doing.
You can access your BIOS by rebooting your PC and pressing a specific key like F2 or Delete (every manufacturer's settings are different) while your device restarts. In the BIOS, look for the Boot menu or something similarly named – each major motherboard brand uses different naming schemes. Most BIOS interfaces have a search function as well, so you can just search for "Secure Boot" to find the necessary settings. Set Secure Boot to enabled, then save and exit. Your PC will then restart with Secure Boot enabled.
Why do people disable secure boot?

Most Windows users will want to enable Secure Boot to maximize their device's security and play the latest AAA games, but there are a few reasons why people keep it turned off. It can block programs with unsigned drivers, for example. This isn't an issue for the average web-browsing Windows user, but advanced users trying to use applications like LatencyMon to troubleshoot performance problems will need to temporarily disable Secure Boot. Another reason why people disable Secure Boot on Windows is to dual-boot with a second operating system, typically Linux.
Most popular Linux distros don't support Secure Boot, so compatibility issues can appear during the setup process. Some popular Linux distros like Linux Mint work with it, but even then, compatibility is spotty. Additionally, there can be compatibility issues with older hardware configurations and operating systems due to expiring certificates, making operating systems like Windows 10 less safe. Microsoft is still releasing updates to keep those systems protected, but it's not as simple as downloading the latest Windows update – there are quite a few extra steps to take.