

Build Your Own Digital Photo Frame Instead Of Buying Another Smart Display
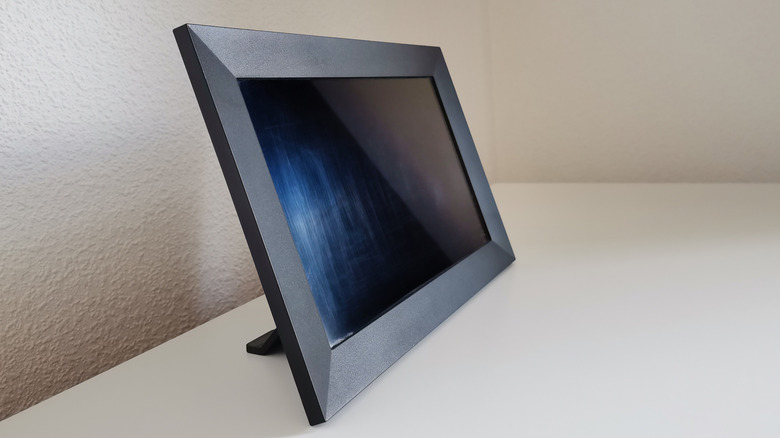
Digital photo frames are a neat, convenient way to show off some of your best photos. With so many people carrying a high-resolution camera in their smartphone at all times, you can get creative with what you capture and, eventually, what you share at home. You can also upload photos to a digital frame to enjoy. There are a few ways to set one up, the most obvious being to buy a smart frame or turn a smart TV or another monitor into one. You can also repurpose an old tablet. After all, it's just a display with smart features that let you randomize, cycle through, or show off digital photos. It's not a complex setup at all, which is why pretty much anyone can set out and build their own digital photo frame.
To build your own, you must follow some general steps, starting with choosing a display, a computing device like a Raspberry Pi to power things, a compatible frame, and any extra components you need, and then assembling it all. That is precisely what Wolfgang of The Digital Picture Frame did. But you can think of any guide like Wolfgang's as more of a loose blueprint. As with anything DIY-friendly, you can find your own way, design it your own way, and go from there.
One resourceful YouTuber built their own with an e-ink display, using parts available on Amazon and eBay. All told, it cost about $150 for everything, excluding things like fasteners or glue for assembly. He also used a 3D printer, which meant he owned or had access to one, something else to keep in mind.
Do it all from scratch or find a guide
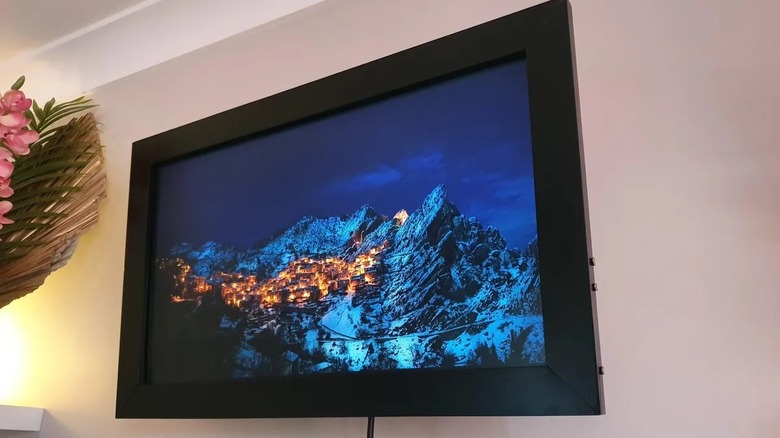
Option one is to start building your own digital frame from scratch, using a design you create and parts you acquire of your own volition. You'll need a display, a small computer, a power supply, and housing to encase or assemble the final hardware. You don't have to go with a Raspberry Pi, though. You could also use an actual mini PC, or maybe even disassemble a laptop or tablet.
If you choose to follow a guide, you might have a softer landing since you know everything up front — you know what parts to use, associated costs, and how to put it all together. Some great guides to follow are ShanJones01's 24-inch digital Raspberry Pi frame at Instructables, another from user JonG, or Caroline Dunn's guide at Tom's Hardware. There are just as many available on YouTube, as well, so go with whatever format you're most comfortable with.
Make sure you decide upfront not just what kind of display you're using, but also what software you'll be employing to power the frame and photo share. The computer you choose will also need storage for the core software and a local photo library; you can use an external media option like a MicroSD card, a USB drive, or even a small hard drive, depending on what your computer supports. Finally, the single most important element that makes a digital photo frame so attractive is that all of that hardware is tucked inside the frame, making it look like a single decorative item rather than a small computer. You'll want to choose your exterior frame or casing with this in mind.
Why build your frame versus buying a pre-made one
Building your own electronics can sometimes cost a little more than buying off the shelf, especially if you factor in the time you'll spend learning and tinkering. But a DIY frame can be more lucrative for one simple reason: you have full control. You don't have to deal with intrusive ads or subscription-based services. You can decide how much storage space you have for photos, or whether you use cloud storage at all. You can also choose the design, the features, parts, and the software. Custom software also means you can support your digital photo frame indefinitely. You won't have to worry about software updates bricking your device or losing access to your favorite features. When you are ready to retire a frame, or upgrade, you can always find a clever use for the old one.
As for why choose a digital frame over a basic screen, it all comes down to how you use it. It's a dedicated device meant to show off photos, so you can cut down on a lot of software clutter. You can choose exactly what features you add, like Wi-Fi, Bluetooth, and local uploads. You can also choose the size, and dare I say, you have a bit more flexibility to go as small or as large as you want. You tailor the screen to match the frame.
In the end, you have full control over a DIY device. When you buy a pre-assembled product off the shelf, that's never really the case. You're at the manufacturer's mercy, especially when it comes to software support. Most off-the-shelf digital photo frames last between 3 and 5 years. You may be able to stretch that lifespan with a custom build.