

This One Setting In The Starlink App Can Dramatically Improve Your Internet Speed
The Starlink app offers a simple way for users to improve Wi-Fi speeds with a single tap. This is done by toggling on the "Split network" option for your Wi-Fi connection, which separates the faster 5 GHz frequency from the slower 2.4 GHz one. Starlink, by default, hosts a combined network with a unified band connection, where the router intelligently selects which frequency to connect your devices to without user input. However, connecting devices that don't require a 5 GHz band's faster speeds (smart home gadgets, wearables, and security devices) to a unified connection can cause network congestion. Splitting the bands allows you to isolate these devices and save bandwidth for devices you should always connect to a 5 GHz band.
Manually connecting devices that require higher speeds to 5 GHz also forces them to stay on that frequency. With a combined network or simultaneous dual-band system, your router can randomly switch a device's connection to the 2.4 GHz band, causing latency spikes and speed drops. As such, connecting your gaming console or smart TV to the 5 GHz connection can greatly increase how reliable Starlink is.
Making the 5 GHz and 2.4 GHz bands function as separate networks can also help with device compatibility. Older electronics or certain smart home and security devices that do not support a 5 GHz connection may struggle to connect to a combined network. Splitting the connection and manually connecting these to the 2.4 GHz band resolves this issue.
How to split a Starlink network into 5 GHz and 2.4 GHz bands
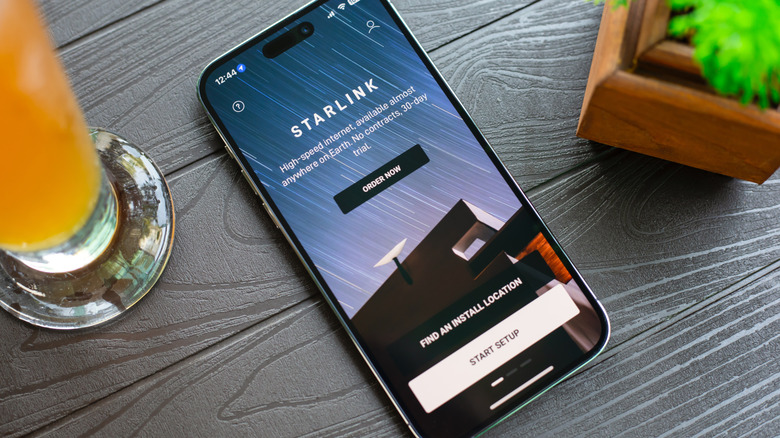
Separating the 5 GHz and 2.4 GHz bands on a Starlink system is fairly straightforward. There are two ways of doing so, both accessible via the Starlink app. The simplest way is splitting an existing network into separate bands. To do this, open the Starlink app, tap on your Wi-Fi network's name, and then select Split Network. You have to give the new 2.4 GHz network a separate name, while the existing connection turns into a dedicated 5 GHz Wi-Fi network. You can also rename the existing network to differentiate the two bands, but doing so will disconnect all connected devices.
While it's generally better to split a Starlink network into different bands for network speeds, there are certain disadvantages to isolating the 5 GHz band from the 2.4 GHz one. The biggest one is that devices that you move often, such as a smartphone or laptop, benefit from having a single unified connection. A 5 GHz band offers better speeds but has a shorter range, while a 2.4 GHz connection delivers slower speeds but in a wider area. With a split connection, a device on the 5 GHz frequency will disconnect when moved out of the router's range. With a unified network, the router will simply reroute the device to the 2.4 GHz network, keeping it connected.
Fortunately, there's another way to split your Starlink connection that solves this issue. Instead of selecting the existing network, tap Add network, toggle Split Network on, and label the two new Wi-Fi connections. This will create new 5 GHz and 2.4 GHz channels without affecting the existing network.
Other ways of improving your Starlink internet speed

Switching from a combined network system to a split-band setup is one of the easiest ways to improve your Starlink internet, but there's much more you can do as well. The official Starlink support page details several steps to ensure your devices get a good Wi-Fi connection — for instance, placing the router upright in an open space (not inside a cabinet), and preferably on an elevated, flat surface. Also try to minimize walls and other barriers between the router and rooms with devices that require a reliable connection, and place the router far away from microwaves, fridges, and other devices that can interfere with the signal.
It's also worth using the Starlink app's obstruction scanning tool to see if your dish is placed properly and getting enough coverage of the sky to get a strong connection. Moving the dish to a better position, clearing nearby obstacles (such as tree branches), or placing the dish on a higher platform to avoid obstructions can also increase speeds. As always, switching to a direct Ethernet connection between a device and the router also results in better connectivity.
Another way to potentially improve your Wi-Fi speeds in a Starlink system is by using a third-party router and enabling bypass mode in the Starlink app. This turns off the built-in Wi-Fi and routing, offloading local network management to the external router. You don't need an expensive router, but a third-party router with better coverage or capacity can offer better speeds, especially since older-generation Starlink routers lack modern standards like Wi-Fi 6E or Wi-Fi 7. However, once turned on, bypass mode cannot be turned off from the app, and you need to reset the router to turn it off.