7 Quick And Easy Raspberry Pi Projects For New Users
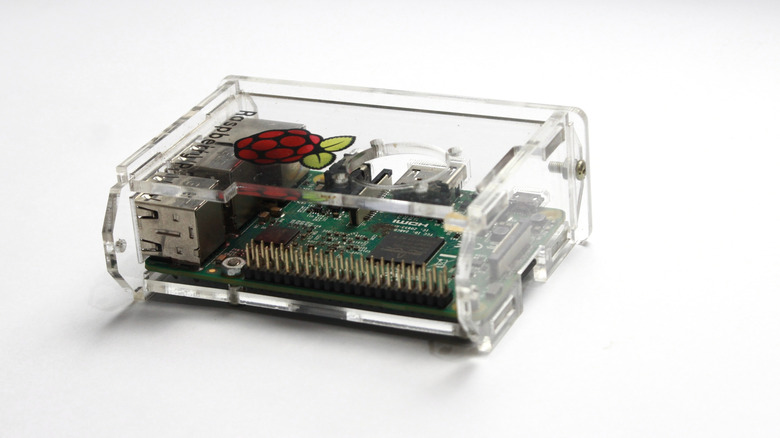
The first Raspberry Pi was a revolution. It started as a project to offer the cheapest possible computer that someone could use as a normal PC for school or work, or as a risk-free way to learn programming using various modern coding tools. That core philosophy has been part of every subsequent model, even as the specifications have become better and better.
Over time, the Pi became popular for more than just coding and affordable computing. It became clear that these versatile little computers can be applied to an almost limitless number of DIY Raspberry Pi projects. These range from simple ideas that can be pulled off in an hour or two, to ones that require a whole weekend or longer, plus some serious DIY skills.
If you have an old Raspberry Pi that's gathering dust, or you've come into possession of a newer model and aren't sure what to do with it, we've gathered some quick and easy projects that newbies (or anyone with limited time) can try on a Pi right now.
Send all your ads down a Pi-hole
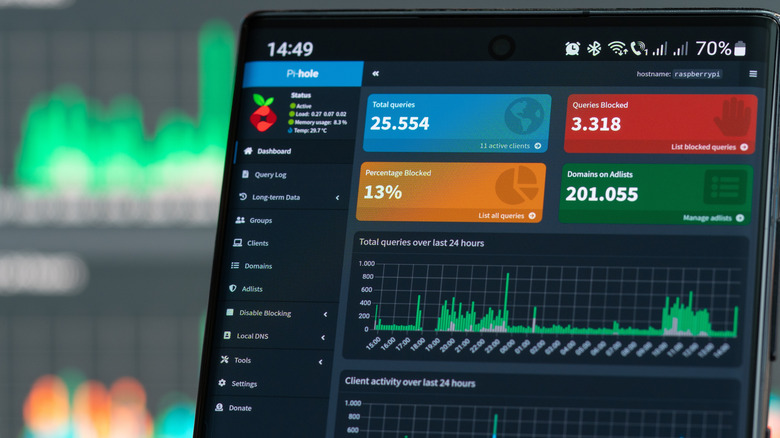
Turning your Raspberry Pi into a Pi-hole is one of the most popular uses for these little computers. Despite the name and the original intent of Pi-hole, you don't actually need a Raspberry Pi specifically to run this software. So if you have an old laptop, PC, or mini-PC you can do the same thing.
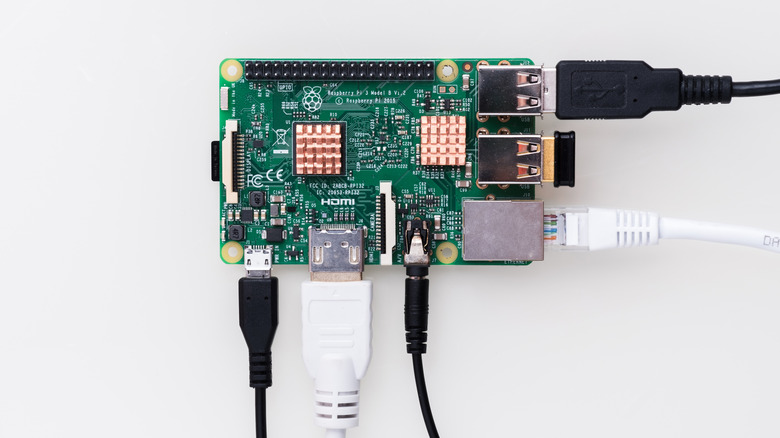
So, what is Pi-hole all about? Simply put, it turns your Pi into a network-level way to block ads. All you have to do is install Pi-hole on your little computer, connect it to your router (preferably with Ethernet cables) and then point your router at the Pi-hole's IP address as per the instructions on the Pi-hole website.
The Raspberry Pi will now act as the DNS (Domain Name System) server for your network, instead of the DNS provided by your service provider or a public DNS such as that provided by Google. This way, the Pi-hole can block known advertising providers at the network level. This means the ads never even reach devices connected to your LAN (Local Area Network), which means you don't see them, and you also can't be tracked by them either.
Have your RetroPie and eat it too

Almost from the start, Raspberry Pi computers have been popular as a way to emulate retro video games. People have used them to build elaborate arcade cabinets or to connect to an old CRT TV for a more authentic experience playing old console games.
The latest Raspberry Pi models have significantly more CPU and GPU power, which expands the number of systems you can emulate. Consoles in the same generation as the original PlayStation should be no issue for a Raspberry Pi 4, and especially the Raspberry Pi 5, which had a major generational leap in performance.
While you can manually assemble the software you need to turn your Pi into a retro gaming system, thanks to the existence of RetroPie there's a better way. Installing RetroPie is as easy as flashing an image to an SD card, the same way you'd install the default Raspberry Pi OS. As of this writing, RetroPie doesn't offer a disk image for the Raspberry Pi 5, but there are community-made images and guides you can use in the meantime. The guide by Daniel Freer walks you through the process in three major steps, and the difficulty level is quite low. Best of all, you can easily switch between your RetroPie and regular desktop OS SD cards on the same computer, depending on whether it's time for work or play.
Bring back the HTPC!
Smart TVs and streaming boxes are convenient and easy to use, but they also have numerous downsides when it comes to privacy and control over your media. There have been scandals with regards to technologies like Automatic Content Recognition, where it turns out some smart TVs monitor everything you watch, whether it's played via an app or not. So there are real reasons to look for an alternative.
Before the age of smart TVs, enthusiasts built special HTPCs (Home Theater Personal Computers) with large hard drives to store media and video capture cards to control and work with live TV broadcasts. While we don't really need the capture cards anymore, and broadcast TV doesn't have that central role today, there is a need for a modern HTPC.
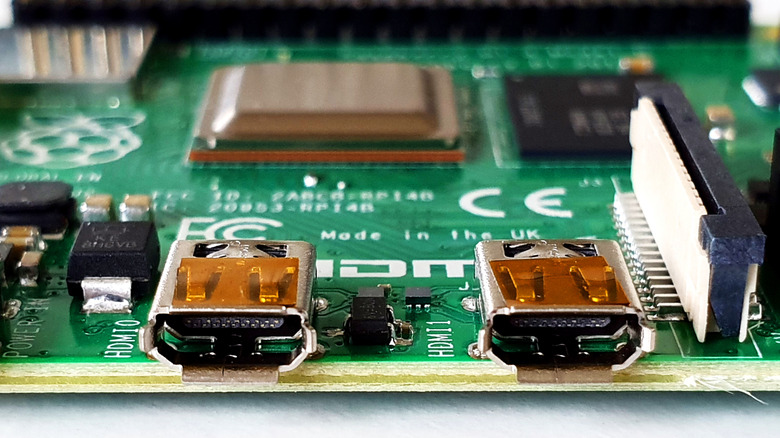
A recent-generation Raspberry Pi has more than enough performance to act as a streaming device. It has fast USB connectivity for local media storage and reliable network interfaces so you can access media on your network (e.g. using Plex or Jellyfin) or from the internet. The go-to solution is LibreElec, which offers an OS image that has everything you need preinstalled. So all you have to do is use your favorite disk imager to prepare the software, put that SD card in your Raspberry Pi, and then configure it for your particular media setup. It's easy, it's slick, and it will transform your media experience without all the ads and tracking.
Build your own high-tech photo frame

You may have seen those digital photo frames sold online, and it's a nice idea. Instead of having a bunch of static photos take up space on your desk, wall, or mantle, you can have one screen that cycles through your favorite memories.
These frames, especially the advanced ones, can get expensive quickly, but you can build your own with what you have. If you have an old TV, LCD monitor, or one of those portable LCDs, you can connect it to a Raspberry Pi and use one of many slideshow apps to cycle through them. This is a project that can be that simple, or you can really put some effort into it. For example, in this Instructables guide the author creates custom startup scripts and even does some woodworking to create a frame for the screen!
There's a surprising amount of depth in the digital photo frame business if you really want to dig in, but the quick and dirty method is perfect for newcomers.
Dip your toes in the world of NAS
A NAS (Network-Attached Storage) is an awesome device to have, and it allows everyone in your home to share a single pool of storage over your local network. However, if you've looked up the pricing of even entry-level NAS devices, you know that they don't come cheap. The good news is that if you have a Raspberry Pi and some old hard drives lying around, you can put together your own DIY NAS in no time.
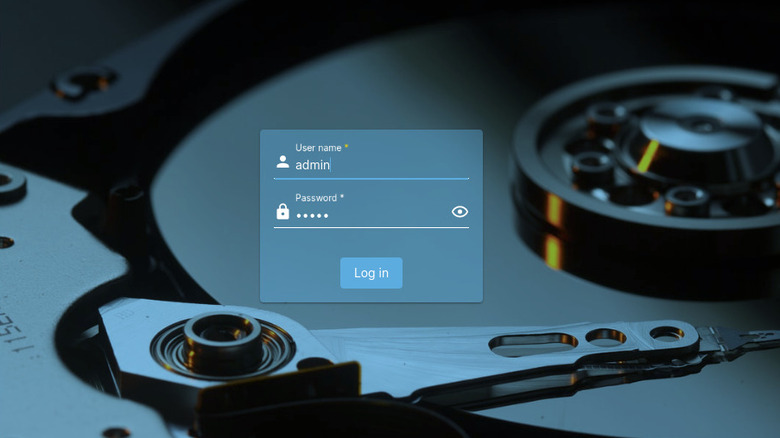
The key here is software called OpenMediaVault, which is based on Debian Linux. It has very low system requirements, although a Raspberry Pi 3 is recommended for a minimum viable experience. You also need the system drive and a separate drive or drives to hold your data. You can do it all on a single drive, but that's a bad idea from a data security and performance perspective, and it requires careful partitioning.
The easiest way to install it is using the Debian Installation method. You need to install Raspberry Pi OS Lite (with no graphical interface) and then install OpenMediaVault. Once you've done that, you'll access the server from another device on your network using a web browser and its IP address. Then you can use something like an OMV quick configuration guide to set up your attached disks and make the NAS available to other devices on your network.
Baby's first webserver
Your LAN (Local Area Network) is like a microscopic version of the internet as a whole, and so you can build and host your own web servers for fun and educational purposes. If you really want to learn the nuts and bolts of how the internet works, this is an excellent way to do it.
A Raspberry Pi is the perfect device for the job too. Once you've got your web server set up on your Pi, all you have to do is connect it to your router, and you can visit your website in your browser just by typing in the right IP address (e.g. 192.168.0.112).
There are heaps of Raspberry Pi webserver guides online, with a variety of server types and functions. Maybe you want to host your own forum or have a family bulletin board or blog. With the right network configuration (mainly through port-forwarding settings on your router) you can even make your web server accessible from outside your LAN. However, check your service provider's terms and conditions, since some of them might prohibit hosting a site using a residential internet connection.
Be your own Big Brother with a webcam server
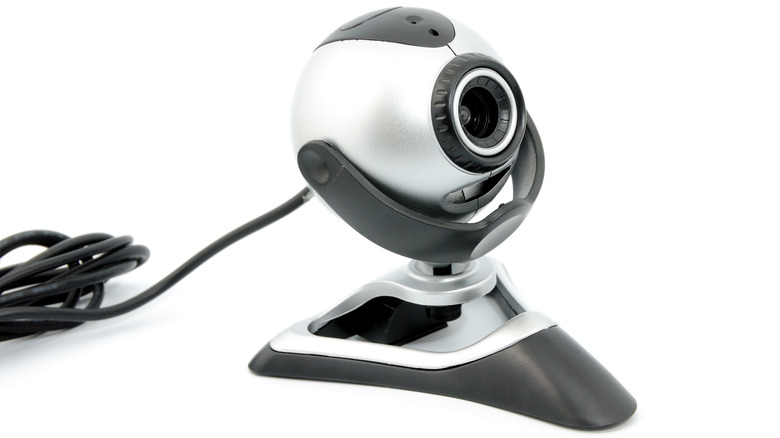
It's cheap and easy to buy an IP (Internet Protocol) camera online, but what's the real cost? These IoT (Internet of Things) devices come with a slew of privacy concerns. For the cheap, no-name models there's always the chance that nasty malware is installed or weak security makes them easily hackable. For brand-name camera systems with cloud functionality, there's no telling where your private video data is really going or who gets to see it.
Using a webcam and a Raspberry Pi, you can build your own IP camera setup instead. There are many different ways to achieve this, though a simple guide is a good place to start. This dovetails with the webserver project we just discussed, because of course you'll be running a webcam webserver on your Pi for this project.
You can even add a second camera if your Pi model is powerful enough. With an attached storage device, you can even record footage or instead send it to a NAS — possibly one you also built with another Raspberry Pi!