8 Essential Tips And Tricks For Vertical Monitor Users
Most digital documents are written with a vertical layout, even though our monitors are horizontal. This means you cannot view the whole document on screen at once and are forced to keep scrolling. People often increase their screen area by using two monitors for work or just buying a wider screen. While these methods work well, why not just turn the screen sideways?
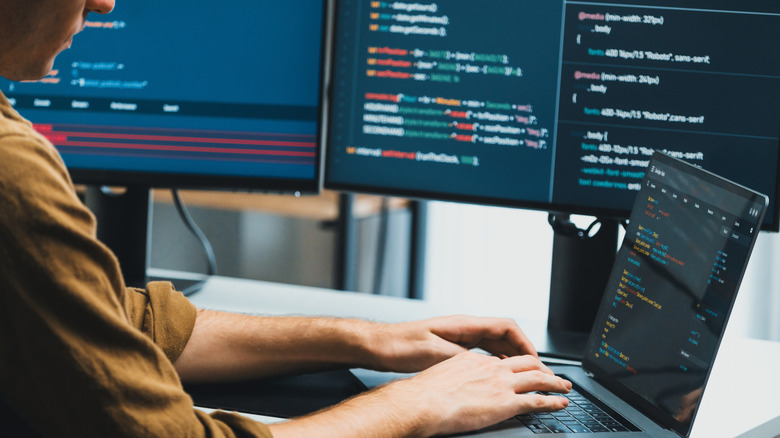
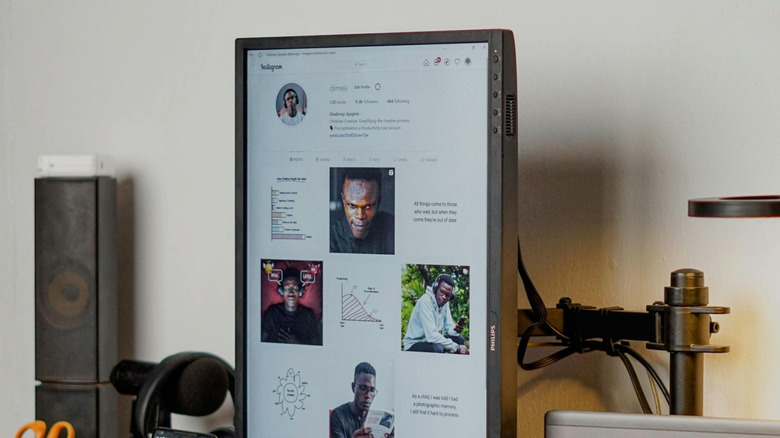
Turns out you actually can do that. A PC monitor can be installed vertically, and operating systems like Windows or macOS have a portrait mode option to match this layout. In theory, this turns all the content you view into a vertical layout as well, including applications and websites. The advantages are very obvious; whether you are a coder or simply an office worker, being able to view entire documents on one screen without scrolling sounds wonderful. A vertical monitor is the more natural way to interface with text and information-dense dashboards, and is becoming very popular.
That being said, there is a reason the default setup is horizontal. For anything that's not reading text, the vertical layout actually works against you. Gaming or watching movies, for example, requires a normal screen. Many applications won't even run in portrait mode. Even when it works, there are many things you must keep in mind for a smooth vertical monitor experience. Let's look at the most crucial ones.
Invest in a good stand
The first thing you must ask yourself before you try to turn your monitor sideways is whether you even have the right stand for that. If your monitor's default stand can just adjust the height but not pivot, you cannot use it for a vertical setup. The best option in this case is to buy a VESA mount instead, letting you put up your display at any height and orientation you want. Thankfully, most modern computer monitors come with stands that allow for vertical setups, so buying a new mount might not even be needed.
Do keep in mind that the stand's pivoting mechanism needs to be sturdy, as it bears the weight of the whole thing. This is not an issue for fixed layout stands, since they don't have moving parts, but for any stand meant to pivot, you need to ensure that the construction is not so flimsy as to snap when rotated. Default monitor stands are seldom built that sturdy, so you might want to invest in a good third-party option instead.
This is especially important if you intend to swap between the layouts frequently. That's why a sturdy VESA monitor arm is often recommended instead of normal stands. Their height and rotation can be adjusted freely without encountering the usual issues, as they are built for flexibility instead of a static one-time installation. A simple mounting arm might be the easiest desk upgrade you can make.
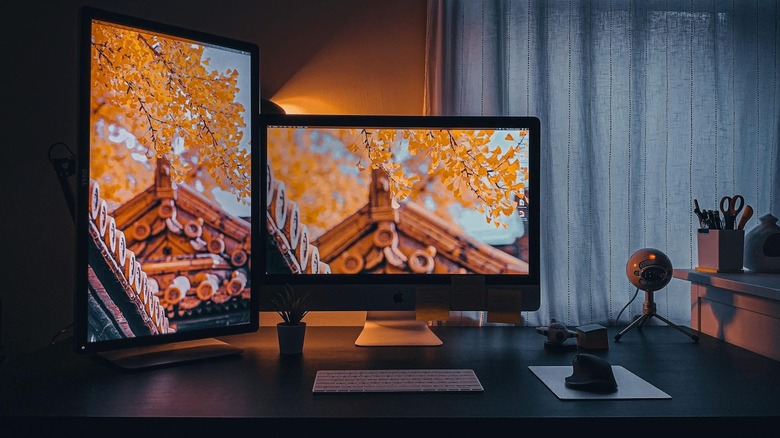
Position at the correct height
Choosing the correct monitor height is another thing complicated by going for the vertical setup. Normally, the monitor extends horizontally, so you just place the top at your eye level, and everything else aligns automatically. But when you turn the monitor 90 degrees, the length now extends vertically. Computer desks are usually designed to accommodate horizontal monitors, which means a vertical monitor placed upon one will end up going way over your eye level. The same goes for most chairs.
There is also the question of what part of the monitor should be kept at your eye level. The usual instinct is to center it, but that's incorrect. With a horizontal monitor, we center the alignment since looking left and right doesn't require you to move your head. But with a vertical display, a centered screen forces you to crane your neck repeatedly to look at the top half, which is not ideal.
What you need is to match the monitor's top end with your eye level. This can be tricky for a taller monitor, as the desk height may be too much, which is why VESA arms are highly recommended. Mounting the monitor on the wall with a flexible arm lets you set the height as desired without worrying about how the desk fits with it. Alternatively, you can install the monitor vertically on a normal stand and then get a height-adjustable chair to raise your eye level instead.
Pick the right monitor

While there is no such thing as a vertical monitor, not every monitor is ideal for a vertical setup either. Sure, you can technically rotate and install any PC display, and it would work as long as your OS supports it. But vertical rendering has some quirks that can ruin the experience on most monitors. Even when the software side supports portrait mode, the hardware may not be optimized for this kind of orientation.
The viewing angle, for example, is a big factor. Traditionally, viewing angles are a bigger concern with TVs rather than monitors. This is because monitors are used at close distances, which means you can directly see the entire screen without an angled view. But when you put that monitor up vertically, things change. The length of the monitor now becomes the height, which means parts of the screen will be angled away from you, even at close distances. This can make things look blurry or even introduce color distortion near the edges of the screen.
The solution? Buy a monitor with an IPS panel. Such a display offers wider viewing angles and keeps the color consistent even with a vertical setup. Pick one with a wide aspect ratio and a high resolution. The entire reason for going with a vertical setup is to fit more text on the screen, and the higher visual quality in a narrower screen allows for that. If budget is no bar, you can even use a 4K monitor for work.
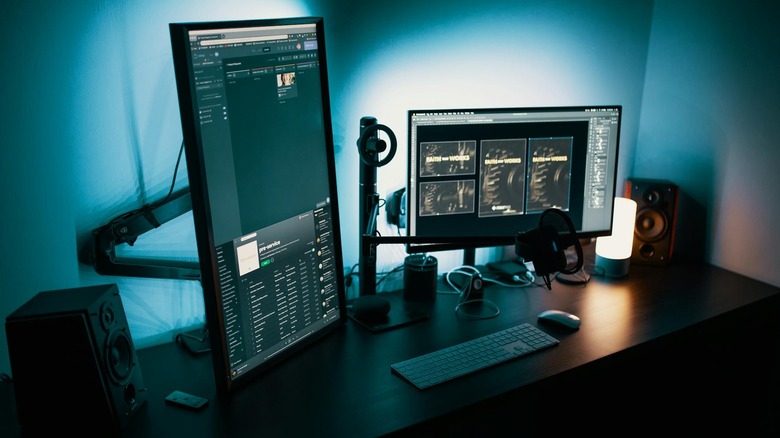
Go dual-screen for maximum flexibility
Vertical screens have amazing advantages for coding, writing, or any such productivity tasks. But they aren't great for entertainment or visual activities like watching videos or gaming. Now you can always keep flipping your screen between the vertical and horizontal layouts, but that can wear out the stand, and it's going to be cumbersome anyway. The more flexible answer is a mixed dual-screen setup.
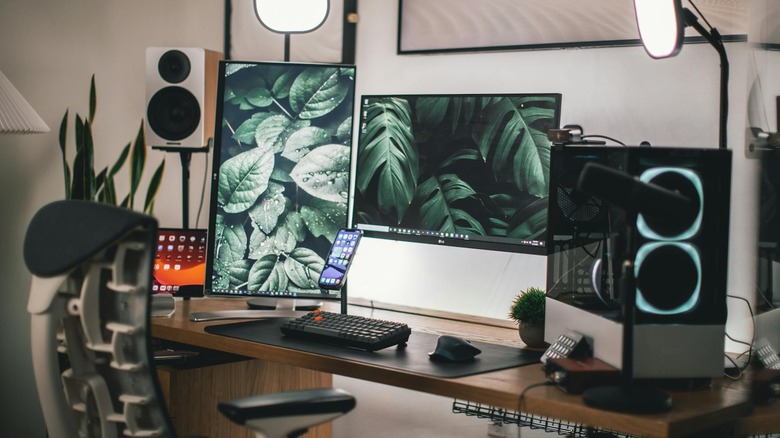
Dual screens aren't a new idea. Many tech workers go for dual-screen setups to improve their productivity, but running two monitors side-by-side has its own problems. The increased desk space required is an obvious issue, besides the fact that peering over two separate screens isn't the most intuitive either. While you can overcome some of the challenges by stacking one monitor above the other, you might be using your second monitor wrong by doing this.
The advantages of a mixed setup are clear. A vertical monitor occupies less desk space, so it makes for a great secondary screen. It also gives a new way of looking at things, instead of simply increasing the screen space available to you. You can keep running most of your applications on the main horizontal screen while shifting the more information-dense tasks to the vertical side screen, and save yourself from all the scrolling. Do try to match the length of the second monitor with the first one's height, though, to ensure they have the same vertical footprint.
Mind the cables
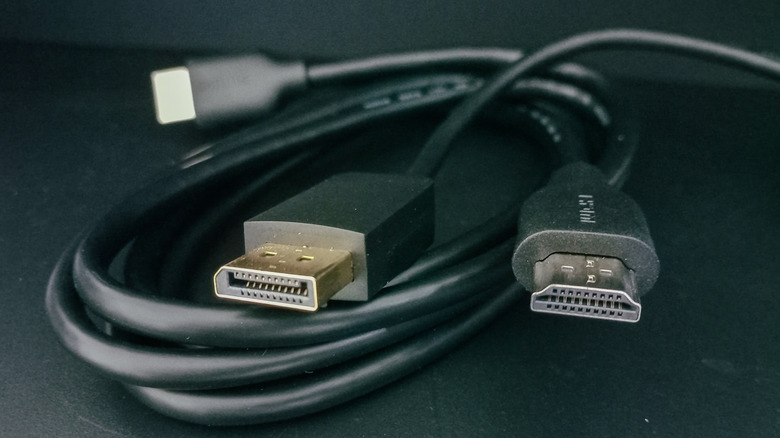
Organized cable management is recommended for any computing setup, but a vertical monitor makes it even more essential. This is because monitors, by default, are designed around the horizontal layout, which means they have cables going in from the bottom, naturally hiding them behind the stand. But when the same monitor is turned 90 degrees, the ports now face a side, and the cabling is not that conveniently concealed. Worse, depending on which side of the computer the monitor is situated, you might end up needing a lot more cable than normal.
So if you are switching to a vertical setup, you need to think about the cable organization beforehand. Measure the distances and make sure you will have enough cable length to accommodate the new layout. Try to put your monitor on the correct side of the CPU cabinet to get the minimum distance, or just buy longer cables. Of course, there can be signal degradation if the cable length is too high, so keep it reasonable.
Next, get some tools for cable management. Some zip ties, holder clips, and even right-angle connectors would be great for organizing the cables on the wall. This may seem like a lot, but it is better to set up your vertical monitor properly than to have loose hanging cables that can get stuck and bring the whole thing down. You don't have to break the bank either, but get some cheap gadgets that can fix cable clutter.
Ensure your software supports vertical mode
Before you jump into buying new gear for your vertical setup, make sure that your applications even support it. The OS, of course, has support built in, with both macOS and Windows including a portrait mode toggle. The same goes for leading web browsers like Google Chrome, which can switch to a vertical layout seamlessly. The problem is other applications.
If you are a coder, you need to use IDEs, database applications, and things like Docker or Git. Not to mention any proprietary company software you may need to run in tandem. Some of these applications may not play nice with a vertical layout, ruining the purpose of going down this route. Even if you just plan to use a web browser with your vertical monitor, some websites may not render properly either. Because while the browser itself may support portrait view, many websites are designed using fixed-width widgets and don't render correctly.
The solution to these potential issues is simple: Test your configuration out before you make the permanent switch. You can simply rotate your monitor sideways to temporarily try out the portrait mode. Ignore any cabling or color issues that you can fix with proper hardware, and pay attention to the apps you use. They should render correctly in the top-down layout and be interactable. Only if your intended apps work smoothly should you transition to the vertical monitor setup for good.
Never share the whole screen
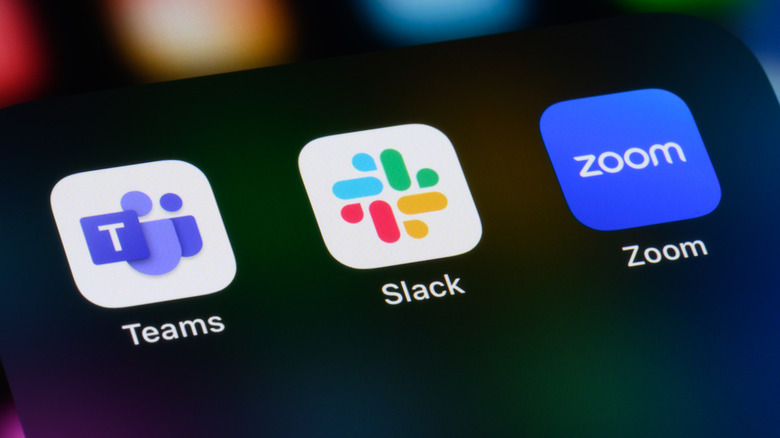
Screen sharing is often required when collaborating with your colleagues at work. It is often the easiest way to show a problem you have encountered or demonstrate a solution. But if you have a vertical monitor and they have a standard one, how will screen sharing work? Not very well.
Normally, screen-sharing apps are good at adapting the screen dimensions to fit the target display. Things like resolution or aspect ratio are adjusted without major visual issues, letting you share your screen with anyone using any screen or OS seamlessly. Vertical monitors, however, are not that well supported. When your OS is in portrait mode, it doesn't just have a slightly different pixel resolution that can be smoothed over. It flips the dimensions of the screen completely, which cannot be easily undone.
So what happens is that screen-sharing apps end up trying to share the screen as-is, putting the vertical image on a horizontal display. This ends up cropping the result to fit the screen, leaving black bars on the side. The shared stream is also squeezed to such an extent that any text isn't legible anymore, making it useless. There is no direct fix for this problem, so you are just advised not to share a vertical screen. This is another reason why vertical monitors work better as a secondary screen in a dual-monitor setup instead of the main display. You can use your vertical monitor for productivity applications, but switch to a normal monitor for screen sharing.
Don't go too tall
Usually, when you are shopping for a display, the only limiter is your budget. The bigger the screen you can get, the better, right? Not quite, at least if we are talking about vertical monitors. We have already mentioned how turning a monitor vertical introduces certain issues like viewing angles, but those are easily fixed with a better display.
The size of the monitor, on the other hand, is not something you can fix. For a horizontal setup, of course, the size poses no problems. Our horizontal field of view is wider, so we can easily take in a massive screen without turning our heads. But our vertical field of view is narrower. This means that you are forced to swivel your head up and down to see everything when a big monitor is installed vertically.
The whole point of a vertical screen is to be able to see more information with minimal movement, and a larger vertical monitor defeats this purpose. Not only is the constant head movement tiresome, but it is also risky, as long-term usage can cause neck sprains. This is why you should reserve your larger displays for a normal horizontal setup and get a smaller screen for the vertical configuration. A monitor between 24 and 27 inches is ideal for portrait mode, fitting easily in your field of view and making for relaxed viewing. There are plenty of cheap monitors that punch above their price bracket to choose from.