5 Quick And Easy Tips To Improve Your 3D Printer's Printing Quality
There's not a single magic setting that improves 3D printing projects, because it's all about getting the basics right and ensuring a 3D print project is modeled well and comes from a reputable source. This often starts before printing begins with steps such as making sure the first layer is solid, optimal nozzle and enclosure temperatures are set for the filament type, motion is stable, and bed-leveling are all classic examples of where 3D printing projects go wrong. Most common defects, like rough surfaces, stringing, warped corners, weak layer bonding, and scruffy-looking first layers, can usually be traced back to easy-to-fix issues.
The key here is being systematic. Changing only one setting or variable at a time makes it easier to identify what actually improved print quality. Plus, the last thing users need to do is fix one issue while causing another. Organized problem solving like this will eventually lead users to the issue, while making notes of filament brand, nozzle/bed temperature, speed, layer height, and any other tweaks will help make repeatable profiles to make life easier in the future.
Here's some basic tips to keep prints clean without fail, including some best practices while operating your 3D printer. If a project isn't printing correctly, the odds are the fix is right here.
Level the bed and set your Z-offset

Always kick off a new project with a calibration, as that first layer of a project is critical. Bed leveling is the first thing users should be doing before starting a print, and some 3D printers now auto-level, so make sure to double-check this before trying. Getting a recent 3D printer model that has some level of automation is going to come in handy, especially for heavy printing sessions and those looking to make a living from their prints.
Doing this manually is easy enough by simply bringing the nozzle's Z height down to zero and trying to fit a sheet of paper between it and the bed. If it doesn't fit, lower the printing bed until it does. If you can't lower the print bed, raise the Z-axis in 0.01 mm increments. The key here is being able to slide the paper through with minimal resistance. If the paper tears, more adjustments need to be made.
This step is usually guided on most printers today, but the main points to check leveling are the corners, the midpoint between the corners on each edge, and the central point of the build plate. Once the levelling process is completed, check by printing off a single first layer to ensure it's smooth and sticks securely to the build plate. Print lines should touch where applicable, with every line having a consistent height and thickness.
Test nozzle and bed temperatures with a quick print
Temperature tuning is one of the best ways to reduce stringing, which looks like spider webs on prints, and ultimately improve print quality. Stringing happens when the nozzle temperature is too high, and a lack of detail or sagging edges is most likely a result of incorrect temperatures and cooling times. Printing a temperature tower is a good way to help find the optimal temperature for a chosen filament.
It looks like a set of steps, with each step printing at a different temperature so users can see temperature settings in action. Users can also use ooze shields and wall structures to stop stringing, but that's more of a quick fix than a solution. Every seasoned 3D printer user knows that quick fixes usually end up in frustration, which is a beginner mistake in itself.
Incorrect temperature settings could also cause warping and adhesion. When a print cools, contraction can pull the bottom edges upwards and cause warping, which usually means the bed temperature is too low or the initial layers aren't adhering to the bed correctly. If the print bed is too hot, the base of the print will flare outwards, so finding the best print temperature for a particular filament and then making a note of it is a wise idea before printing a project.
Pick the right build surface and use minimal adhesive
A build plate's surface affects adhesion, and the bottom finish on a project. Materiel like glass and PEI give a smooth finish, while glue-on polycarbonate sheets provide a matte appearance. Newer printers usually have a smooth and rough double-sided metal build plate, so pretty much every kind of base finish is accounted for. Some users use glue stick or special sprays for the sake of adhesion and making sure the first layer is as stable as possible.
There's nothing wrong with this, although most printer bed surfaces adhere fine, providing the previous steps in this guide have been carried out. Using too much adhesive product can make prints difficult to remove, and forcing the print off the plate can damage the print or even the plate. A light application is usually all that's needed, just double-check the manufacturer's temperate guide for the product you're using, just to be safe.
Make sure to keep the build plate clean. For glass and specialist build plate materials, refer back to the printer manufacturer's manual for the best way to clean them. For metal-based printing beds, isopropyl alcohol is usually the best to get rid of skin oils and other debris from the build plate. Wearing a pair of powder-free nitrile gloves is a good idea whenever handling the insides of a 3D printer.
Do quick maintenance checks to reduce vibration and inconsistency
Print quality can drop, and failures can increase due to little or no 3D printer maintenance. Belts can loosen, wheels wear, and fasteners loosen over time. Cleaning and lubricating rails, checking alignments on dual Z-axis 3D printers, tightening bolts, and keeping firmware updated are all easy and common maintenance steps that can affect print quality if left unchecked for too long. If projects are suddenly showing ringing, layer shifts, or inconsistent layers, these maintenance steps can fix these issues.
Maintenance is easy when following a checklist: Check belt tension, look for any wobbles in the frame, and confirm the gantry is level. It's also worth checking the extrusion if there are inconsistent layers in a print. Simply go into the 3D printer settings and make the extruder run for a couple of seconds to see how the filament slows. A nozzle should always be spotless, as any dried filament hanging around will mess up a print. If there are still issues, follow the manufacturer's unloading and loading process to make sure the printer head and nozzle are clean.
Even if nothing looks broken, small mechanical issues can show up as surface artifacts. Spending five minutes tightening and checking alignment can get projects looking awesome again in no time. Just do a quick test print with a simple beginner project to check that any issues have been solved before going all in.
Keep filament dry for smoother surfaces and stronger layers
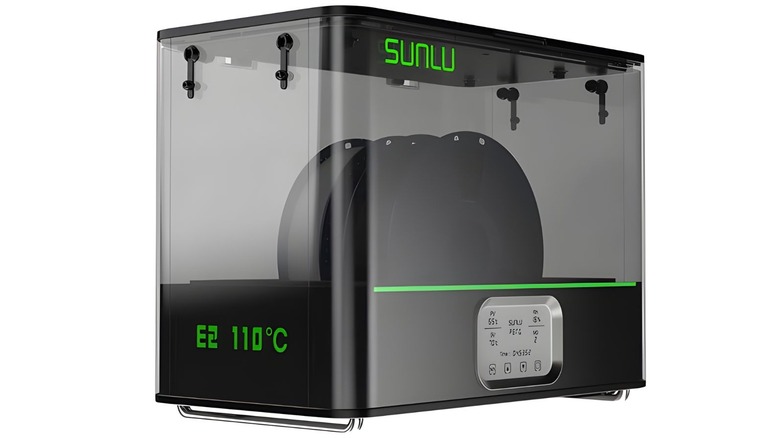
Buying quality filament is one thing, but making sure it's in the right condition condition helps prevent rough finishes and inconsistent extrusion. Many filaments are "hygroscopic", meaning they absorb moisture from their environment, so when that moisture heats up in the hot end and extruder, it can cause bubbles and uneven flow. This will usually show up as pitting, a fuzzy texture, weak layer bonding, and popping sounds during printing.
It's quite simple to solve this issue: just store filament in airtight containers with desiccant to help avoid moisture-rich environments. There are also plenty of filament and 3D printer manufacturers that sell filament dryers, with many having exit ports for filament to feed straight into a 3D printer. Dryers can keep performance consistent from start to finish, although they're only necessary when printing continuously.
Humidity in the room is important, too. High humidity can cause filament to absorb moisture for obvious reasons, so if a filament suddenly starts producing rough and inconsistent extrusion, drying and storing it properly is usually the best fix. For those using something like an Elegoo Centauri Carbon 2 Combo where filament spools need to be mounted to the printer, investing in a dehumidifier is another good way to make sure spools are kept in good condition.