How To Turn Your Physical Media Into Your Own Personal Streaming Service

We may receive a commission on purchases made from links.
In the past, physical media like VHS tapes, DVDs, and Blu-ray discs were the primary way you could watch a movie or show at home on demand. These days, though, streaming services have completely taken over home entertainment. They are, after all, more convenient as they require only your TV and an internet connection — no discs, no disc readers, and no messy wires.
But the problem is, there's usually no single streaming service with all the movies and shows you want to watch. You'd almost always have to subscribe to more than one service. That isn't really practical, especially with services bumping the price all the time. In fact, Netflix just increased prices in March 2026 after issuing a price hike in January 2025.
The good news is, if you have a large collection of physical media at home, you can skip subscribing to Netflix and just convert your VHS, DVDs, and Blu-rays into your own streaming service. Yes, those stacks of old discs are still good for something other than a paperweight. As long as the disc works, you're good to go. We'll walk you through the steps on how to digitize your physical media to become your personal (and completely free) streaming service.
Step 1: Prepare your materials
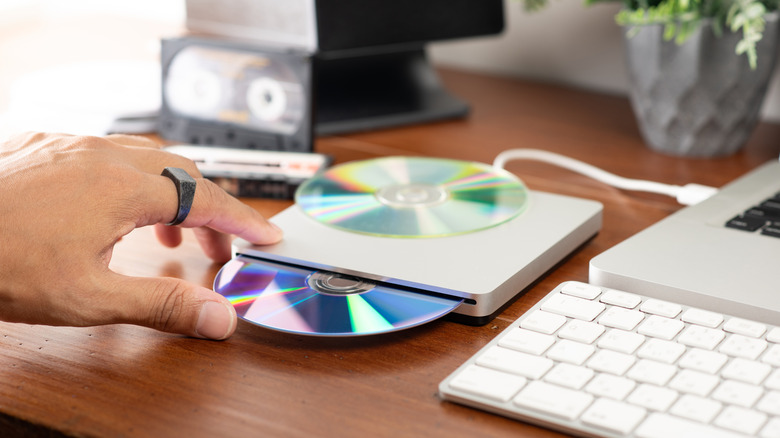
To get started, you need three things. Of course, the first on the list is your discs or tapes. Just pick two to three of your favorites, so the process doesn't get overwhelming. You can rip the other media on another day as you build your library. Then, get yourself a USB disc drive for reading your discs. There are some highly rated ones on Amazon like the Rioddas External CD/DVD Drive with 4.3 stars and over 40,000 reviews. If you're working with VHS tapes, though, it's less straightforward as they require a VCR and a VHS to Digital Converter.
Finally, prepare a computer where you'll connect your disc drive or the VHS to Digital Converter. This will also serve as the storage for your digitized files. It doesn't have to be brand new — you can try running this project on an old PC or Mac, making it one of the productive uses for your old computer. The internal storage isn't required to be massive either since it's best to start with just a few discs. You can always use an external drive once your library expands beyond the internal storage.
From here, you have to install some apps on the computer: MakeMKV for reading the discs (for VHS tapes, check the recommended software for your VHS to Digital Converter), VLC Player for playing the videos, and Jellyfin for organizing your files into a streaming service lookalike. Some users also recommend Plex, but it isn't completely free unlike Jellyfin.
Step 2: Set up your file folders for Jellyfin
The thing about Jellyfin is that it can be pretty particular about its file organization. So before you start ripping your discs, make sure to set up the folders first. Otherwise, Jellyfin might not be able to properly locate and display the files. Here's a rundown on how to achieve this:
- Navigate to your computer drive where you want to save all your videos.
- Create a new folder.
- Name the folder Jellyfin.
- Inside the Jellyfin folder, create two new folders.
- Name one of the folders Movies and the other Shows.
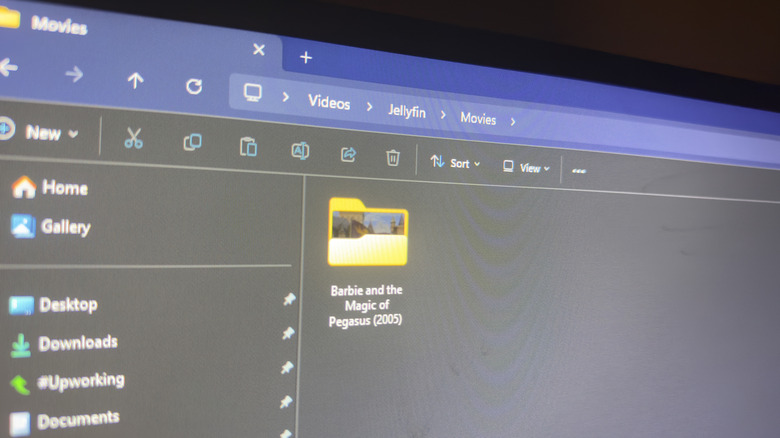
From here, you have to create separate folders inside the Movies and Shows folders for each of the movies or shows you'll be watching. Follow these steps for the Movies folder:
- Open the Movies folder.
- Create a folder for one movie.
- Name the folder in the format Title (YYYY), with YYYY as the release year. For instance, the folder for your "The Little Mermaid" DVD should be "The Little Mermaid (1989)."
If your disc contains bonus features like behind the scenes or deleted scenes, open the specific movie's folder (e.g., The Little Mermaid folder) and create a new folder named extras.
For the Shows folder, follow this guide:
- Inside the Shows folder, create a folder for one series.
- Follow the same name format as the movie folders. For instance, you can have Friends (1994).
- Go into the series folder you just created.
- Create individual folders for each season.
- Name the folders Season 01, Season 02, and so on.
If you have extra episodes that don't belong in any of the season folders, you can add a Season 00 folder.
Step 3: Start ripping your discs
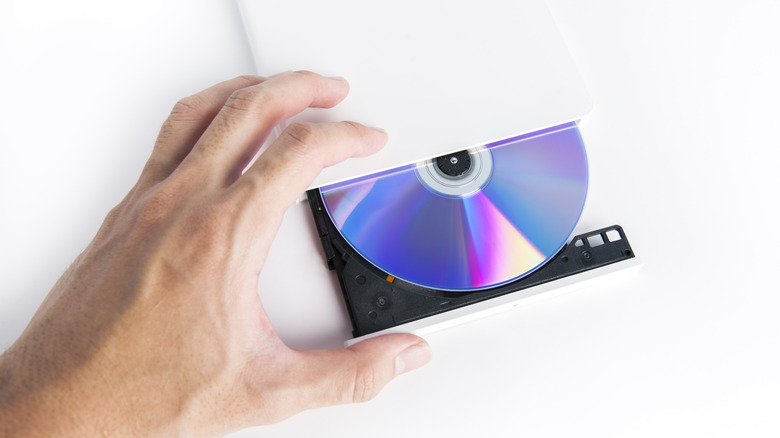
With your materials and computer ready to go, you can now rip your discs. It's actually pretty easy. Simply place it into your disc drive and launch MakeMKV. This scans your disc for contents and creates MKV files from them. Once your files are saved, find the output folder and rename the files according to Jellyfin's proper naming architecture.
However, the files MakeMKV generates usually have non-descriptive names. You can't tell what they actually are just by browsing through them. To identify the ripped files, play them on VLC Player first. Scrub through the video to check if it's the main movie or not. If it is, name the file Title (YYYY) with YYYY as the release year. If there's more than one output file, play the rest via VLC player to check whether you want to keep those other videos or not. Then, you can move the movie file to Jellyfin > Movies > the specific movie folder.
For TV series, each episode should follow the naming convention Show Name s01e01 for Season 1, Episode 1; Show Name s01e02 for Season 1, Episode 2; and so on. So for the first episode of the first season of Friends, its title should be Friends s01e01 and the following episode Friends s01e02. The files should then be moved to Jellyfin > Shows > Friends (1994) > Season 01. Rinse and repeat for all the movies and shows you rip moving forward.
Step 4: Load your files onto Jellyfin
After collecting your MKV files, it's time to add them to Jellyfin. Make sure you have Jellyfin set up first, though. This usually involves choosing a preferred language and creating a username and password. From here, follow these next steps:
- When prompted to add a media library, set the Content type to Movies.
- Select Jellyfin > Movies for the folder.
- Set a metadata language and region. The region should be where you currently live.
- Go through the rest of the setup process (leaving the default settings as is) until you reach the Jellyfin sign in page.
- Log in with your credentials.
- On the Jellyfin home page, click the hamburger icon in the top-left.
- Go to Dashboard.
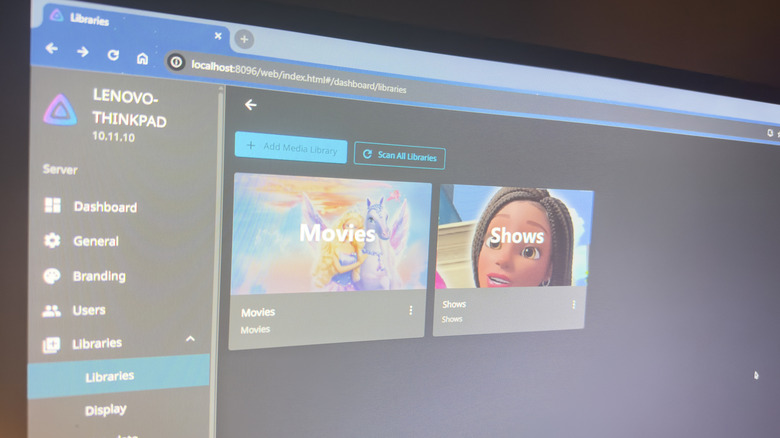
- Select Libraries.
- Hit Add Media Library.
- This time, choose Shows as the Content type.
- Pick Jellyfin > Shows as the folder.
- Press Scan All Libraries to load your files.
- Go back to the Jellyfin home page by clicking on the Jellyfin logo in the top-left corner.
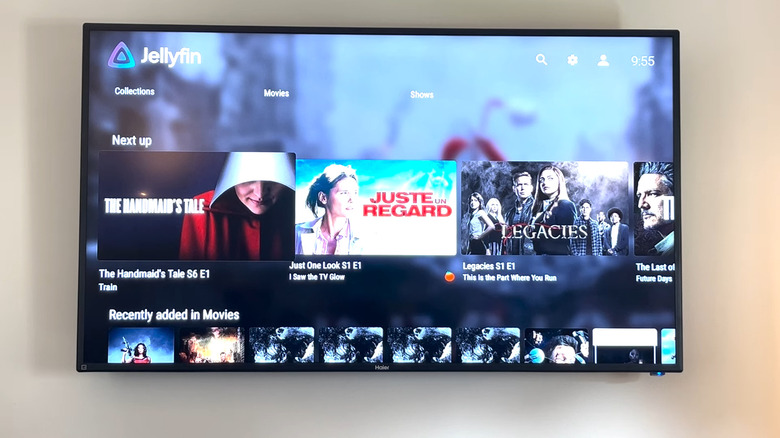
As you browse through your library, you'll notice that Jellyfin auto-populates the details page with the movie/show logo, its total runtime, short description, and even cast members. But the Jellyfin home page won't really look like your typical streaming platforms. Jellyfin's is much more plain with just your Movies and Shows folders and their contents in alphabetical order.
While this works perfectly fine, you might want the typical streaming platform look. You can start with applying a Jellyfin theme. There's a collection on GitHub, each one complete with instructions. Other than a theme, you might also want to add the Media Bar, which is a plugin. Just note that customizing Jellyfin can take a bit of work, so be prepared to spend some time in this step.
Step 5: Access Jellyfin locally on your home TV and remotely on other devices
With this system set up, the default way is to watch your movies and shows directly from your computer where Jellyfin is installed. But you actually have the option to watch on your home TV and remotely too. To access Jellyfin on your TV, here's what you need to do:
- Turn on your Jellyfin computer. It has to be powered on while you're accessing it from your TV.
- Install the Jellyfin app on your TV. It's officially supported on Android TV, Roku, Fire TV, and WebOS, and is actually one of the best free apps to install on your smart TV.
- Connect your TV to the same Wi-Fi as your Jellyfin computer.
- Get your Jellyfin computer's local IP address, which could look like 192.168.1.10:
- On Mac, simply navigate to System Settings and go to Network. Look for the Local IP Address value.
- On Windows, launch Command Prompt, type ipconfig, and hit Enter. Your local IP address will be the value next to IPv4 Address.
- Launch Jellyfin on your TV.
- When prompted for your server, type https://000.000.000.000:8096, where 000.000.000.000 is your Jellyfin computer's IP address.
- Enter your Jellyfin username and password.
Once done, your TV should be able to load your Jellyfin media files. If you want to access Jellyfin remotely, there are several different ways. You can either use Tailscale, which users say is one of the most noob-friendly methods. You can also try Meshnet.