

How To Get The Best Audio Out Of Your AV Receiver
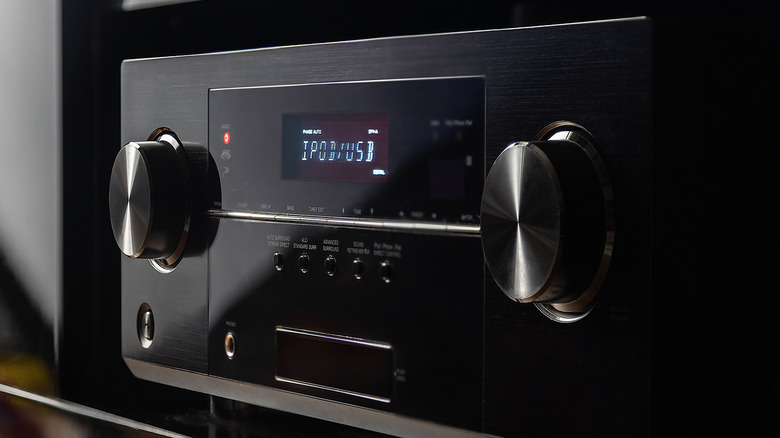
Once it's all wired up, an AV receiver is the kind of home theater hardware you shouldn't have to think all that much about. Thanks to HDMI-CEC, most systems can be powered using a TV or streaming device remote, which should also let you control the volume and input switching. But there must be more beyond the quick initial setup you went through with your AVR, right? After all, some of these devices cost upwards of $5,000 and can power speakers in multiple rooms of your home or business.
Dual and triple-zone configurations are par for the course when you're looking at midrange and premium AVRs. Those aren't unique audio features, either; they're just an alternative way to use the onboard amplifiers. What we're interested in are the sound optimizations you'll find buried at the bottom of the deepest AVR menus. If you're looking to get the absolute best audio possible out of your AV receiver, you've clicked (or tapped) on the right article.
Getting the most out of your AV receiver, at least as far as audio is concerned, shouldn't cost an arm and a leg. Most of the system tweaks we'll be discussing won't require anything more than your receiver remote, and the only additional products we'll be recommending are HDMI cables, speaker wire, and a subwoofer (but only if or when you can afford one). We also recommend keeping your AVR up to date by installing any firmware updates the manufacturer releases.
Connect the calibration mic whenever your room acoustics change
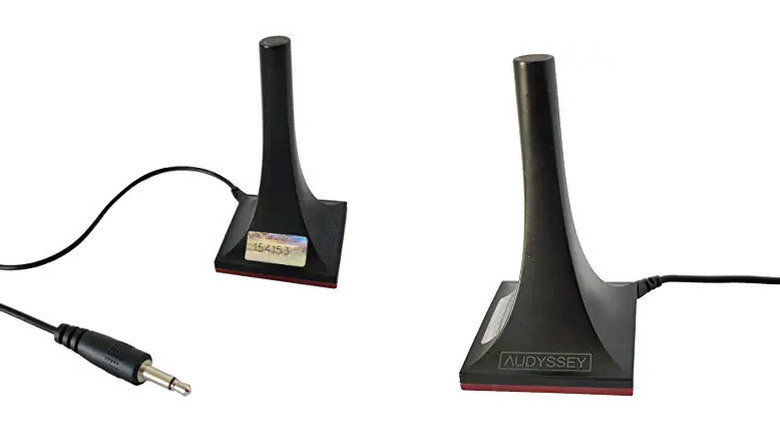
Whether you went with a Denon, Yamaha, or Sony model, each of these manufacturers includes a calibration mic with their AVRs. After you've connected your speakers to the receiver, connect the mic to your receiver's setup port, then run the calibration wizard to dial in speaker volume, distance, crossover settings, and more. This allows your AVR to compensate for the unique acoustics of your listening space, and it gives you a strong foundation to work with if ever you want to tweak levels down the line.
But let's say you're going to wall-mount your TV and have decided to get rid of the speaker stands your two front speakers used to live on. Instead, you'll place them on the entertainment center your TV used to occupy. That's a great plan, but once you've made the swap, you'll want to use the calibration mic again. Bought a brand-new couch? Use the mic again. Splurged on a bunch of new curtains? Use the mic.
It's not just an initial setup tool; acoustics software like Dirac Live, Audyssey, and Sony's DCAC is meant to be used whenever you make a change to any part of your home theater, be it hardware, furniture, or decor. Sound waves are sensitive, and any physical modifications to your theater should be accounted for. For best results, make sure the room is as quiet as possible and that you won't be interrupted for about 10 to 15 minutes.
Invest in great HDMI cables and speaker wire (but not the best)
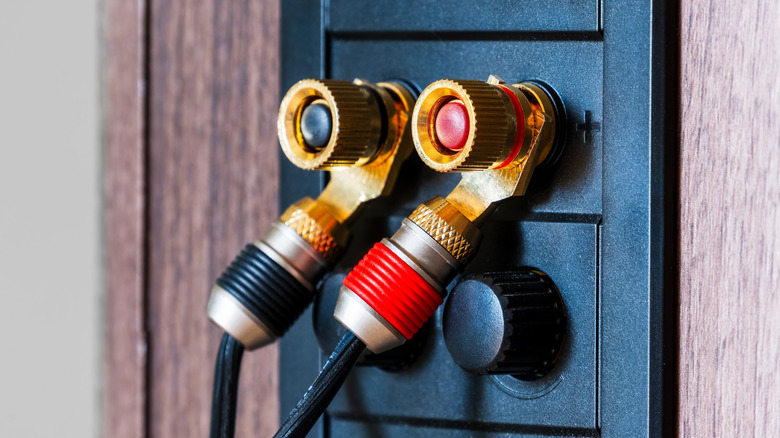
You can literally spend thousands on home theater wiring, but that's not a world we choose to live in. We also recommend you join us, because spending top dollar on cable tech like gold-plated connectors and silver inlays will have you hitting a quality ceiling fairly fast. Only the most discerning audiophiles may hear a difference when you're using ultra-luxury cables, and even then they might be lying (they have to justify the price somehow).
Even if a major wad of cash is burning a hole in your pocket, you're better off investing it toward speaker upgrades or bass traps for your subwoofer. That said, you'll still want to invest in what you actually need for AVR connections. For HDMI cables, stick to Ultra High Speed-certified wires, or look for a 48 Gbps label. This will help ensure that your AVR, TV, and AV components are all capable of passing Dolby Atmos and DTS:X signals.
We have a similar philosophy when it comes to speaker wire. While you don't want to purchase the cheapest spool you can find, you also don't want to bankrupt yourself for the sake of a boutique brand name. Companies like Cable Matters and Monoprice make solid wiring you can purchase in multiple lengths and gauges, but sticking to 16 AWG — or 14 AWG if you're feeling fancy — is really all you need for home theater speakers.
Lean on the most powerful DAC in your chain of home theater tech
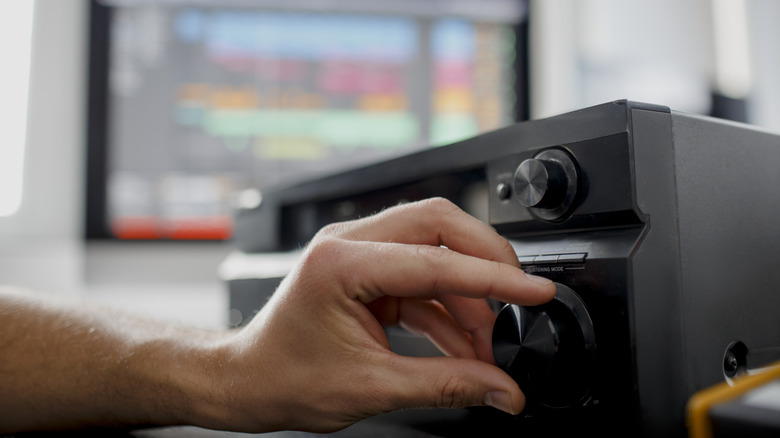
Just about all modern AVRs are equipped with an onboard digital-to-analog audio converter (DAC). This is one of the most important parts of your home theater system, as it translates all the digital data sent by your Blu-ray player, streaming devices, game consoles, etc., into the analog sound your speakers produce. While the AVR's internal DAC is probably sufficient for most folks, audio enthusiasts may own an AV component with a higher-quality internal DAC than the one built into their receiver.
One great example is the Panasonic DP-UB9000 4K UHD Blu-ray player, a flagship disc-reading machine if there ever was one. This premium player is equipped with an audiophile-grade DAC that supports up to 32-bit/768 kHz playback and has enough analog RCA ports to line out to a 7.1-channel amplifier. The UB9000's DAC is likely superior to whatever's built into most entry-level and midrange AVRs; if your speakers are expressive enough, you'll probably hear an improvement in sound quality.
We should be clear that, again, most AV receiver DACs are going to be perfectly fine for the average consumer, and probably for many audiophiles, too. But if you know for a fact that a key component can do better, bypassing your AVR might be worth a shot.
Buy or upgrade to the best subwoofer you can afford
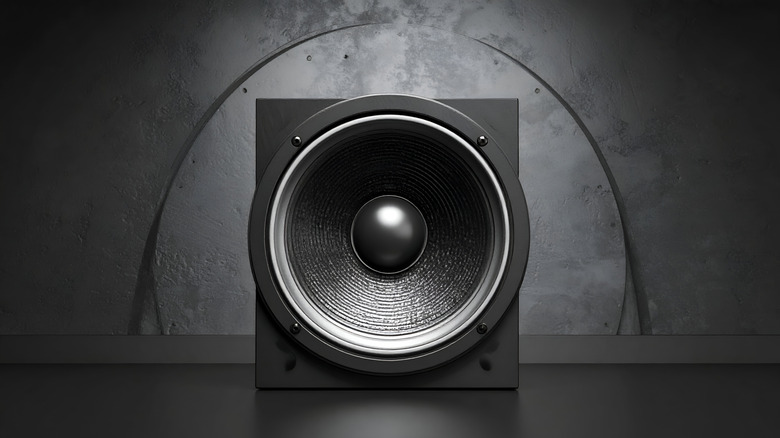
One of the other most important parts of a home theater system is the subwoofer. These frequently cube-shaped speakers are engineered to handle the lowest frequencies in your speaker setup, whether you're running a 2.1, 3.1, 5.1, or 11.1.4 configuration. Sub-bass audio (e.g., action movie explosions or 808 drops in rock, rap, or hip-hop) isn't feasibly tackled by traditional passive speakers. Without a dedicated woofer, sub-bass has no choice but to be mixed into other channels.
Not only will an active subwoofer handle sub-bass frequencies, but it'll also take on low-mids, allowing your speakers and AVR to focus on delivering the best treble and midrange. For those starting without a woofer and adding one later, you'll probably notice a boost in dialog clarity and overall soundstage size. And as we mentioned earlier, be sure to use your AVR's calibration mic again if you add a sub to your system in the future.
Many audiophiles argue that a dual-sub setup is even better for your theater space, as two woofers are able to distribute low frequencies more evenly throughout a room. This isn't a necessity, though; what's more important is that you have at least one subwoofer in your speaker family.
Give your AVR some literal warm-up time before you start using it
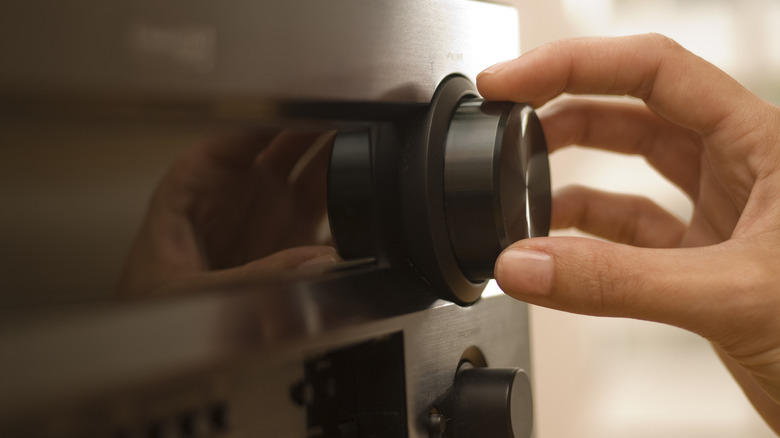
Modern AV receivers don't rely on tube amplifiers as much as they used to. Back in the analog years, AVRs sometimes required an extended boot-up time to deliver maximum sound quality. Powering on your receiver a full half-hour or hour before you start actively using it just isn't necessary in the present day, but we can still learn a thing or two from the all-tubes era.
We like the idea of giving an AV receiver a bit of warm-up time, but that really doesn't need to be any longer than 10 to 15 minutes. Doing so allows all the AVR's internal components to reach normal operating temperatures. While this won't result in a huge change in audio quality, some home theater owners may hear a difference, especially with more detail-oriented speakers. And if you don't feel like waiting that long for your gear to fire up, 30 seconds to a full minute is better than nothing.
Furthermore, your AVR's warm-up time shouldn't be "warm." Proper ventilation is key, as AV receivers can generate a lot of heat. Do your best to keep areas above and beside the system free of clutter; the top shelf of an open-backed entertainment center or AV rack is usually your best bet.