

5 Common 3D Printing Issues And How To Fix Them
We may receive a commission on purchases made from links.
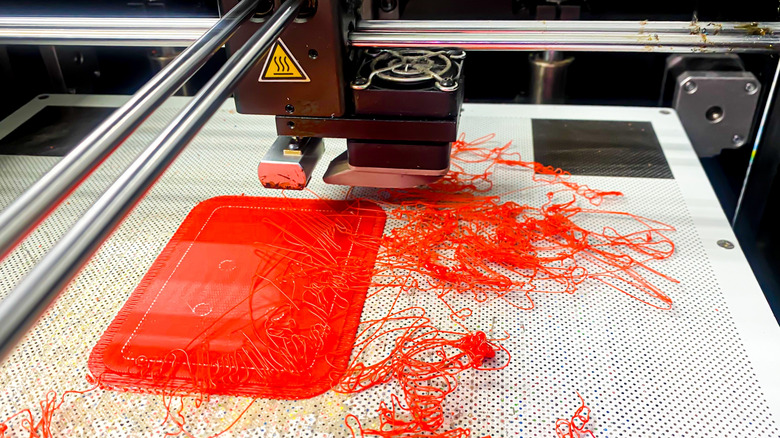
There's nothing worse than the sinking feeling one experiences when checking on a two-day print only to find a bed of 3D-printed spaghetti. It's happened to me more times than I care to admit, but it's not always a schoolboy error. Users can research the best slicer settings for their printer and filament, but sometimes one setting is missed and that Spider-Man bust that looked cool and easy to print for beginners on Printables looks more like Carnage after a bad night out.
FDM 3D printing is now more accessible than ever, with newcomers to the hobby getting to skip the dark days of self-leveling a print bed. Current 3D printer models are pretty much automated, but that doesn't mean things can't go wrong. I've come up with five of the most common 3D printing issues I've encountered in my five years in the hobby, and every single one is fixable with a bit of setup know-how, preparation, and maintenance. They mostly come down to how filament extrudes from the heated nozzle and how the first layers bond to the plate. Most free libraries of community-made STL files such as Thingiverse, Printables, and MakerWorld are projects that have been tried and tested, which usually means 3D printing issues stem from one of the fixes below.
Stringing and oozing
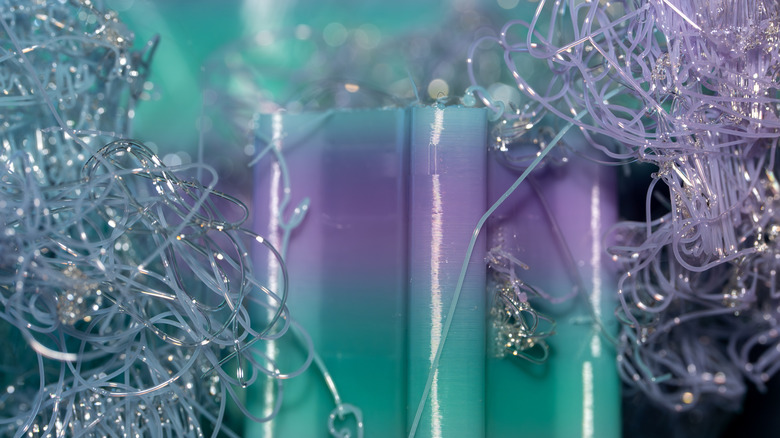
The cobwebs on a 3D print aren't from a resident spider trying to help out. These thin wisps of plastic stretching between 3D-printed surfaces come from filament oozing from the print nozzle as it moves from one surface to another. This can be caused by several factors, most commonly an overheated nozzle, weak or no filament retraction settings, or moist filament.
You can fix the first two in the slicer before a project begins, although some printers allow mid-print adjustments. First, check the filament's recommended temperature and adjust accordingly. If the nozzle is set to the lowest temperature provided, just knock it down one or two degrees and print a small test to check the results. Next, check the retraction settings; if they're off or too low, increase them a little at a time and test until stringing stops.
Damp or moist filament might not feel wet to the touch, but filaments like PLA are porous and can absorb moisture from the surrounding air. You have two options, with the most obvious being to store filament in a dry environment at room temperature. This is easier said than done for people with 3D printer setups in a workshop, for example, so buying a filament dryer and dispenser from a solid brand like Sunlu is a great way to combat this issue. Also, keep filament in its vacuum packaging until it's ready to use.
Poor bed adhesion
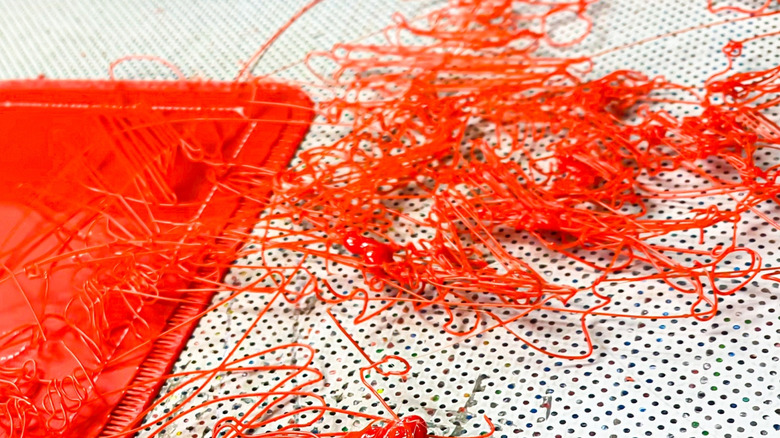
I've had projects slide on a print bed on its third day, so don't be like me and try to print a Stormtrooper helmet without preparing properly. Poor print bed adhesion is when filament fails to bond to the build plate, so the print warps, lifts, or detaches mid-print. This usually happens because of a dirty or oily build plate, an unleveled bed, the wrong Z-offset, the wrong bed temperature, or printing the first layer too fast. It's a big reason why 3D printer projects fail.
The best thing to do before every print is to wipe the build plate with a microfibre cloth and isopropyl alcohol. I like to go over my print bed with my Olight ArkPro Ultra, using its torch mode and UV light modes to check that there's absolutely nothing on the build plate after cleaning. Then I apply a light coating of filament adhesive; Elegoo's glue sticks work great in my experience.
Most modern 3D printers offer auto bed leveling and Z offsetting to make sure the printer head doesn't scrape away filament. Older 3D printers need manual leveling and offsetting walkthroughs with a piece of paper. Next, make sure the print bed is at the correct temperature so the filament sticks; find this on the manufacturer's website. Use the filament manufacturer's guidance instead of the printer brand's, since these figures can differ. Finally, slow down the first-layer print speed; the slower, the better here for maximum adhesion.
Warping and curling
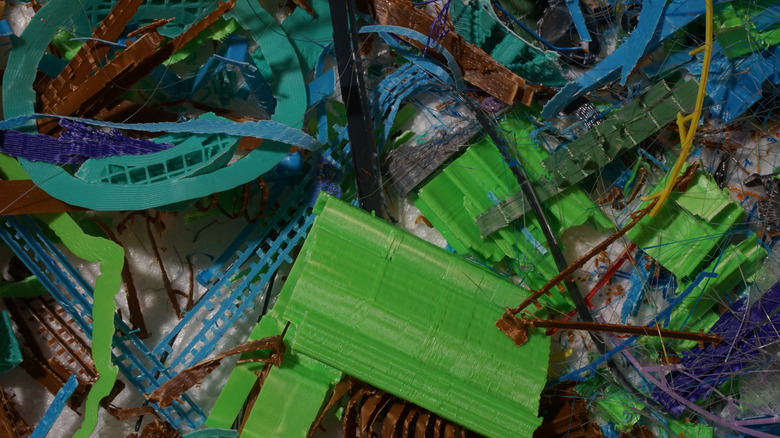
Noticing corners turning up at the bottom of a 3D print project? It's usually a temperature or environment issue caused by cooling plastic contracting unevenly, which can ruin the bottom of the print and even reduce adhesion. Temperature control is very important in 3D printing, as temperature differences between layers and drafts can cause excess plastic to shrink. It's not a big problem with PLA, which is what I usually use for my hand-made collectibles, but ABS can be a big problem.
A simple solution is to put the 3D printer in an enclosure, which helps trap and control environmental heat while blocking drafts and other external interference. Also check whether your bed temperature matches the material you're using. When slicing projects, make sure to input the correct filament type and update automatic settings where applicable.
Another handy fix is to add a brim or raft for parts with small contact areas, with natural supports being an absolute necessity. A good rule of thumb I follow with FDM 3D printing is: if it won't be used, print in PLA; it's far more user-friendly and perfect for anything that isn't going to be physically used.
Under-extrusion
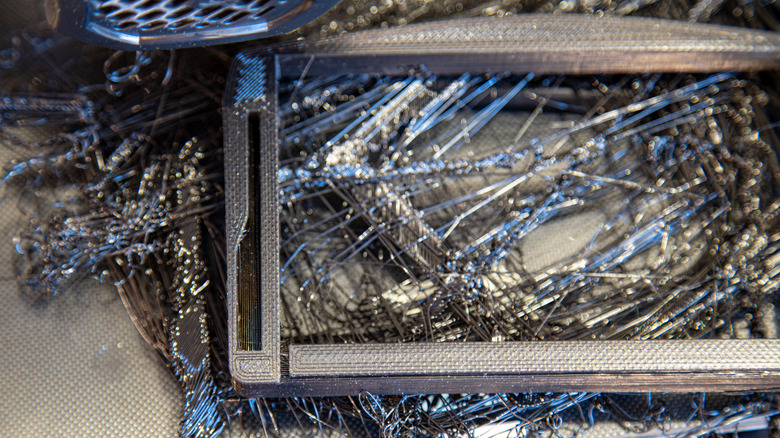
Under-extrusion is when the 3D printer extruder doesn't push out enough filament to fill spaces or make a complete layer. In my experience, this causes weak walls, gaps in layers and parts that break with little force. Again, this could be a few things: a clogged or jammed hot-end nozzle, incorrect filament diameter settings on the slicer side, the wrong extrusion multiplier or a worn or slipping extruder gear.
In my experience across Elegoo, Snapmaker, and Prusa 3D printers, the most common issue is a blockage in the hot end nozzle. Turn off the 3D printer and let the nozzle cool, then follow the manufacturer's instructions to remove it and check for blockages. I've always found a handheld model screwdriver is great for getting into and removing blockages. For awkward blockages near the nozzle opening, an airbrush cleaning tool is great for loosening it and cleaning it up.
While the hot end nozzle is unscrewed, it's a good idea to check the feeding channel and gear for blockages. A good way to tell if filament is skipping instead of being gripped and pushed into the extruder is to check the unloaded filament for excess vertical wear. If so, the gear will most likely need replacing or tightening. Then make sure the slicer has the correct filament settings; if they're off, no one will get a completed print.
Layer shifting and misaligned layers
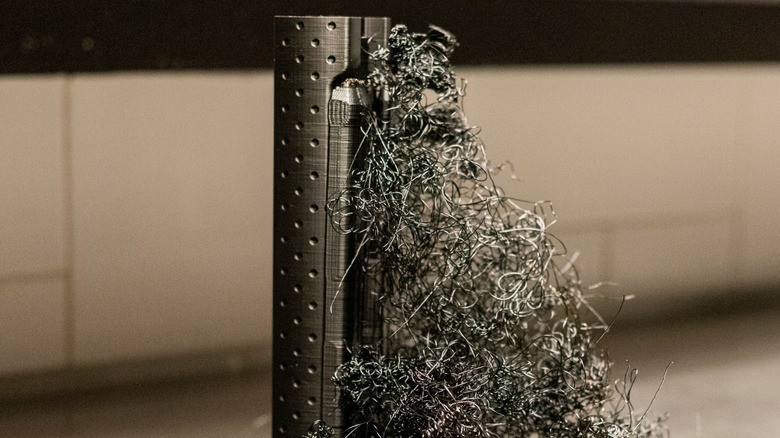
For completed prints that look more like a set of ladders than a clean product, there's most likely a mechanical fault. This happens when layers suddenly shift sideways mid-print, usually because of loose or slipping belts, axis issues, or the print head colliding with a lifted part, as mentioned earlier.
First, check belt tension: it should be tight but still move slightly under pressure (check the printer's instruction manual before attempting this so it doesn't snap). Next, check that the gantry and print head move freely using the on-screen printer controls, and apply a spot of lubricant as needed. This should have come with the 3D printer.
After that, my advice is to level the print bed, sort out the Z-axis, and make sure the print bed is clean with a small amount of adhesive applied. Printing consecutive successful 3D prints often comes down to repetition and patience. Personally, I level my Prusa XL and Elegoo Centauri Carbon 2 before every print to be on the safe side. It's a longer process, but the slower overall project time also means fewer failures and better-looking results.