

Use Your Old Tablet As A Dedicated Kitchen Display – Here's How
We may receive a commission on purchases made from links.
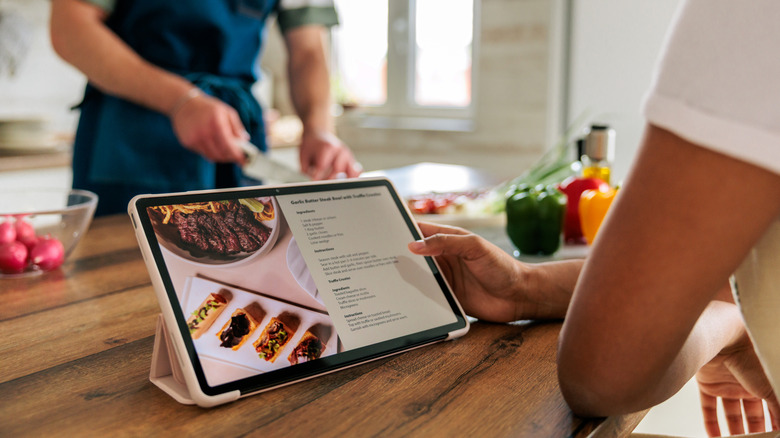
Kitchen displays might seem like overkill at first. After all, the things you can do on it — looking up recipes, setting timers, and creating your grocery list — are all available right on your phone too. In practice, though, a dedicated screen in your kitchen is actually pretty handy. You don't have to prop your mobile up on the counter or keep picking it up just to read the recipe up close. It's also easier to list missing pantry items as soon as you notice them, instead of forgetting to do so just because your phone isn't in the kitchen. For every kitchen-related task you need to do, you'd just go straight to the dedicated display that's already set up and ready in your kitchen.
The thing is, kitchen hubs can easily cost upwards of $200. If you're on a budget but would like to upgrade your cooking space with a kitchen display, you can repurpose an old iPad or Android tablet instead. We'll walk you through the simple steps to convert your old tablet into a dedicated display for your kitchen.
Step 1: Pick the essential apps and websites
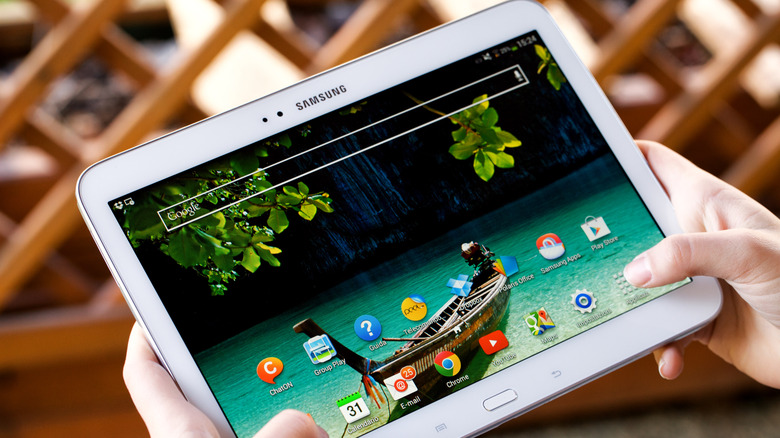
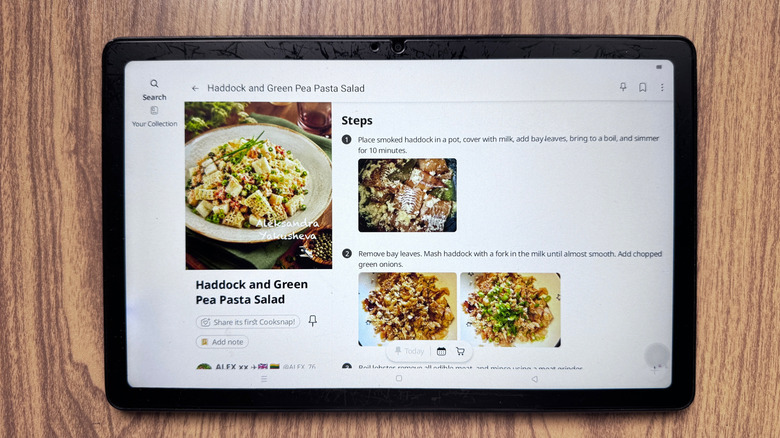
The first thing you need to do to make a kitchen display out of an old tablet is to choose the apps and websites you want to access from the tablet. Of course, on top of that list are your recipes. You can go with either recipe apps, recipe websites, or both. Install your apps of choice and list down all the websites you often visit.
Other than recipes, a functional kitchen display also supports features like unit conversion, timers, grocery lists, and music streaming. For unit conversion, you can go with the KitchenConvert website. It has a clean and straightforward interface that's easy to navigate.
For the timers, MultiTimer is a solid option. This app comes with an interactive home screen widget that lets you start and pause multiple timers without opening the app. It even includes the timer's name on the home screen, with its custom color and icon to avoid confusion. MultiTimer is conveniently available on both Android (at least Android 8) and iPadOS (at least iPadOS 16).
For noting down your grocery list, you can try Write Now for Android tablets. Its home screen widget shows you one specific note, and tapping on it will open a floating notepad right on the home screen. You can then easily jot down your pantry items from this floating notepad. On iPads, Apple Notes has one of the best iPad widgets to try. The downside is its home screen widget isn't editable and simply serves as a shortcut that opens the app for editing.
For music streaming, there's always Spotify. It works on old Android tablets updated to just Android 7. But on iPads, you'd need iPadOS 16.1 or later to run Spotify, so make sure to check if your model is still supported.
Step 2: Organize your apps and websites on the home screen
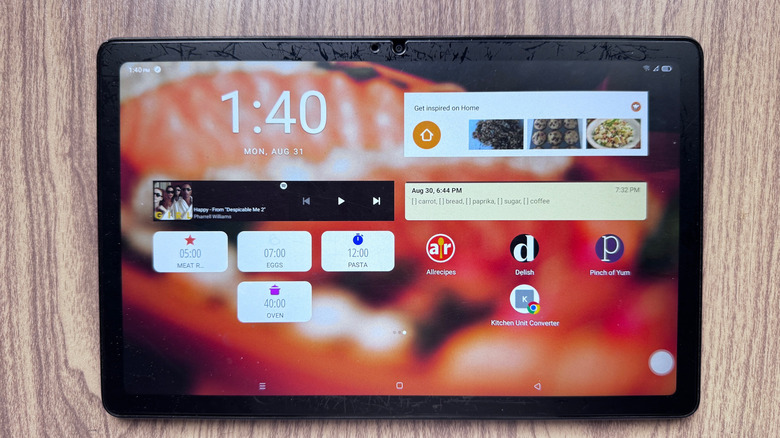
Once you have your list of apps and websites, it's time to add and arrange them on the home screen. This makes everything quicker to access, with some only needing a single tap to activate and use.
To start, add the widgets for MultiTimer, Write Now/Apple Notes, and Spotify to the home screen like you normally would. If your recipe app also comes with a widget, add that too. Otherwise, you can just pin the app itself.
On the other hand, to create a home screen shortcut to your favorite websites, follow these steps on your old Android tablet:
- Open the website on your Chrome browser.
- Tap the three dots in the upper right corner.
- Select Install and create shortcut.
- Edit the shortcut name to your liking.
- Press Install.
Meanwhile, here's what you need to do on iPads:
- Go to the recipe website on Safari.
- Click on the Share icon.
- In the Share panel, select View More.
- Tap on Add to Home Screen.
- Change the name if needed.
- Hit the Add button to create the home screen shortcut.
When you open the website from the home screen shortcut, it will look like any regular app. After placing the widgets and shortcuts on the home screen, organize them as you see fit. You can group them into different screens — for instance, one screen contains all your recipes, while another has multiple timers. Or you can squeeze everything into a single screen if you'd like to view them all at once.
Step 3: Set up your kitchen display in your kitchen
With your kitchen display ready, you can now set it up in your kitchen. Place it where you usually prep your ingredients, so it's easier to see what you need to grab and do. But instead of putting it on a stand on your counter, it's best mounted on the wall. This keeps your workspace clear and avoids unnecessary spills and food debris on the screen. You can find dozens of wall-mounting options available on Amazon like the fixed Elago Home Hub Mount, or the adjustable Ohlpro Universal Tablet Wall Mount Holder. Before you buy one, though, make sure to check whether the tablet accessory is compatible with your device's screen size.
To ensure you can access the websites on your kitchen display, it's also important to check the Wi-Fi signal strength from the tablet's location. If it's weak for your liking, look into extending the range of your Wi-Fi by setting up a mesh system or simply moving your router closer. Another important consideration is the proximity to a wall outlet. After all, you'll need to charge your kitchen display from time to time. If your chosen location is far from the wall outlet, you can just get a long charging cable. Brands like Anker and Belkin offer reliable ten-foot-long cables.