10 Essential Tips And Tricks For Beginner PC Builders
Building a new PC might come naturally to hardware enthusiasts or veteran gamers, but for those of you coming from consoles or dipping your toes into PC gaming for the first time, there are some challenges. Prices can be highly unpredictable, but that's only part of the equation. You have to choose between Intel and AMD for your processor (CPU), plan an upgrade path, and make sure you get the performance you need while staying under budget.
Many say that building a PC is like Legos for adults, and there is some truth to that statement. Putting the actual parts together isn't always the tough part. Dealing with Windows settings, finding the right fan configuration, and managing spending on some components are the real challenges. You want your PC to run cool, deliver the performance you need, and not let technical issues get in the way of gaming. Coming from someone who has built dozens of PCs in the past, here are some essential tips and tricks for beginner PC builders.
Don't skimp out on the power supply
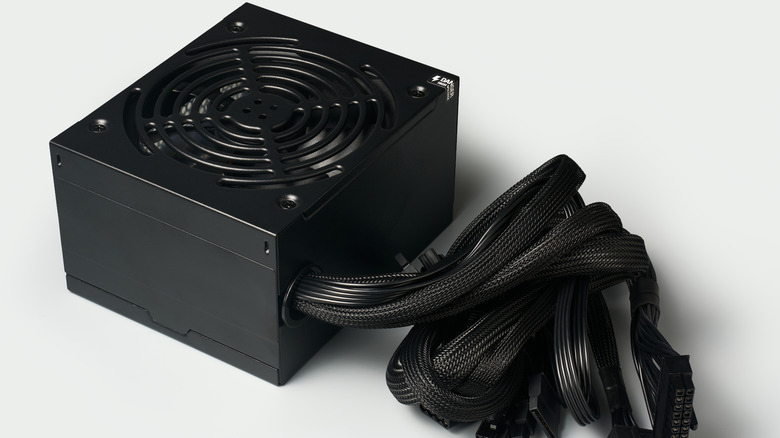
When putting together your own PC, you can't just buy a power supply unit (PSU) with good reviews and call it a day. The first step in choosing a PSU is to determine how much wattage you need. Newegg's Power Supply Calculator is helpful for beginners. Select all the components you plan to install, and the website will provide an estimate of the total wattage these parts will require. For example, with an Nvidia GeForce RTX 5070 Ti graphics card, a Ryzen 7 7800X3D CPU, and an ATX motherboard, Newegg recommends a power supply of at least 700W.
When buying a PSU, take a close look at the efficiency rating. A PSU with an 80+ Gold rating indicates at least 87% efficiency at maximum load. There are also 80+ (White), Bronze, Silver, Platinum, and Titanium, each with its rated load percentage. The higher the efficiency rating, the less heat and energy are wasted. If all this sounds foreign to you, I recommend reading PCMag's breakdown on choosing a power supply.
A PSU with higher wattage and efficiency ratings will cost more, but an underpowered unit can damage your components or cause crashes. If you estimate your power needs to be around 650W, get a 750W PSU just to be safe. A power supply is one of those PC parts you should never buy used, as any unknown faults might damage or brick the rest of your components.
Understand and avoid compatibility issues
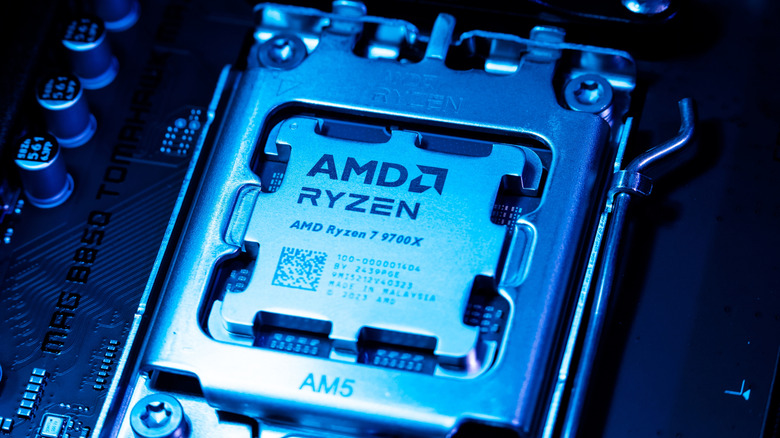
You don't need a master's degree in computer systems to build a PC, but you do need a bit of research before you buy the parts you need. Compatibility can be a big issue for beginner PC builders. For example, if you buy a DDR5 RAM kit and install it on a previous-generation motherboard that only supports DDR4, you won't be able to install it because of physical differences. Similarly, AMD and Intel have different motherboard sockets for their CPUs, so an AM5 socket motherboard (AMD) won't be compatible with an Intel CPU.
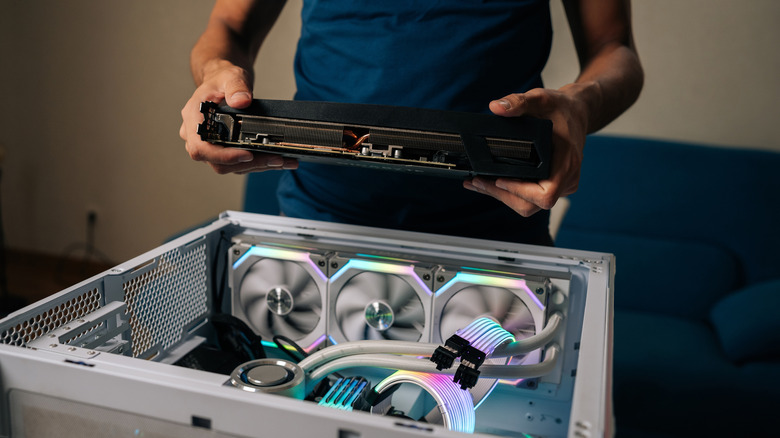
Similarly, that gigantic triple-slot graphics card you've been eying might look nice, but you'll have trouble fitting it into a smaller case. Compatibility can also cause performance issues. For example, pairing an RTX 5080 with an entry-level CPU will cause a CPU bottleneck. In this situation, the CPU can't feed more data to the GPU, which causes your frame rate (FPS) to drop. I recommend reading Intel's explanation on bottlenecking to avoid issues.
Thankfully, you don't need to memorize every pin count, millimeter, or benchmark result out there. Instead, use PCPartPicker to avoid compatibility issues. This is a useful tool for PC builds, as you can plan out your build by selecting all the parts. If you add two incompatible components, you'll get a compatibility warning with specific details. It also gives you an estimated wattage, making it easier to choose a power supply on the spot.
You don't need an expensive motherboard
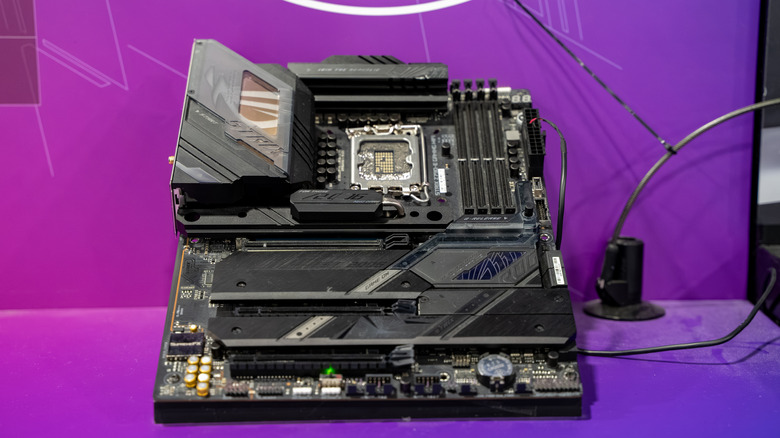
When it comes to performance, whether that's gaming or work, your motherboard won't heavily affect it in a big way. Yes, if you buy high-end components like a PCIe 5.0 SSD, a budget motherboard might limit you to PCIe 4.0 speeds. But the vast majority of people won't need a PCIe 5 SSD anyway. Another thing to consider is that, at stock settings, a high-end CPU/GPU combo on a cheap or expensive motherboard will perform about the same.
You'd only want a high-end motherboard if you care about overclocking or quality-of-life features such as extra Thunderbolt ports or more M.2 slots for storage expansion. Something like an ROG Crosshair X870E Hero might sound and look cool, but if you're never going to use most of the features it has to offer, then it's a waste of money for your PC build. When planning your build, really think about whether buying a motherboard that's more expensive than your CPU is worth it.
For most builders, the sweet spot is a mid-range B-series motherboard from a reputable brand (B650/B850 for AMD, B660/B760 for Intel). As long as you have enough fan headers, sufficient M.2 slots for storage, and support for fast memory (6000MT/s is enough for gaming), you'll be perfectly fine with a cheaper motherboard.
Install fans correctly for maximum airflow
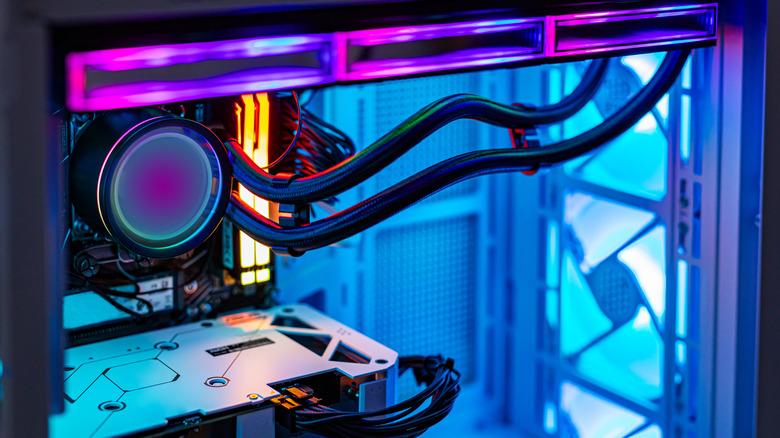
Most modern PC cases come with at least one fan pre-installed. However, for high-performance PC builds, you'll likely want to add a few more fans to keep your components from thermal throttling. The golden rule for standard tower casing is front-to-back and bottom-to-top airflow. Cool air enters from the front and bottom, and hot air exhausts through the rear or top of the case.
When installing a fan, whether for intake or exhaust, always check the plastic frame. Most fans will have a small arrow embossed on the side to indicate airflow direction. If you're installing a fan at the front of the case for intake, this arrow should point toward your motherboard. Similarly, if you're installing a fan at the top for exhaust, the arrow should be pointing upward. If there's no arrow, there's usually a brand sticker on the intake side. You can also just do a quick search on YouTube to find installation videos for your particular fans.
Finally, if you install more exhaust fans, you'll create a negative pressure in your case. This can lead to more dust buildup, as your case now essentially acts as a vacuum pulling in dust from all crevices. Generally, positive pressure will be better for most builds. This just means you have more intake fans than exhaust ones. For example, three intake fans with one or two exhaust fans would create positive pressure.
Choose the right case
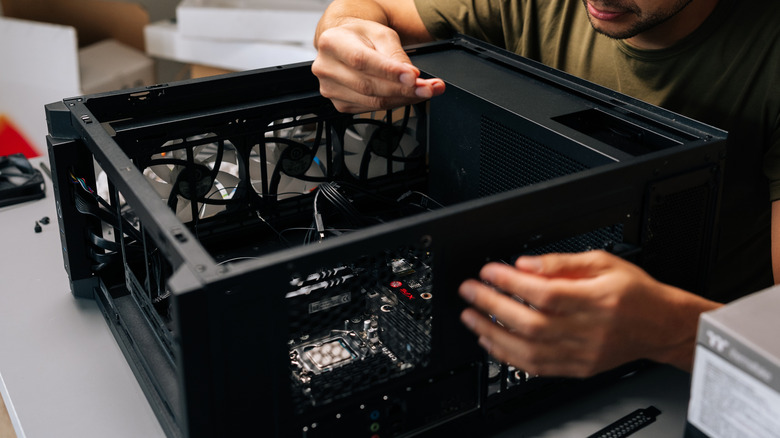
A PC case is one of those components where aesthetics and functionality collide in a big way. Your first priority when choosing a case should be the form factor. The full-tower ATX will fit almost everything, while microATX and mini-ITX cases are more compact but require tighter cable management. All form factors have their use cases, but just know that mini-ITX cases are particularly tough to work with because of the size constraints.
Also, look out for airflow. Cases with a restrictive front panel have poor intake airflow, which can lead to higher temperatures. A case with a mesh front panel is a safer bet, but some high-quality glass front cases with clever vents still manage to keep temperatures under control. Ultimately, this can be hard to judge from just pictures alone, so check reviews that mention airflow.
It will be tempting to go for flashy cases with built-in LCD screens, infinity mirror fans, or elaborate RGB setups. These look great, but they can be complex for first-time builders due to the additional cables and setup required. Similarly, super cheap cases have sharp edges, poor cable cutouts, or finicky drive bays, making installation tough. The best way to judge a case is by seeing it in action. I recommend watching YouTube build reviews for any case you've shortlisted to get an idea of what it's like to build in it.
Go through the motherboard manual

When you finally sit down to build your PC, don't ignore the motherboard manual. While installing CPU, RAM, and M.2 SSDs is usually the same process for most motherboards, the locations of front panel connectors, RGB headers, and fan headers can vary. The manual will help you figure out how to connect all these cables, to ensure you don't put a cable in the wrong slot or miss a crucial power connection.
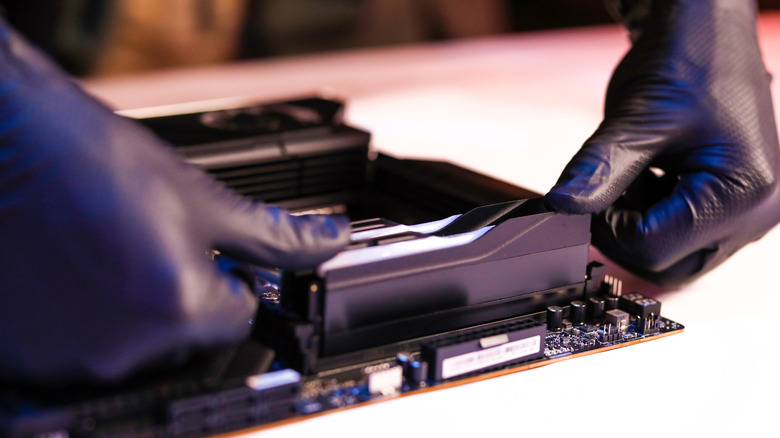
Here's an example: while you can place RAM sticks in any RAM slot, most ATX motherboard manuals recommend placing them in slots 2 and 4 when installing two sticks. Similarly, the motherboard manual will also tell which M.2 slot is directly connected to your CPU. While there may be more M.2 slots on your board, the one that directly connects to your CPU will generally grant better performance.
If the physical book that came in the box feels overwhelming, you can find a high-resolution PDF version of the manual from the manufacturer's website. This allows you to zoom in on complex diagrams and search for specific words to quickly find what you're looking for.
Build on top of the motherboard box before installing it into the case

If you watch a lot of YouTube videos about building PCs, you'll notice that placing components on top of the motherboard box is a common practice among veteran builders. People don't do this just so the camera has a clearer view of the components; it can actually save a lot of frustration. The box provides a flat, non-conductive surface to work with, and you can easily reseat any malfunctioning or incorrectly installed components.
This also allows you to perform a quick POST (Power-On Self-Test) before committing to cable management or installing Windows. If there are any hardware issues, your BIOS will throw you an error message. While building outside the case on the motherboard box, install your CPU, CPU Cooler, RAM kits, storage, and GPU, then connect your power supply to everything for a quick test. If the system POSTs and everything works, proceed with moving everything into the case. This also saves time, as you don't have to open up your case every time to check something.
Apply thermal paste correctly
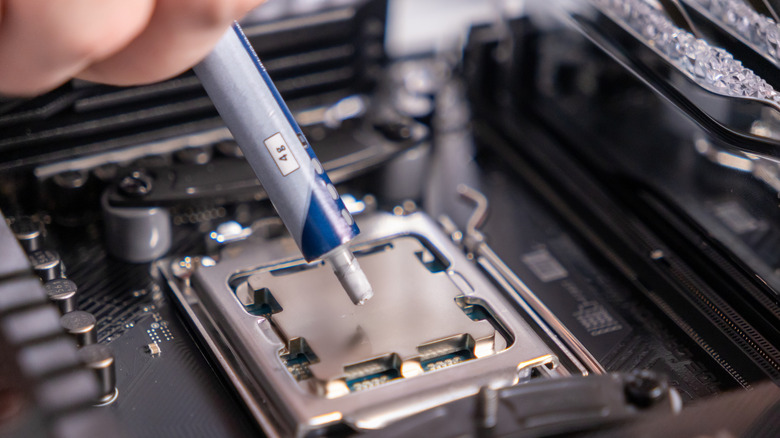
There is a lot of contention around how much thermal paste you need and how you should apply it to the CPU. Applying too much can lead to a bit of a mess, where the thermal paste can spill over the side of the processor and onto the motherboard socket. On the flip, applying too little will leave air gaps between the CPU and the cooler's baseplate, leading to poor heat transfer and potentially overheating.
A general rule of thumb is that you don't need more than a pea-sized amount of paste. Aim for the center of the CPU, make sure you have that pea-sized amount, and attach your cooler. You don't need to spread the paste before attaching the cooler, as pressing it from the cooler baseplate during installation will do that anyway.
Some modern CPUs, like Intel's 12th-generation and later, have a more rectangular shape than their predecessors, so you'll need more thermal paste to cover the added surface area. You can create an "X" pattern for these CPUs, with one larger dot in the center and four smaller dots surrounding it. But if your CPU is more rectangular, a single pea-sized amount will still suffice. Also, don't forget to tear off that plastic peel on the bottom of your CPU cooler before installing.
Make sure anything you install is secure
Always double-check your connections when building a PC, especially if it's your first time. Most hardware won't work if it's not connected correctly, and even if it does work for a short time, there's a chance there will be issues later. For example, if you plug your graphics card's power cables only halfway, it might still display video, but the connection will be unstable and potentially dangerous for the GPU.
A common hurdle for new builders is the amount of force required for certain components. The 24-pin ATX power cable from your PSU to the motherboard particularly requires a firm push until you hear a distinct click. Similarly, if you don't hear a click after installing your RAM, it's likely not seated correctly. Pay close attention to the motherboard standoffs as well, as they are needed to securely install your board into the case. New PC builders also often forget to install the I/O shield (the metal plate that surrounds your motherboard's rear ports). It's a rite of passage for many builders, and forgetting it means taking the entire PC apart just to fix that tiny issue.
Update BIOS and drivers after Windows installation
After you are done physically assembling your PC build, installing Windows, and getting to the desktop, there is still some housekeeping to do. To ensure your hardware runs at its max potential, make sure to handle updates correctly. Your first stop should be the motherboard manufacturer's website to download the latest BIOS and chipset drivers. A BIOS update is often necessary, as it can improve CPU stability, energy efficiency, and RAM compatibility. The updating process will vary a bit depending on the manufacturer, so follow the manual.
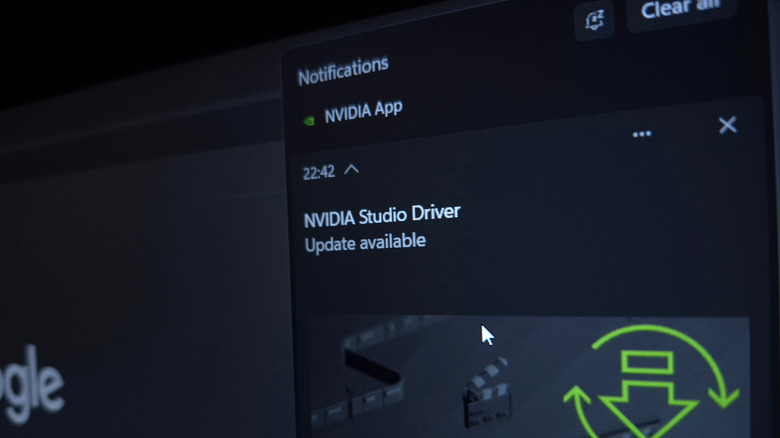
Next, install the latest GPU drivers from Nvidia, AMD, or Intel, depending on which manufacturer your graphics card is from. While Windows installs basic video card drivers automatically, manually installing the latest drivers is better for performance and stability improvements. These driver updates also often feature specific optimizations for the latest games, which fix graphical glitches or performance issues.