Change These 4 Settings To Instantly Upgrade Your Home Theater Audio
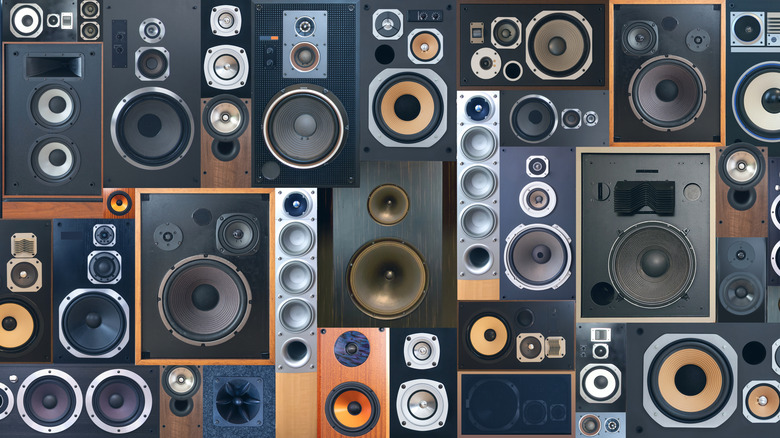
It's easy to get scooped up in the excitement and chaos that is buying a new TV. There's a lot to think about, and maybe it's been a minute since you last added a big-ticket consumer tech purchase to your home. Our best advice: Don't skimp out on audio. The best modern smart TVs can look remarkable even at the entry-level tier, but sound quality tends to struggle across the board.
If you've already invested in a home theater system or a soundbar to replace your TV's audio, don't kick your feet up just yet; there's a whole bunch of customization and optimization to get to. Out of the box, most audio products will bring better sound to the table than any set of TV speakers, but there are a few features and settings that can make your home theater sound even better. Whether you're looking to get the best sound quality possible or you simply want to know as much as you can about your cinematic equipment, here are four ways to instantly upgrade your home theater audio.
Use your receiver's room correction software
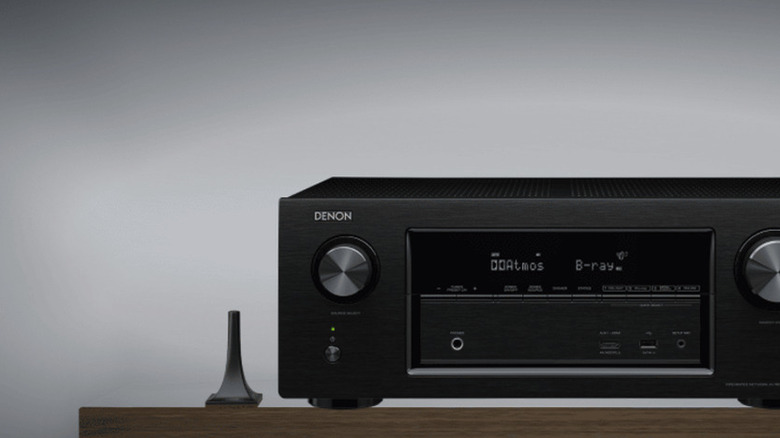
Setting up a home theater yourself is a great way to learn about your receiver's many features and settings. After you've finished wiring up your speakers and connecting AV components, you'll probably be itching to get a movie going. But did you notice a tiny gadget that came packaged with the amp? That's an audio calibration microphone used to auto-balance speaker levels, and before you fire up any home theater content, we recommend using it.
The calibration feature may go by a few different names, depending on the brand of receiver you purchased and the particular model (for example, Audyssey for Denon, YPAO for Yamaha) You want to plug the mic into your receiver and then place it as close to the center of your theater space as possible. Your receiver's room-correction software will then ping each speaker with a series of test tones.
These tones are used to analyze how sound waves act in your room, accounting for variables like furniture placement, volume, and speaker distances. At the end of the process, your speakers will be calibrated to best match your listening space. Don't worry, you'll still be able to manually adjust speaker settings after the fact.
Take a close look at your input audio settings
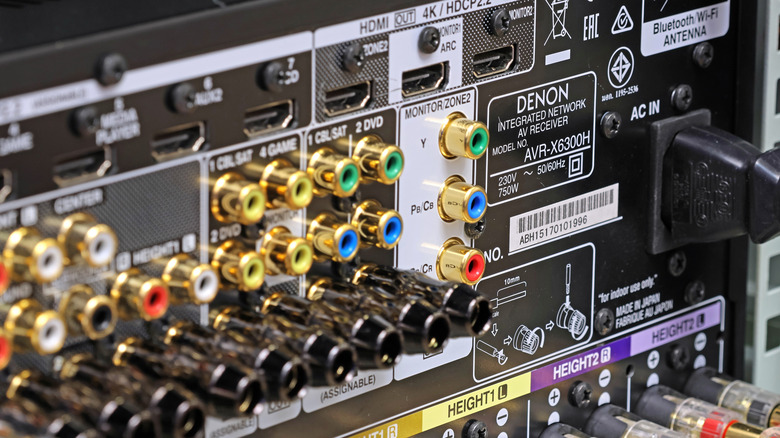
Your AV receiver is an integral part of your home theater system, but it's not the only important piece of hardware. Whenever you add an AV component to your setup, you'll want to take time to learn the ins and outs of your new or existing tech. Be it a major streaming device, game console, or 4K Blu-ray player, most source components include adjustable audio settings. There's one change you should make right away: Switching the audio output from PCM to bitstream.
Many new AV receivers will decode advanced surround formats like Dolby Atmos and DTS:X, but only when your source component gives the go-ahead. If your device is set to PCM, your AV component will be in charge of decoding audio — instead of your AV receiver — which often results in uncompressed stereo sound. That's great for a two-channel system, but those of us with a full surround sound won't get the full audio experience.
In most cases, you'll want to have all source components set to bitstream. That way, your AV receiver will be fed surround sound data whenever it's available. The only thing your AV components will need to do is power on and shake hands with your AVR.
Try bi-amping your front speakers (if your receiver supports it)
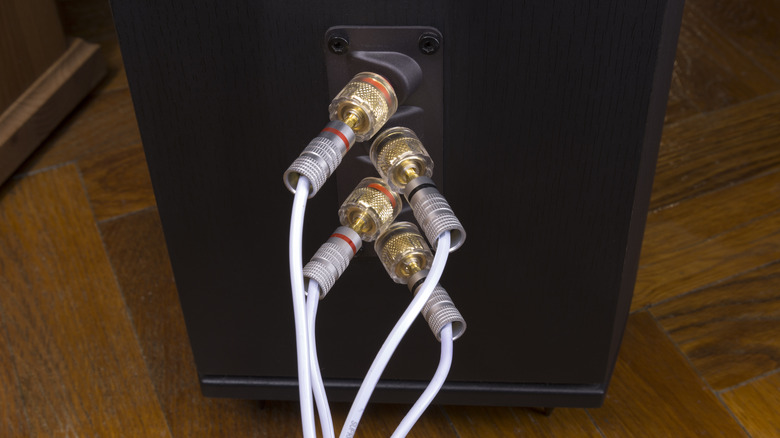
Not all speakers are created equal. Once you start looking at more advanced floor-standing and bookshelf models, you may see speakers with two sets of binding posts (the terminals that speaker wire connects to) instead of one. Generally speaking, this means you'll have the option of bi-amping your speaker.
When you bi-amp, you'll use two amplifier channels to power one speaker. This helps to separate power between the woofers and tweeters, so that each part of the speaker has enough to perform at peak potential. Most of the time, this produces a wider soundstage with extra details across the frequency spectrum. To bi-amp your speakers, you'll need to own at least a 7.1 surround sound receiver with assignable amp channels. These channels shouldn't be taken up by any other speakers.
On your bi-amp-ready speakers, you'll need to remove the metal binding posts linking both sets of speaker terminals together. After that, head into your receiver's speaker settings to turn on the bi-amping feature. Once you've done that, the only thing left to do is to route the four speaker wires between your two speakers and your AV receiver.
Make the most of your soundbar setup
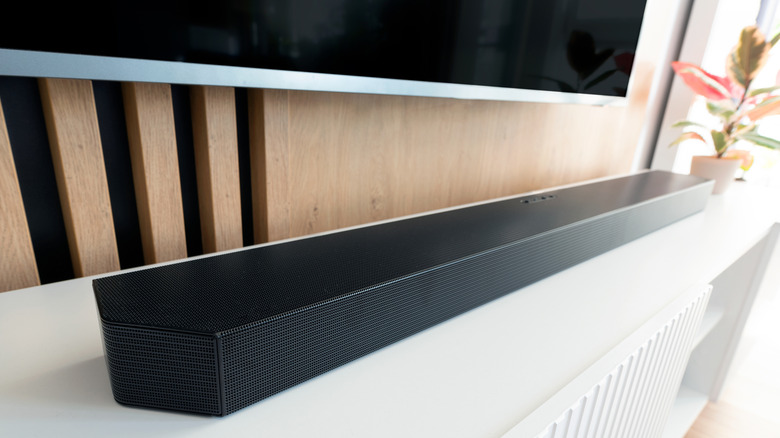
Not all surround sound systems require lots of speakers and an even larger amount of speaker wires. There are plenty of top home theater soundbars on the market that will fill most viewing spaces with audio, and, just like an AV receiver, many of these systems have built-in HDMI switching. You'll connect all source components to the soundbar, and then route a single HDMI cable between the bar and your TV.
If you plan on using your TV's internal apps or over-the-air tuner, and you want the sound to come out of your soundbar, you'll need to use your TV and soundbar's HDMI ARC/eARC ports. Alternatively, you could at least use digital optical, which will limit you to 5.1 Dolby and DTS configurations. If your soundbar has up- or side-firing speakers, we're willing to bet it supports Dolby Atmos and DTS:X, and these codecs require an ARC/eARC connection.
As a good rule of thumb, we also recommend confirming that HDMI-CEC is enabled on your TV, soundbar/receiver, and AV components. Not only will this let you control the power and volume of your audio system using your TV remote, but it will also help to ensure that all connected hardware is recognized and optimized to deliver the best performance.