

5 Cool Things You Probably Didn't Know Your MacBook Could Do
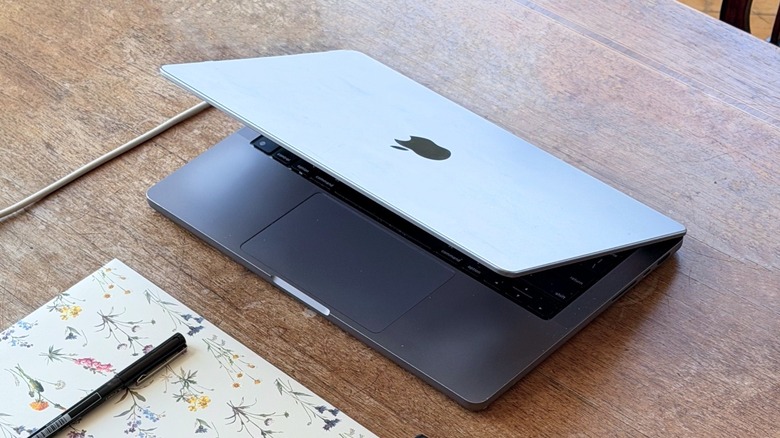
Apple does an incredible job with its MacBook designs. Whether you have a Neo, Air, or Pro, these laptops have a unique industrial design that makes them easily recognizable whether you're in a cafe, at the office, or working with friends. Not only is Apple's logo easy to spot, but these computers have something special about them, the company's custom silicon, which revolutionized the computer market by combining great performance with great battery life. However, what also makes the MacBook such a great device are the lesser-known features it has, such as Sidecar, iPhone Mirroring, Stage Manager, and more.
With a platform full of exclusive apps, Apple always tries to ensure customers have the latest and greatest features that are sometimes unique to the platform. One of the reasons many customers choose to pay extra for a Mac is because these computers work so well with their iPhone, iPad, and Apple Watch, and so features simply just work.
For example, one of the coolest features available between the Mac and other devices is that you can copy a photo, text, or other information on your iPhone and seamlessly paste on your Mac. If you're looking to improve how you use your MacBook, these are some of the coolest things you can do with your laptop that you probably never realized were just sitting there waiting for you to discover them.
Sidecar
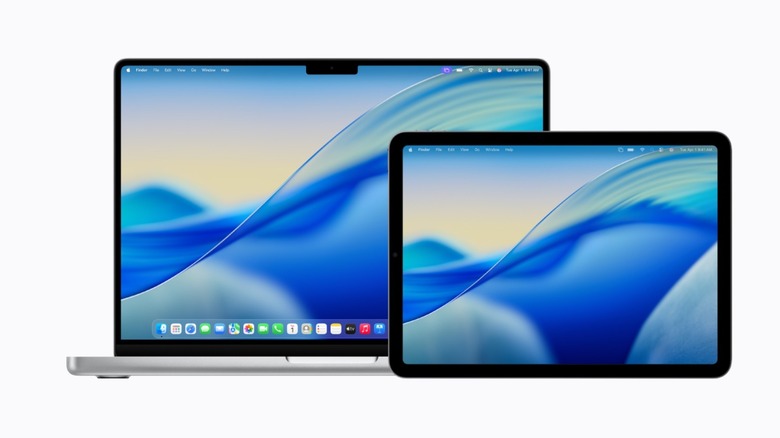
Released in 2019 with macOS Catalina, this is a feature that every MacBook owner with an iPad should know about. Sidecar basically transforms your tablet into a secondary display, which can help you expand your digital workspace without having to buy a specific monitor. This function allows users to extend or mirror a Mac desktop, which can be great for multitasking in platforms like Adobe Illustrator and Photoshop — or the new Apple Creator Studio — but also to use the Apple Pencil in this environment.
To start using Sidecar, you need to have both the Mac and the iPad signed in to the same Apple Account with Bluetooth, Wi-Fi, and Handoff enabled. On the Mac, go to System Settings, Displays, and click the "+" button or the dropdown to select your iPad. It's also possible to click on the Control Center in the menu bar, choosing the Screen Mirroring option, and selecting the tablet. Once connected, users can choose to mirror the display or use the iPad as a second display.
Since this feature was introduced in 2019, it means you don't need to have an Apple Silicon Mac, and, basically, your Mac only needs to have at least macOS Catalina, in addition to an Apple Account with two-factor authentication enabled, and having both devices within 30 feet of each other with the same Wi-Fi and Bluetooth. It's important to note that the iPad needs to run at least iPadOS 13 to offer this feature.
iPhone Mirroring
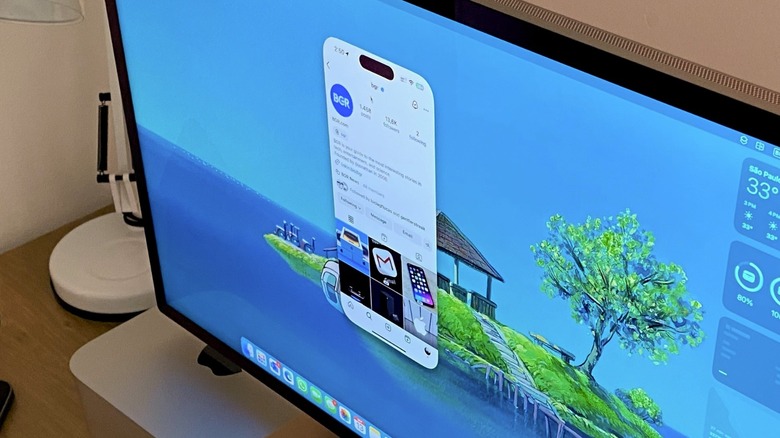
A more recent addition, iPhone Mirroring was introduced alongside the first batch of Apple Intelligence features in 2024 with macOS Sequoia. Since then, Apple has greatly improved this functionality by not only making it more reliable, but expanding how much you can control your iPhone while using the Mac. Basically, iPhone Mirroring allows users to interact with your iPhone directly from the MacBook (as long as you first unlock your phone with a passcode to then get an annoying message that you have to re-lock your phone).
This feature lets you view your iPhone screen, launch apps, respond to notifications, and even copy and paste files without physically touching your phone. This is particularly useful when you need to access iOS-only content but don't want to keep reaching for your iPhone, or you're in an environment where picking up your phone all the time can be an issue.
To activate iPhone Mirroring, you require a Mac running macOS Sequoia or later with an Apple Silicon chip or Apple's T2 Security chip, which is found in some of the latest Intel Macs; besides that, your iPhone needs to be running iOS 18 or later and be secured with a passcode. With both in the same Apple Account and Wi-Fi and Bluetooth enabled, open the iPhone Mirroring app from your Mac Dock, Launchpad, or Spotlight. Follow the instructions on your MacBook and then you're good to start using iPhone Mirroring.
Live Text
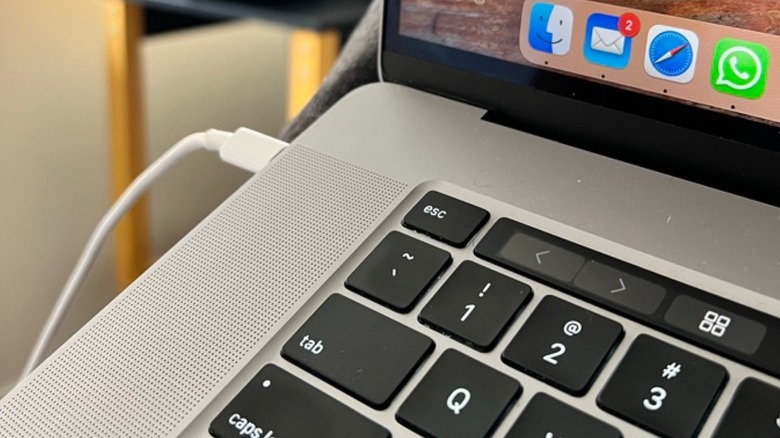
A true hidden gem, most MacBook users think it's really cool when they discover Live Text, a 2021 feature introduced with macOS Monterey that's only gotten better. Live Text brings the ability for users to copy text from any photo or video, which means that they can get information from an electric bill they took a photo from, or even if they're watching a YouTube video and they want to copy something that's written in the image but it's too lengthy for them to type. While I think this is one of the coolest tools for journalists and researchers, it's actually really useful for anyone trying to speed up how they use their Macs.
To activate Live Text, users need to interact with an image or video where text is visible. When hovering the cursor over any recognized text, it'll automatically transform it into a text-selection tool. Users can then click and drag to highlight the text, right-click to copy it to their clipboards, or choose to translate it or search the web for the term. More interestingly, this is also available on iOS and iPadOS as well.
Requirements for Live Text include a Mac running macOS Monterey or later, which means that this feature is available for Intel Macs with an Apple T2 Security chip or any of the new aforementioned Apple Silicon Macs. In essence, this feature processes everything locally on the device's Neural Engine, which is what makes it so fast and private. However, a relatively modern Mac is required.
Stage Manager
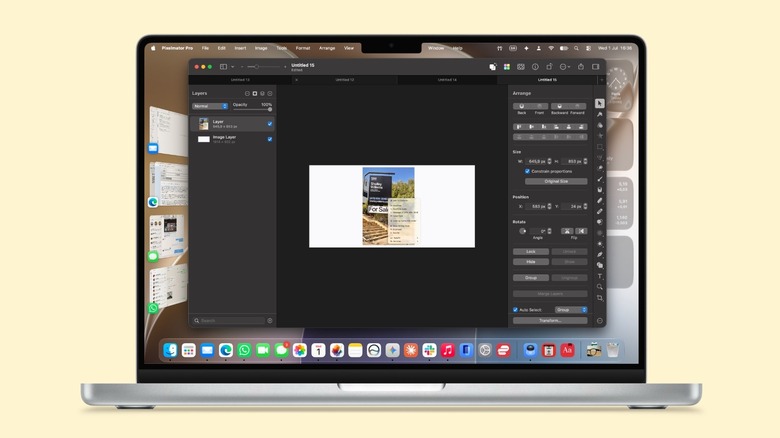
While you probably heard about Stage Manager on the iPad and how it helps to improve multitasking capabilities for iPadOS, this feature also got released in 2022 with macOS Ventura. At that time, Stage Manager was a clever way for Apple to bridge the capabilities between the Mac and the iPad, showing customers that the platforms can be a lot alike. While many users have issues with this feature on the iPad, I think Stage Manager is a bit underrated on the Mac, and gets especially useful when you have a bigger display.
With this feature on, you can automatically organize your active app in the center of the screen and group secondary, recently used apps on the left-hand sidebar. It allows you to switch between different "stages" of work quickly, and it's an ideal tool for anyone who maintains several open apps and needs a cleaner, more focused environment.
To use Stage Manager, open the Control Center in the menu bar and click the Stage Manager toggle. Users can also go to System Settings, then Desktop & Dock, and enable the feature under the "Desktop & Stage Manager" section. Users can customize its behavior to make it much more useful. Most importantly, Stage Manager only requires macOS Ventura or later, meaning that both Intel and Apple Silicon Macs can run this experience, so you don't have to stress about not having the latest M5 Max MacBook Pro.
Use your iPhone as a camera for the Mac
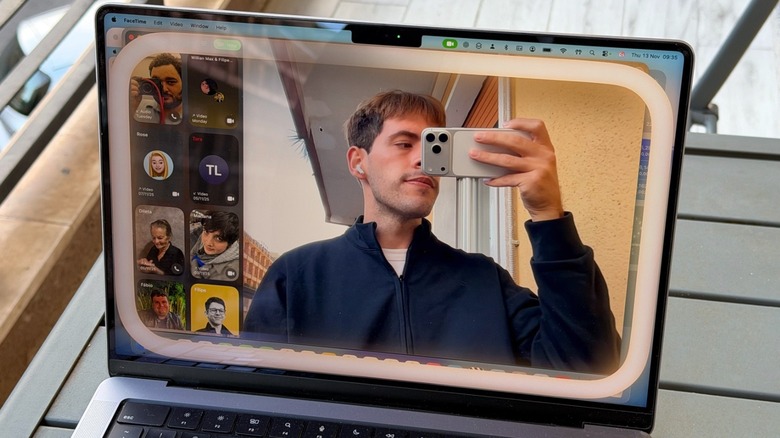
Last but not least, a very cool feature available for MacBook users is the ability to use the iPhone as a camera for the Mac. While the newer models have pretty good webcams with several functionalities, like Center Stage and Desk View, not every Mac has a very good camera. For example, if you have an M1 MacBook Air or MacBook Pro, which were released in late 2020, then you'll have a pretty poor camera experience.
This is why in 2022, with macOS Ventura, Apple started to offer the ability for users to wirelessly use the iPhone's advanced camera system as a high-quality webcam for the Mac. Not only does it improve the video quality, it also brings Center Stage, Portrait Mode, and Desk View to a wider range of Macs.
To activate this feature, users need the iPhone and Mac signed into the same Apple Account and to have Wi-Fi and Bluetooth enabled. By placing the iPhone in a stable, landscape-oriented mount near the Mac, with the rear cameras facing you, the Mac will automatically detect the iPhone as an available camera input in apps like FaceTime, Zoom, and Webex. Users can also change the input by selecting the camera on these apps. They can also go to iPhone's Settings, General, AirPlay & Continuity, and toggle on "Continuity Camera." This feature is available for any Mac running macOS Ventura or later and requires an iPhone running at least iOS 16.